Advertisement
Quick Links
Advertisement

Summary of Contents for SEGUE RE-1068
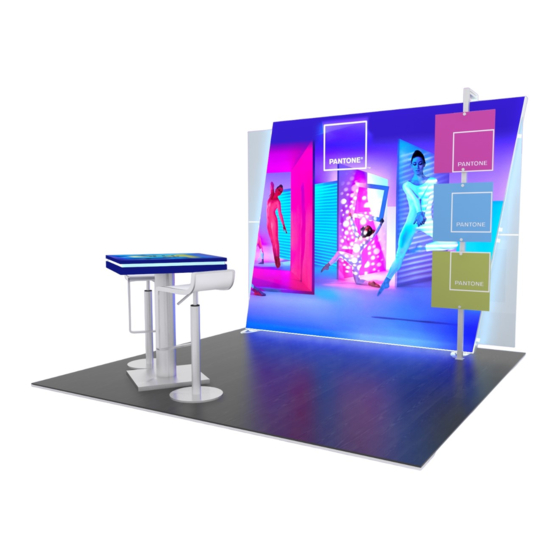
- Page 1 © 2020 RE-1068 10’ 10’ Top View SETUP INSTRUCTIONS...
-
Page 2: General Setup Instructions
© 2020 RE-1068 General Setup Instructions - Read entire setup instruction manual prior to unpacking parts and pieces. WARNING - The setup instructions are created specifically for this configuration. - Setup instructions are laid out sequentially in steps, including exploded views with detailed explanation for assembly. - Page 3 © 2020 SEG Installation 1) Locate channels along the edges of extrusions Fold edges over. 2) Insert graphic corners first into channels then center point of graphic into channels. Allows for proportional fit around the perimeter of the extrusion. 3) Working from center to corner, slide silicon edge Insert into on graphic into channel.
- Page 4 © 2020 RE-1068 Corner Connection Corner Bracket Assembly 1) Slide TWO-PIECE TS RV 2 L-bracket into Upper Interior Center Slot of extrusion so that two Horizontal set screws are inside groove. Tighten two set screws to secure. Upper Slide verticals over...
-
Page 5: Completed Assembly
© 2020 RE-1068 Item Qty. Description Steps: 1,1A 33.6754” CEI110 Horizontal Extrusion 1) Assemble [1,2,3] [1A,2A,3A] [4,5] and [4A,5A] together with straight brackets. 2,2A 33.6753” CEI110 Horizontal Extrusion See CEI110 Frame Assembly sheet Straight Bracket Assembly details. 3,3A 33.6753“ CEI110 Horizontal Extrusion... - Page 6 © 2020 RE-1068 Steps: 1) Attach wings to A10 clamps. See A10 Clamp detail. 2) Attach graphics to vertical extrusion, using standoffs and screw caps. 3) Install SEG graphic to front of assembled frame and SEG blocker fabric to back.
-
Page 7: Underside View
© 2020 RE-1068 Steps: 1) Connect base to post, using bolt. 2) Route cord from table top through post and base. 3) Connect table top to post, with fixed brackets, using black bolts. Table Top Completed Assembly Black Bolt Post...


Need help?
Do you have a question about the RE-1068 and is the answer not in the manual?
Questions and answers