
Subscribe to Our Youtube Channel
Related Manuals for Extech Instruments HDV600


Summary of Contents for Extech Instruments HDV600
- Page 1 User Manual High Definition VideoScope Model HDV600 Additional User Manual Translations available at www.extech.com...
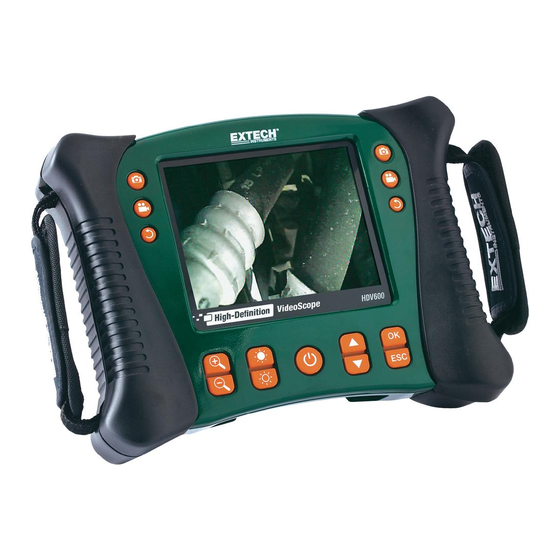
- Page 2 Introduction Congratulations on your purchase of this Extech HDV600 series Video Borescope. This instrument is designed for use as a remote inspection device. It can be used to peer into tight spots, record and playback real-time video and images. Typical applications include HVAC inspection, automotive inspection, cable routing, and automotive/boat/aircraft inspection.
- Page 3 6. AC Adaptor and extension cable sockets 7. Carrying strap Wireless Transmitter Probe Connector Light Intensity buttons Power button AC Adaptor and extension cable sockets Carrying strap Probe accessories Anti-snag tip Magnet 45° Mirror Probe Camera Shaft Monitor connector HDV600-en-GB_V3.0 1/18...
- Page 4 Set the menu display to any one of 21 languages. VIDEO FORMAT: Set the video output to NTSC or PAL format. AUTO POWER OFF: Set the APO to 5, 10, 15, 30 minutes or DISABLE. INPUT SOURCE: Set Direct or Wireless. HDV600-en-GB_V3.0 1/18...
-
Page 5: Operation
Display Rotation Press the button to rotate the display 90 degrees. Installing probe accessories Three accessories (mirror, anti-snag tip and magnet) are supplied with each probe. Attach the accessory by unscrewing the probe ring and screwing on the attachment. HDV600-en-GB_V3.0 1/18... - Page 6 Turn the probe outer knob to adjust the camera tip to the viewing angle needed. Turn the upper knob to increase or decrease the outer knob tension In this mode, light intensity is controlled by the buttons on the monitor, not by the buttons on the transmitter. HDV600-en-GB_V3.0 1/18...
- Page 7 Press and hold the Power button for 4 seconds to turn the monitor on, then select “DIRECT” under the INPUT SOURCE selection in the MENU screen. In the direct mode, light intensity is controled by the buttons on the monitor, not by the buttons on the transmitter. HDV600-en-GB_V3.0 1/18...
- Page 8 The unit will output a high quality video image. Video Profiles Menu The HDV600 monitor has 2 factory default profiles (Default1 and Default2) and one User profile for Brightness, Contrast, Hue, and Saturation camera settings. To access the Factory Default menu, follow this procedure.
- Page 9 Disposal: Do not dispose of this instrument in household waste. The user is obligated to take end-of- life devices to a designated collection point for the disposal of electrical and electronic equipment. HDV600-en-GB_V3.0 1/18...
-
Page 10: Specifications
100 to 240V input / 9VDC output Unobstructed Effective Range Operating/Storage Temperature -10 to 60°C(14 to 140°F) / -40 to 80°C(-40 to 176°F) 19 x 7 x 6.35cm (7.5’ x 2.75 x 2.5”) Dimensions (W D H) Weight (approx) 431g (0.95lb) HDV600-en-GB_V3.0 1/18... - Page 11 25mm 6 cm to ∞ 640x480 HDV-25CAM-30G Fiberglass 25mm 6 cm to ∞ Copyright © 2012-2018 FLIR Systems, Inc. All rights reserved including the right of reproduction in whole or in part in any form ISO-9001 Certified www.extech.com HDV600-en-GB_V3.0 1/18...
Need help?
Do you have a question about the HDV600 and is the answer not in the manual?
Questions and answers