Table of Contents
Advertisement
Quick Links
Advertisement
Table of Contents

Related Manuals for Dacor Epicure ER36GISCH


Summary of Contents for Dacor Epicure ER36GISCH
-
Page 1: Installation Instructions
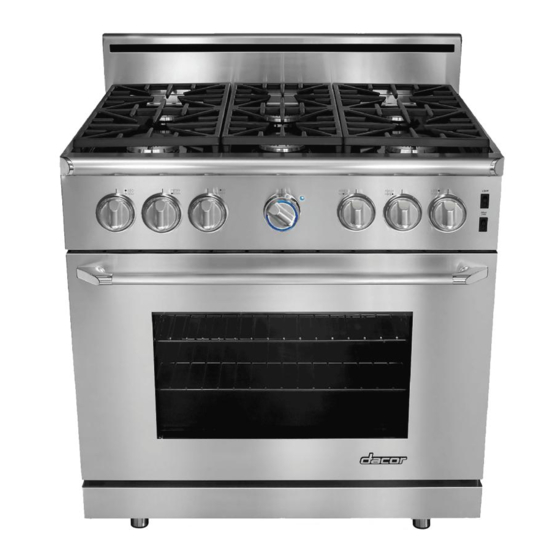
Installation Instructions Epicure 36 - Inch Gas Range ® For use with models ER36G and ER36GI THIS APPLIANCE HAS BEEN TESTED IN ACCORDANCE WITH THE LATEST EDITION OF ANSI Z21.1 STANDARD FOR HOUSEHOLD GAS COOKING APPLIANCES. Part No. 106554 Rev. D... -
Page 2: Table Of Contents
ER36GISCH/LP ER36GISCH/NG/H ER36GISCH/LP/H * See page 3 for more information. All specifications subject to change without notice. Dacor assumes no liability for changes to specifications. Table of Contents Self-Rimming Trim Installation ...7 Adjust the Range Height ... 8 Install the Anti-Tip Bracket ... 9 Door Removal ...9... -
Page 3: Important Safety Instructions
Manual are not meant to cover all possible problems and conditions that can occur. Use common sense and caution when installing, maintaining or operating this appliance. Always contact the Dacor Customer Service Team about problems or conditions you do not understand. Safety Symbols and Labels... -
Page 4: Important Information About Safety Instructions
Do not leave children or pets alone or unattended in the area around the range. Do not allow children to play with the controls, pull on the handle, or touch other parts of the range. Do not store items of interest to children on top of or above the range. -
Page 5: Installation Specifications
Important Safety Instructions • Do not operate the cooktop without the knobs and trim rings in place. • Non-stick coatings, when heated, can be harmful to birds. Remove birds to a separate, well-ventilated room during cooking. IMPORTANT - This appliance is equipped with a three-prong grounding plug for your protection against possible electric shock hazards. -
Page 6: Electrical Power Supply Requirements
The range is supplied with a factory installed, 6 foot long, power cord with a three-prong grounding plug. It is connected to the chassis at the rear of the range. It must be connected to a dedicated, grounded three- prong electrical outlet installed by a licensed electrician. -
Page 7: Cabinet Layout
• To reduce the risk of personal injury and to reduce accumulated smoke in the room, Dacor strongly recommends installing a range hood. A range hood should project horizontally a minimum of five (5) inches beyond the face of the cabinets. -
Page 8: Gas And Electrical Locations
◊ The gas supply piping, gas shut-off valve and the electrical junction box or receptacle must be located so they do not interfere with the range when it is installed. ◊ The electrical outlet and gas shut off valve must be located so that the range can be pulled out for service while the appliance remains connected. -
Page 9: Backguard Kit Installation
Fasten the new trim pieces in place using the provided #8 x 1/4 Torx screws (3 each side). IMPORTANT: To ensure proper fit of the range in the cutout, do not use the screws removed from the range in step 3. Use only the provided #8 x 1/4”... -
Page 10: Adjust The Range Height
Re-attach the backguard using the supplied #8 x 1/4” Torx screws. If there is a countertop overhang to the rear of the range of 3/4” or greater, attach the rear trim piece to the backguard as shown below during re-installation. IMPORTANT: To ensure proper fit, do not use the screws removed from the range in previous steps. -
Page 11: Install The Anti-Tip Bracket
Install the Anti-Tip Bracket Locate the anti-tip foot on the back of the range and turn it until the bottom of it is 1/16” (2 mm) off the floor. Back of range Anti-tip fFoot Locate the anti-tip bracket included in the parts box. -
Page 12: Gas Connection
Connect a flexible gas supply line to the gas shut-off valve previously installed on the stub out. The gas line needs to be long enough to allow the range to be pulled out for service. Connect the gas line to the regulator on the back of the range. -
Page 13: Moving The Range To Final Location
Uncoil the power cord and route it to the electrical outlet so that it does not become trapped behind the range when it is pushed back. Do not connect the power plug until you are ready to verify proper operation. -
Page 14: Cooktop Assembly
Cooktop Assembly WARNING Never attempt to operate the range’s cooktop with any of the burner rings, burner caps or grates removed. Remove the burner rings, burner caps and grates from their shipping cartons. Install the burners as shown. Gently twist each piece back and forth after installation to make sure it is properly seated. -
Page 15: Verifying Proper Operation
If it does, repair by an authorized service technician is required. Repeat the above tests. If the appliance still does not work, contact Dacor Distinctive Service at (877) 337-3226. Do not attempt to repair the appliance yourself. Dacor is not responsible for the cost of correcting problems caused by a faulty installation. -
Page 16: Wiring Diagram
Wiring Diagram BAKE/BROIL KNOB LED OVEN CELL ON LED Return +5VDC Wiper... -
Page 17: Notes
Notes... - Page 18 Notes...
- Page 20 Dacor ● 600 Anton Blvd. Suite 1000 Costa Mesa, CA 92626 ● Phone: (800) 793-0093 ● Fax: (626) 403-3130 ● www.Dacor.com...
Need help?
Do you have a question about the Epicure ER36GISCH and is the answer not in the manual?
Questions and answers