Table of Contents
Advertisement
Quick Links
Advertisement
Table of Contents

Related Manuals for EF EFCH 9211 HM SS


Summary of Contents for EF EFCH 9211 HM SS
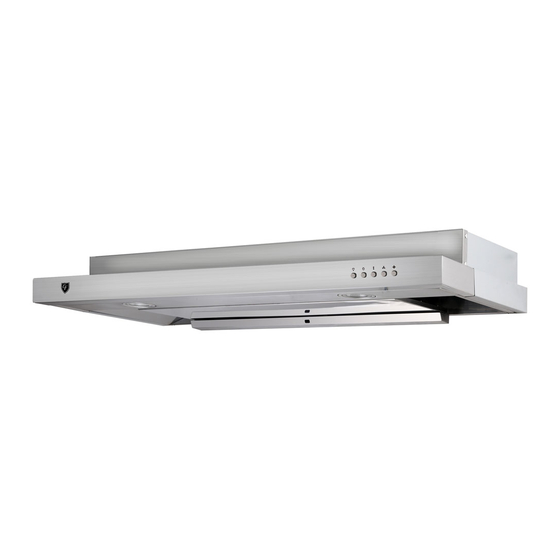
- Page 1 ULTRA SLIM HOOD EFCH 9211 HM SS THE BEAUTY OF SIMPLICITY USER MANUAL...
-
Page 2: Table Of Contents
Table of Content •From the Manufacturer •Specifications •Description of Parts •Safety Regulations •Control switch operation •Operating mode-Recirculating •Installation Instruction •Electrical Connection •Cleaning & Maintenance •Troubleshooting •Schematic Diagram... -
Page 3: From The Manufacturer
Dear Customer, Thank you for having purchased and given your preference to our product. This manual provides a means to make full use of the features of this product. We recommend that you read this manual for best performance and to extend the life of your appliance. Please preserve this manual for future use, in the event that doubts arise relating to the operation From the Manufacturer This appliance and the packaging are produced by processes that minimize waste and friendly... -
Page 4: Description Of Parts
Description of Parts Control Switch Charcoal Filters Rectifier Panel Oil Tray LED Light SAFETY Regulations Do not connect the appliance if there are obvious signs of transportation damage. • Read this user manual thoroughly before attempting to use this appliance. •... - Page 5 Ensure that the power supply cord is free from any heat source or sharp objects. • The appliance should be switched off and the electrical supply has to be • disconnected before any cleaning or maintenance work can be carried out. The company declines all responsibilities in case of failure to adopt proper safety •...
-
Page 6: Installation Instruction
Re-circulating Mode This appliance is configured to operate in e-circulating mode ONLY RE-CIRCULATING MODE The cooking smells and odours are passed through a cleaning filter. Once filtered, the air is • recirculated into the kitchen through the grille on the upper part of the front on the appliance. Caution: In recirculating mode, charcoal filter is to be fitted. - Page 7 Installation Instructions Step 1: Remove oil tray and rectifier panel from the appliance To remove the oil tray, push backwardly the oil tray to free the tray from the catch (A). Next, open the rectifier panel by pulling it down (B), remove the panel by lifting the panel slightly up to release the pin on the left from the main body.
- Page 8 Step 2: Remove Charcoal Filters -Press the buckle (D) -Pull the charcoal filter (E) Step 3: Wall Mounting The appliance should be placed at a distance of 65-75cm from the cooking surface for best effect. Drill 2 x Ø8mm holes on the wall with the distance of 77cm for 90cm cookerhood. Insert the nut into the holes (F).
-
Page 9: Electrical Connection
Cabinet Mounting Drill 4 holes of Ø 6mm at the bottom of the cabinet according to the positions of the screw holes on top of the cooker hood (H) Put the one-way valve on the cooker hood screw holes and lift the cooker hood to the bottom of the cabinet. -
Page 10: Cleaning & Maintenance
Cleaning & Maintenance Regular maintenance and cleaning ensures good performance and reliability, while extending the working-life of the appliance. SURFACE : Wash with warm soapy water and a soft sponge. Never use abrasive detergent, scouring pads, steel wool or solvents on any part of this appliance as this will cause irreparable damage. -
Page 11: Troubleshooting
Troubleshooting Symptoms Possible Cause Action Check that the plug is No electrical supply connected and the main Plug and main switch not switched is turned on. connected Check if the switch is Motor does not function Damaged switch or short damaged or short circuit –... -
Page 12: Schematic Diagram
Schematic Diagram 2 motor version... - Page 13 Please note: Casa (S) Pte Ltd reserves all rights to the final interpretation of the content of this manual. Customer will not be notified in the event of any amendments to the content. For original parts & reliable service: CASA (S) PTE LTD 15 KIAN TECK CRESCENT, SINGAPORE 628884 TEL:+65 6268 0077...
Need help?
Do you have a question about the EFCH 9211 HM SS and is the answer not in the manual?
Questions and answers