
Related Manuals for EF EFCH 9111 910 HM SS


Summary of Contents for EF EFCH 9111 910 HM SS
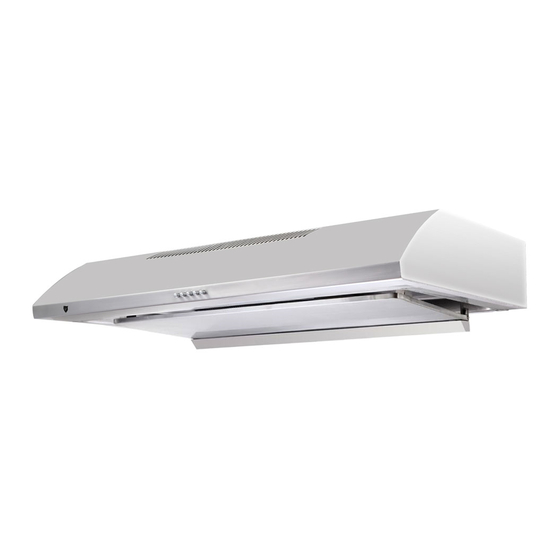
- Page 1 9111 9111 9111 SLIM HOOD EFCH THE BEAUTY OF SIMPLICITY USER MANUAL...
-
Page 2: Table Of Contents
Table of Contents From the Manufacturer Specifications SAFETY: Read this before installation Description of Parts Re-circulating Mode Installation Operation Cleaning & Maintenance Troubleshooting... -
Page 3: From The Manufacturer
From the Manufacturer This appliance and the packaging are produced with the process to minimize waste and respect the environment. Please help us continue the protection of the environment by disposing the packaging in a correct way. Please do not allow young children to play with the plastic bag packaging. Before disposing of any old appliances, be sure to cut off the power cord for safety purpose Specifications... -
Page 4: Safety: Read This Before Installation
SAFETY: Read this before installation Do not connect the appliance if there are obvious sign of transportation damage. Read this user manual carefully before attempting to use this appliance Installation and repair should be attempted only by qualified technical personnel. It is dangerous to modify any part of this appliance. -
Page 5: Description Of Parts
Description of Parts A: Main body B: Motor housing + fan motor C: LED lights D: Body cover plate E: Aluminium filter with charcoal (2 in 1 filter) F: Oil collecting plate G: Oil collecting cup 10 screws 4 screws(4mmxL12mm) are used for installing the brackets to hood as Method 1-step 1. -
Page 6: Re-Circulating Mode
Re-circulating Mode This cooker is operated in re-circulating mode only. In re-circulating mode, the aluminium filter with charcoal (2 in 1 filter) must be installed. Fumes are filtered through the 2 in 1 filter to remove grease and odour, and re-introduced into the kitchen environment. -
Page 7: Installation
Installation Method 1 Step 1: Fix L metal bracket x2 on the cooker hood as "A" Step 2: Fix the screws x2 on the wall as "B" Step 3: Hang the hood and tighten the screws completely as "C" Method 2 Step 1: Loosen 3 screws on hood body to take out oil tray plate, oil collecting cup. -
Page 8: Operation
Operation It is also equipped with light bulb to illuminate you cooking area when needed. -
Page 9: Cleaning & Maintenance
Cleaning & Maintenance SURFACE: Wash with warm soapy water and a soft sponge. Never use abrasive detergent, scouring pads, steel wool or solvents on any part of this appliance as this will cause irreparable damage. ALUMINIUM CHARCOAL FILTERS: charcoal cannot be reused, they must be replaced once a year or depending on the frequency of appliances usage. -
Page 10: Troubleshooting
Troubleshooting Symptoms Possible Cause Action Check that the plug is connected Not functioning No electrical supply Check that the main switch is turned on Clean the filter and 2 in 1 filter clogged Poor airflow put it back when dry Motor running but Butterfly valve jammed Contact Customer... - Page 11 For original parts & reliable service CASA(S) PTE LTD 15 KIAN TECK CRESCENT, SINGAPORE 628884 TEL:+65 6268 0077 FAX:+65 6898 0510 Email:service@casa.com.sg...
Need help?
Do you have a question about the EFCH 9111 910 HM SS and is the answer not in the manual?
Questions and answers