Table of Contents
Advertisement
Quick Links
Advertisement
Table of Contents

Related Manuals for EF EFCH 9232 HM SS


Summary of Contents for EF EFCH 9232 HM SS
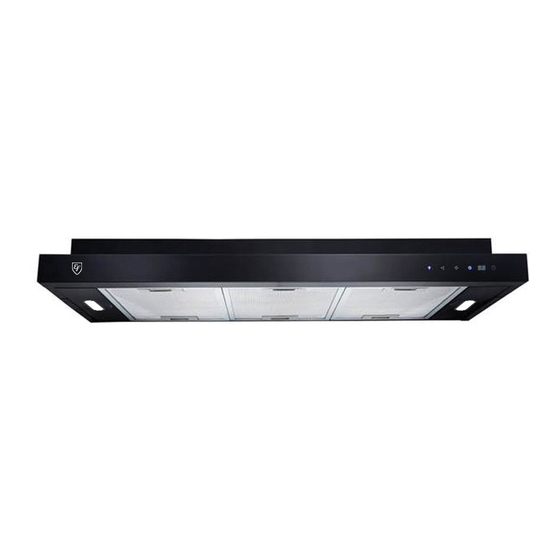
- Page 1 SEMI-INTEGRATED HOOD EFCH 9232 HM SS THE BEAUTY OF SIMPLICITY USER MANUAL...
-
Page 2: Table Of Contents
Table of Content •From the Manufacturer •Specifications •Description of Parts •Safety Regulations • Control operation • Re-circulating • Installation Instructions •Electrical Connection •Cleaning & Maintenance •Troubleshooting •Schematic Diagram... -
Page 3: From The Manufacturer
Dear Customer, Thank you for having purchased and given your preference to our product. This manual provides a means to make full use of the features of this product. We recommend that you read this manual for best performance and to extend the life of your appliance. Please preserve this manual for future use, in the event that doubts arise relating to the operation. -
Page 4: Description Of Parts
Description of Parts Hood body Recirculation air outlet LED touch control Charcoal filters Aluminium grease filters LED light Charcoal filters Screws: 2PCS Wall screw ST5×40 4PCS Roof screw ST4×26 2PCS Plastic expansion screw... -
Page 5: Safety Regulations
Safety Regulations Do not connect the appliance if there are obvious signs of transportation damage. • Read this user manual thoroughly before attempting to use this appliance. • Installation and repair should be attempted only by qualified technical personnel. • Do not modify any part of this appliance. -
Page 6: Control Operation
Control Operation The cooker hood is equipped with electronic touch control which is located at the right side of the front panel. It comes with light indicator, 3 speeds control, timer display and delay timer button. Light – On/Off Switch Touch to turn on the LED light and touch again to turn it off. -
Page 7: Re-Circulating
Re-circulating Mode This cooker hood is configured to operate in re-circulating mode ONLY. The cooking smells and fumes are passed through the aluminium filters and charcoal • filter respectively. Once filtered, the air is recirculated and re-introduced into the kitchen through the ventilation outlet located at the upper part of the cookerhood. Filtered air Charcoal filter Aluminium filters... -
Page 8: Installation Instructions
Installation Instructions Installation(1)-Wall Mounting The appliance should be placed at a distance of 650-750mm from the cooking surface for best effect. Drill 2 x Ø8mm holes on the wall with the distance of 810mm Insert the nut into the holes . Insert the screws into the nuts and leaving 5mm untightened. - Page 9 Installation (3)-Cabinet Mounting To drill holes in the cabinet according to drawing Twist the screws into the appliance through the Cabinet...
-
Page 10: Electrical Connection
Electrical Connection Before completing any connection, make sure the house voltage corresponds to the voltage indicated on the label affixed inside the appliance. It is advisable to call a qualified technician to make the electrical connection. Appliance fitted with plug Connect it to a socket which conforms to current regulations. -
Page 11: Troubleshooting
Troubleshooting Symptoms Possible Cause Action Check that the plug is No electrical supply connected and the main Plug and main switch not switched is turned on. Motor does not function connected Check if the switch is Damaged switch or short damaged or short circuit –... -
Page 12: Schematic Diagram
Schematic Diagram 3 motors version... - Page 13 Please note: Casa (S) Pte Ltd reserves all rights to the final interpretation of the content of this manual. Customer will not be notified in the event of any amendments to the content. Casa (S) Pte Ltd declines all responsibilities in the event of damage caused by improper, incorrect or illogical use of the appliance.
Need help?
Do you have a question about the EFCH 9232 HM SS and is the answer not in the manual?
Questions and answers