Table of Contents
Advertisement
Quick Links
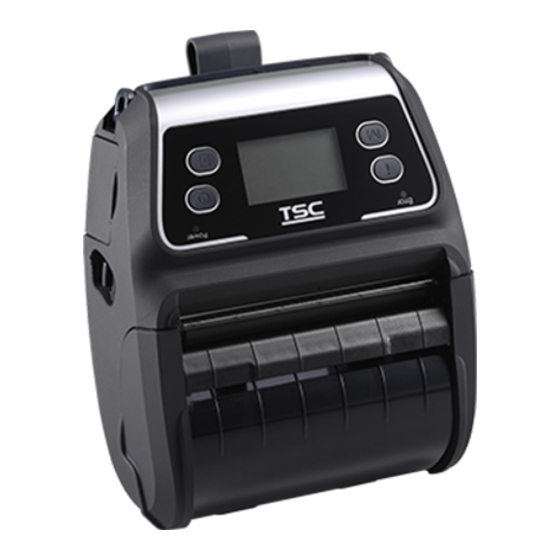
Alpha-4L Series
Bar Code Printer
Direct Thermal Portable type
USER'S
MANUAL
WiFi +Bluetooth Version (For FCC)
Alpha-4L-W, PR40-W, GR40-W, 4400-W, TSC-40-W, CN-40W, BP-40W
Alpha-4L-D-W, PR40-D-W, GR40-D-W, 4400-D-W, TSC-40-D-W, CN-40LW, BP-40LW, Alpha-4L-W-R,
PR40-W-R, GR40-W-R, 4400-W-R, TSC-40-W-R
Alpha-4L-D-W-R, PR40-D-W-R, GR40-D-W-R, 4400-D-W-R, TSC-40-D-W-R
WiFi +Bluetooth Version (For IC)
Alpha-4L-D-W-R, PR40-D-W-R, GR40-D-W-R, 4400-D-W-R, TSC-40-D-W-R
Bluetooth Version (For FCC)
Alpha-4L, PR40, GR40, 4400, TSC-40, CN-40, BP-40, Alpha-4L-D,PR40-D, GR40-D, 4400-D, TSC-40-D,
CN-40L, BP-40L,Alpha-4L-R, PR40-R, GR40-R, 4400-R, TSC-40-R, CN-40B, BP-40B, Alpha-4L-D-R,
PR40-D-R, GR40-D-R, 4400-D-R, TSC-40-D-R, CN-40LB, BP-40LB
Bluetooth Version (For IC)
Alpha-4L-D-R, PR40-D-R, GR40-D-R, 4400-D-R, TSC-40-D-R
Advertisement
Table of Contents


Need help?
Do you have a question about the Alpha-4L-W and is the answer not in the manual?
Questions and answers