Advertisement
Quick Links
LET US KNOW
WHAT YOU THINK
We sincerely thank you for your business and are
committed to ensuring your full satisfaction. If you
are not entirely satisfied for whatever reason, please
reach out to us and we will do all within our power
to make it right.
As a young and growing company, it would mean the world to us if you
could leave an honest online review about our product and services.
If your experience has been something less than amazing, please
give us a ring at 1-888-212-7538,
or drop us an email at support@amcrest.com
facebook.com/amcrest
twitter.com/amcrestsecurity
Simple. Reliable. Secure.
Simple. Reliable. Secure.
Welcome to the Amcrest Family!
QUICK START
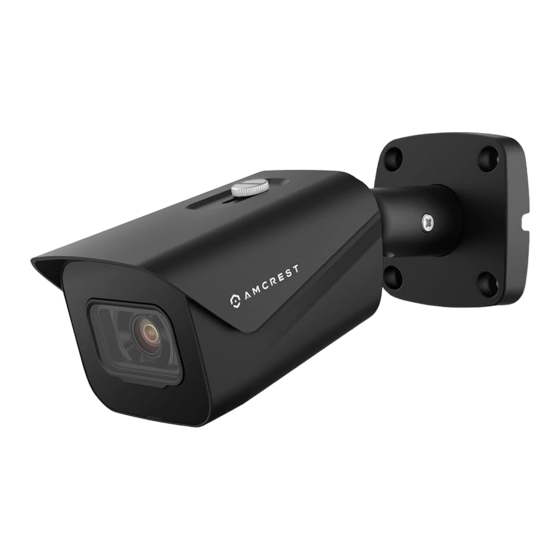
IP8M-2496EW / IP8M-2496EB
You can view this guide and others online by visiting:
www.amcrest.com/support
www.amcrest.com
GUIDE
Advertisement

Related Manuals for Amcrest IP8M-2496EB


Summary of Contents for Amcrest IP8M-2496EB
- Page 1 If your experience has been something less than amazing, please give us a ring at 1-888-212-7538, IP8M-2496EW / IP8M-2496EB or drop us an email at support@amcrest.com facebook.com/amcrest You can view this guide and others online by visiting: twitter.com/amcrestsecurity www.amcrest.com/support...
-
Page 2: Setting Up Your Camera
Locally access your camera on your PC or Mac to fine tune advanced settings. 3. Cloud Recording Setup Set up cloud recording on Amcrest Cloud, available both online and as an app. More Information ..............28 - 29 From the home screen, tap the icon in the Tap the “Add Device”... - Page 3 SETTING UP YOUR CAMERA WIFI SETUP Tap “WiFi Camera”. Tap “WiFi Configuration Setup”. Scan the QR code from the sticker on your camera. Double check to ensure that your Move the camera or the phone to ensure that the entire S/N (Serial Number) is entered QR code is visible and focused in the frame.
- Page 4 “Next”. Note: Most Amcrest cameras can only connect to letters, and numbers. Note that once the password is changed 2.4 GHz WiFi networks, so please ensure that your here it will take effect immediately. If you forget your password, phone is connected to a compatible network.
- Page 5 30 seconds after plugging in the camera to allow Last step for Wi-Fi Setup it to initialize. Download and open the Amcrest View Pro app from the App Store or Play Store. Tap the “Add Device” button. Tap “WiFi Camera”.
- Page 6 SETTING UP YOUR CAMERA ETHERNET WIFI SETUP Tap “Ethernet WiFi Setup”. Plug your camera into your router via an Ensure your mobile phone is Scan the QR code from the sticker on your camera. Ethernet cable. Don’t worry, once the connected to the WiFi network Move the camera or the phone to ensure that the entire camera is set up, the camera can be...
- Page 7 Note: Most Amcrest cameras can only changing your password. “Next”. admin . Once you’ve filled out all of the fields, connect to 2.4 GHz WiFi networks, so please tap “Next”.
- Page 8 AUDIO SYNC WIFI SETUP SETUP NOTE: This setup method is currently available for Amcrest IP3M-941 and IP3M-HX2 model cameras. Please use either WiFi Configuration Setup or Ethernet WiFi Setup if you have another camera model. Plug in your camera and follow the steps below to get your camera up and running.
- Page 9 SETTING UP YOUR CAMERA AUDIO SYNC WIFI SETUP Tap “WiFi Camera”. Tap “Audio Sync WiFi Setup”. Scan the QR code from the sticker on your camera. Double check to ensure that your S/N Move the camera or the phone to ensure that the entire (Serial Number) is entered correctly, QR code is visible and focused in the frame.
- Page 10 SETTING UP YOUR CAMERA AUDIO SYNC WIFI SETUP Connect your mobile phone to the WiFi that Enter in the password for the Before beginning Audio Sync, please ensure Tap the "Start Live Preview" you will be connecting your camera to, give WiFi network, and then tap that the environment is not too loud or noisy, button to proceed with changing...
- Page 11 WiFi or Ethernet cable. Use this setup method when you need to add the camera to additional mobile devices. Download and open the Amcrest View Pro app from the App Store or Play Store. To ensure the security of your camera, you will be asked Your camera is now ready to to change the password for your camera’s default username...
- Page 12 SETTING UP YOUR CAMERA P2P SETUP Tap “WiFi Camera”. Tap the “Add Connected Device” Scan the QR code from the sticker on Double check to ensure that your S/N button near the top of the screen, your camera. Move the camera or the phone (Serial Number) is entered correctly, then tap “P2P Setup”.
-
Page 13: Additional Access Methods
Tap the “Start Live Preview” admin and the default password is admin button to get started! Once you’ve filled out all of the fields, tap “Next”. To watch a video on setting up your camera for remote web access, please visit www.amcrest.com/remotewebsetup... - Page 14 Download and install the Amcrest browser plugin to enable live viewing, and the camera is now successfully set up for live viewing and playback! To watch a video on setting up your camera for desktop access, please visit www.amcrest.com/desktopsetup...
-
Page 15: Troubleshooting
Once registered, click the “Add Camera” As a security precaution, your Amcrest camera will lock out any user who tries to log in with the wrong password button. Select “Amcrest”, give the camera a name, and enter the camera’s after a handful of consecutive attempts. - Page 16 Class Bdigital device, pursuant To download the Amcrest View Pro app for to Part 15 of the FCC Rules. These limits are designed to providereasonable protection against Android, visit amcrest.com/androidviewpro...
Need help?
Do you have a question about the IP8M-2496EB and is the answer not in the manual?
Questions and answers