Table of Contents
Advertisement
Quick Links
Advertisement
Table of Contents

Subscribe to Our Youtube Channel
Related Manuals for Tech Controllers EU-295 v2


Summary of Contents for Tech Controllers EU-295 v2
- Page 1 EU-295 v2, v3...
-
Page 2: Table Of Contents
Night from…................................10 Pre-set temperature hysteresis ..........................10 Underfloor heating ON/OFF ..........................11 Maximum floor temperature ..........................11 Minimum floor temperature ..........................11 Underfloor heating hysteresis ..........................12 VIII. How to register EU-295 v2 ............................13 Technical data ................................12 KN.20.04.01... -
Page 3: Safety
SAFETY Before using the device for the first time the user should read the following regulations carefully. Not obeying the rules included in this manual may lead to personal injuries or controller damage. The user’s manual should be stored in a safe place for further reference. -
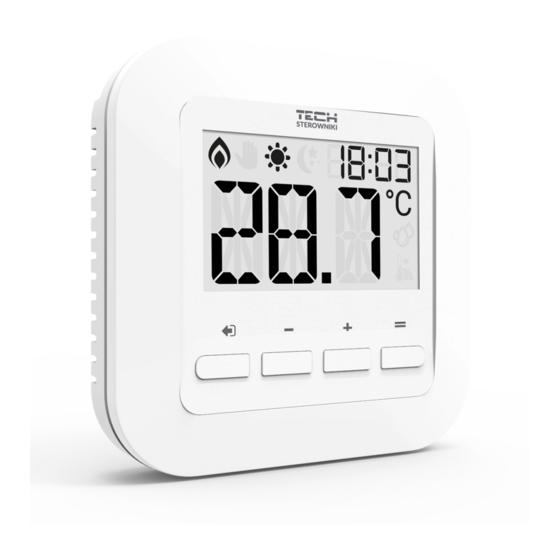
Page 4: Device Description
II. DEVICE DESCRIPTION EU-295 room regulator is intended for controlling thermoactuators. Its main task is to maintain the pre-set room temperature by sending a signal to the actuator (contact closing) when the room temperature is too low. EU-295 regulator functions: ... - Page 5 The room regulator should be connected to the heating device using a two-core cable, as illustrated below: EU-295v2...
-
Page 6: First Start-Up
EU-295v3 230V NOTE The marking on the back of the controller refers to the built-in transmitter. It does not refer to the type of actuator connected. NOTE The regulator is powered with batteries, which should be periodically checked and replaced at least once every heating season. -
Page 7: How To Use The Controller
V. HOW TO USE THE CONTROLLER PRINCIPLE OF OPERATI ON The main task of ST-295 is to maintain the pre-set room/floor temperature by sending a signal to the heating device (contact closing) or to the external controller managing the actuators, when the room/floor temperature is too low. When such a signal is received, the heating device opens the flow in the thermostatic valve. - Page 8 1. Display 2. EXIT - pressing this button in the main screen view activates day/night mode. After entering the menu, this button is used to confirm the settings and return to the main screen view. 3. MINUS button – pressing this button in the main screen view activates manual mode and decreases the pre-set temperature.
-
Page 9: Controller Functions
VII. CONTROLLER FUNCTIONS Use touch buttons PLUS, MINUS, EXIT and MENU to navigate through the menu structure. In order to edit a given parameter, press MENU. Use MENU button to view further options - the icon of the edited parameter is flashing, the remaining icons are blank. -
Page 10: Pre-Set Day Temperature
PRE-SET DAY TEMPERATURE In order to define the pre-set day temperature, enter the menu and press MENU button until the pre-set day temperature settings appear on the screen. Use PLUS and MINUS to set the temperature. Confirm by pressing MENU button (confirm and move on to edit the next parameter) or EXIT button (confirm and return to the main screen view). -
Page 11: Underfloor Heating On/Off
The room regulator reports that the temperature is too low when the room temperature drops to 22 °C. In order to set the hysteresis, press MENU until the hysteresis settings appear on the screen. Use PLUS and MINUS to set the desired hysteresis value. Press MENU to confirm and move on to the next parameter or press EXIT to confirm and return to the main screen view. -
Page 12: Underfloor Heating Hysteresis
UNDERFLOOR HEATING H YSTERESIS Underfloor heating hysteresis defines the tolerance for the maximum and minimum temperature. The settings range is 0,2°C to 5 °C. If the floor temperature exceeds the maximum temperature, the underfloor heating will be disabled. It will be enabled only after the temperature has dropped below the maximum floor temperature minus hysteresis value. -
Page 13: How To Register Eu-295 V2
HOW TO REGISTER EU-295 V2 In order to register EU-295v2, follow these steps: Press Registration button in MW-1; Press and hold Registration button in EU-295v2 for 5 seconds. NOTE Once registration has been activated in MW-1, it is necessary to press the registration button in EU-295v2 controller within 2 minutes. - Page 14 EU Declaration of Conformity Hereby, we declare under our sole responsibility that EU-295v2 manufactured by TECH STEROWNIKI, head-quartered in Wieprz Biała Droga 31, 34-122 Wieprz, is compliant with Directive 2014/53/EU of the European parliament and of the Council of 16 April 2014 on the harmonisation of the laws of the Member States relating to the making available on the market of radio equipment, Directive 2009/125/EC establishing a framework for the setting of ecodesign requirements for energy-related products as well as the regulation by the MINISTRY OF ENTREPRENEURSHIP AND TECHNOLOGY of 24 June 2019 amending the regulation concerning the essential requirements as regards the restriction of the use of certain hazardous...
- Page 15 EU Declaration of conformity Hereby, we declare under our sole responsibility that EU-295v3 manufactured by TECH STEROWNIKI, head-quartered in Wieprz Biała Droga 31, 34-122 Wieprz, is compliant with Directive 2014/35/EU of the European Parliament and of the Council of 26 February 2014 on the harmonisation of the laws of Member States relating to the making available on the market of electrical equipment designed for use within certain voltage limits (EU OJ L 96, of 29.03.2014, p.
Need help?
Do you have a question about the EU-295 v2 and is the answer not in the manual?
Questions and answers