Table of Contents
Advertisement
Quick Links
Advertisement
Table of Contents

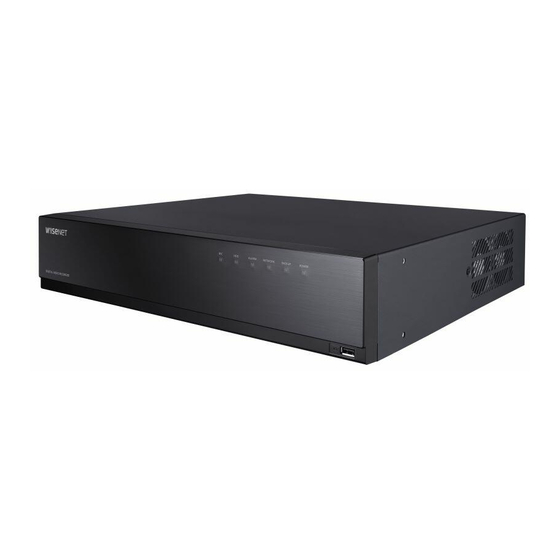
Summary of Contents for Wisenet HRX-1635
- Page 1 DIGITAL VIDEO RECORDER Quick Guide HRX-1635/HRX-1634/HRX-835A...
-
Page 2: Package Contents
HDD Fixing Screw Bracket Rack (2 ea)/Screw(4 ea) Terminal block (15 pins, 20 pins) ● Supports the remote monitoring feature by DDNS/P2P support (Wisenet Viewer/Wisenet mobile) (HRX-1635: 32 ea, HRX-835A: 16 ea) ● Provides smartphone event alarm (sending real-time event messages) -
Page 3: Installing The Hdd
HRX-1635/HRX-835A Recorder Mouse Quick Guide ■ The images below are based on the HRX-1635 model. Loosen the screws on the left/right sides and Loosen the left/right screws and remove the back and slide the cover back to remove it. bracket. -
Page 4: Select The Language
Installation Wizard Setup Connect the SATA/power cable of the HDD to the After making sure that there is no problem with connector on the motherboard. the connection terminal and wiring inside the As shown below, proceed through each step of the <Installation wizard>. Install Wizard can only be accessed at product, close the cover and fix it with screws. -
Page 5: Resolution Setup
Recorder ID/PW Setup Date & Time Setup Sets the administrator's password. Set the date, time, time zone, and DST and then click <Next>. ※ Click < ※ The time zone setup might differ depending on the region that the product is released. >... -
Page 6: Easy Connect
Channel Setting ※ It connects to Wisenet DDNS first. If it does not connect to DDNS, it automatically connects to P2P. You can view the camera videos registered to each channel in split mode along with thumbnail information. -
Page 7: Record Setup
Explore Screen Configuration Record Setup The recorder screen consists of the following. You can set resolution, IPS, and quality of recordings by channel, and by recording type of standard / event. You can check frame rates and data transfer amount of Full Frame and Key Frame recordings for each channel, and ■... - Page 8 Set up and Run the Layout 2-1 Search The layout set on the live screen can also be used for time search and can be searched and played according to the channel order and channel combination set by the user. ■...
- Page 9 > at the bottom of the screen. Select a layout. Select a channel. Set the time, device, and format for export. HRX-1635 Click the <Check capacity> button to see if you can export. Click the <Start> button to proceed with the export. HRX-1635...
- Page 10 When the connection is successful, a QR code is created. ■ It connects to Wisenet DDNS first. If it does not connect to DDNS, it automatically connects to P2P. Then, when you run the "Wisenet mobile" app, it will be automatically connected to the recorder and...
-
Page 11: Connecting The Cable
Select <IP type> to <DDNS/P2P> in the "Settings > Device > Device list > Add > Manual" menu. recorder. Enter the recorder ID/password and <Product ID>, and then click <Register>. The information of the current recorder will be displayed, and you can use the "Wisenet Viewer" app. Connecting the cable IP Router... -
Page 12: System Requirements
Checking the recorder connection from the PC Router and Internet connection setup Enter the IP set in the recorder menu in the local PC address bar. Once you log in by entering your user name Since each router has a different connection method, check the settings for each router. and password, the recorder’s web viewer screen appears. - Page 13 Hanwha Techwin cares for the environment at all product manufacturing stages, and is taking measures to provide customers with more environmentally friendly products. The Eco mark represents Hanwha Techwin's devotion to creating environmentally friendly products, and indicates that the product satisfies the EU RoHS Directive. Correct Disposal of This Product (Waste Electrical &...


Need help?
Do you have a question about the HRX-1635 and is the answer not in the manual?
Questions and answers