
Related Manuals for Defender SENTINEL


Summary of Contents for Defender SENTINEL
- Page 1 SENTINEL QUICK START GUIDE ATTENTION For Returns or Support you MUST contact DefenderCameras.com/Support Need Help? Visit DefenderCameras.com/support...
- Page 2 ACTIVATE YOUR WARRANTY PROTECT VALUE SUPPORT Covered for the Exclusive access to Receive videos, tips & unexpected special offers updates for your product Open your camera & scan this QR code, or visit: DefenderCameras.com/Warranty...
-
Page 3: What You'll Need
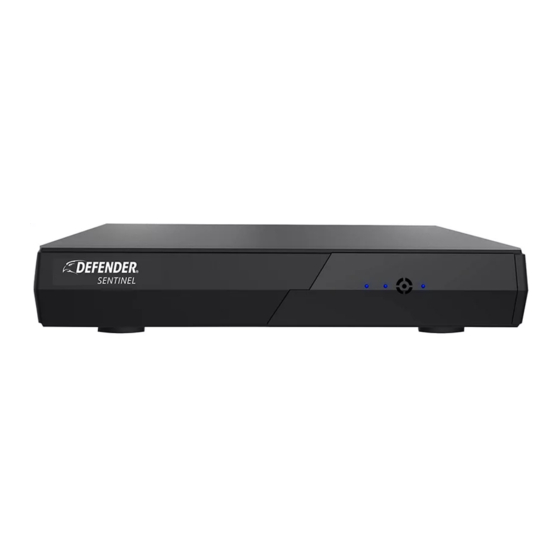
WHAT YOU’LL NEED • TV or Monitor • Hammer Drill & Appropriate Bit • Phillips (#2) Screwdriver • Ladder (if required) • Cable Protectors (if required) WHAT’S INCLUDED 4 CHANNEL MODEL: NS8MP1T4B4 8 CHANNEL MODEL: NS8MP1T8B8 • 1 x NVR with 1TB HDD •... - Page 4 4 & 8 CHANNEL NVR SETUP PLEASE READ FIRST! You must connect the NVR to a monitor or TV to complete the setup. We recommend verifying all accessories and completing the NVR setup before installing the cameras. For the best viewing experience, we recommend using a 4K monitor or TV to view your footage.
-
Page 5: Nvr Setup Wizard
NVR SETUP WIZARD SETUP WIZARD - GENERAL SETUP Please Note: The Sync function will only work when your NVR is connected to the Internet. • Select your language and Date Format. The NVR will automatically synchronize your Time Zone, Date and Time when you select Next. -
Page 6: Setting Up Remote Viewing
SETUP WIZARD – MOBILE ACCESS In this section, you will connect the NVR and cameras to the Defender Empower App to gain mobile App access for remote viewing. In order to use the Defender Empower App, the NVR must be connected to the Internet via an Ethernet cable. - Page 7 ACCOUNT SETUP Please Note: For all Android users, additional steps may be required. Please follow all steps to complete your set up. Review and agree to the User Tap ‘Sign Up’ to register an account. Select your region, enter your Agreement and Privacy Policy.
- Page 8 Wait for your App to discover nearby Option 1: Option 2: devices. Please Note: Do not add Scan the “Device ID” QR code located Wait for the Adding Device process your device manually. on the Setup Wizard - Mobile Access to finish.
- Page 9 Select System Admin > Select User > Select Set Password. Create your NVR password (the system does not have an old password, keep this blank.) – PLEASE REMEMBER YOUR PASSWORD! Defender cannot remote access your NVR to reset your password! • Keep Old password blank.
- Page 10 PASSWORD RECOVERY - SECURITY QUESTIONS Security questions are used to reset a forgotten password. • Select 2 security questions and enter your answers. REMEMBER YOUR ANSWERS! We recommend writing your questions and answers down and keeping them in a safe place for future reference.
-
Page 11: Recording Schedule Setup
RECORDING SCHEDULE SETUP This setting will allow you to customize your recording preference for each channel (camera). You can record continuously, when motion is detected or a combination of the two. Please Note: By default, the NVR will record continuously (Red). Any changes you make will overwrite this setting. To record continuously, skip this step. -
Page 12: Setting Up Notifications
SETTING UP NOTIFICATIONS MOTION DETECTION AND VIDEO LOSS Please Note: If you do not wish to receive notifications on your App or Monitor/TV, skip this step. • Right click to view the main menu > Select System Setup > Select Channel Setup > Select Video Detection. •... - Page 13 APP SETTING - MOTION DETECTION Please Note: Motion Detection settings MUST be enabled/changed in your NVR and in your Defender Empower App Settings. Repeat for each channel. Open the App and select your device. Tap ‘Settings’. Tap ‘Detection Alarm Settings’.
-
Page 14: Detection Region
DETECTION REGION Please Note: This setting is only available when motion detection is selected in Motion Detection and Video Loss settings. Detection region allows the system to notify you when motion is detected in the selected regions. If you wish to be notified of all motion in the cameras field of view, skip this step. -
Page 15: Arming Time
ARMING TIME Please Note: This setting allows you to be notified when motion is detected during certain times of the day. If you wish to be notified of all motion in the cameras field of view/detection region at all times, skip this step. This setting is only available when motion detection is selected in Motion Detection and Video Loss settings. - Page 16 CAMERA RECORDING COLOR PREFERENCE You have the option to customize each camera to one of five vision modes. Please Note: Your Camera’s default setting is set to Smart Mode. If this is your preferred setting, skip this step. To customize your camera recording color preference, from the live view, left click on the channel you wish to change >...
-
Page 17: Audio Recording
AUDIO RECORDING Please Note: Audio Recording must be enabled/changed in your NVR and in your Defender Empower App Settings. To enable audio recording on your NVR, from the live view screen left click on the channel you want to record audio >... -
Page 18: Using The App
USING THE APP The Defender Empower App allows you to remotely view live and pre-recorded video, save and share footage, share App access and receive customized notifications. Other App functions may not be supported. Please Note: App screens below are for iOS. For all Android users, the screens may be different. - Page 19 HOW TO SHARE APP ACCESS IMPORTANT: Before sharing App Access, each user will need to download the DEFENDER EMPOWER APP and create their own account. Launch your App and tap on ‘Me’ then Tap on the camera location you Tap ‘Add Member’.
- Page 20 ® ® or liable in any way for any damage, vandalism, theft or any other action that may occur while a DEFENDER ® product is in use by the purchaser. We reserve the right to change models, configuration, or specifications without notice or liability.
Need help?
Do you have a question about the SENTINEL and is the answer not in the manual?
Questions and answers