Table of Contents
Advertisement
Quick Links
Advertisement
Table of Contents

Related Manuals for Digitus DN-80066


Summary of Contents for Digitus DN-80066
- Page 1 8-Port Gigabit Switch Unmanaged, Metal Housing Quick Installation Guide DN-80066...
-
Page 2: Copyright Statement
Copyright Statement Our company reserves all copyrights of this document. Any reproduction, excerption, backup, modification, transmission, translation or commercial use of this document or any portion of this document, in any form or by any means, without the prior written consent of our company is prohibited. Exemption Statement This document is provided "as is". - Page 3 1.1 Features 8 x RJ45 ports 10/100/1000 Mbps All ports support 10/100/1000 Mbps bandwidth Support desktop and Wall mount installation Switching Capacity: 16Gbps Network standards: IEEE 802.3i, IEEE 802.3u, IEEE802.3x, IEEE802.3ab, IEEE802.3az standards Auto-negotiation / Auto-MDI/MDI-X ...
- Page 4 1.3 Specifications 8x 10/100/1000Mbps Interfaces Adaptive Ethernet port DC (DC) Input: Power Supply Rated voltage: 5V Rated current: 1A Nonsupport Power Consumption 4W(Max) Operating Temperature 0°C ~40°C Storage Temperature -40°C ~ 70°C Operating Humidity 10% ~ 90% RH Storage humidity 5% ~ 90% RH No fan Dimensions (W x D x H)
- Page 5 Rated current: 1A Rated voltage: 5V 1.6 Cooling Solution DN-80066 adopts a fanless design. To ensure good hear dissipation, when placing the chassis, a space of 10cmshould be reserved on both sides of the chassis and the rear panel to facilitate air circulation.
-
Page 6: Installing And Connecting The Switch
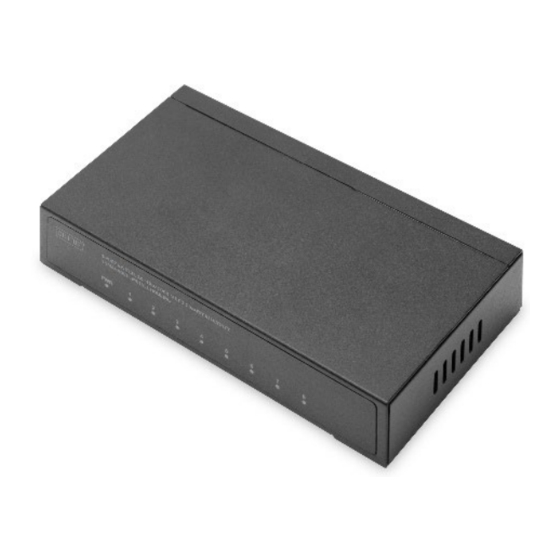
1.7 Indicator Faceplate Indicator Status Indication Marker Power Off. Status Solid Power On. Light green The port is NOT connected. The port is Ethernet Solid connected at port green 10/100/ indicator 1000Mbps. The port Blinking 10/100/1000M data transceiver. 2 Installing and Connecting the Switch This part describes how to install your Ethernet Switch and make connections to it. -
Page 7: Desktop Installation
To keep the Switch free from lightning, do not open the Switch's shell even in power failure. Make sure that there is proper heat dissipation from and adequate ventilation around the Switch. Make sure the cabinet to enough back up the weight of the ... - Page 8 Step two: Insert the screw into the expansion tube. Step three: Hang the switch on the two screws. Step four: Installation is completed. 2.4 Power on the Switch The Switch is powered on by the External DC adapter 5V/1A power supply. Please follow the next tips to connect: Use the standard DC adapter to connect one end of the power socket to the power DC interface of the back panel of the switch.
- Page 9 2.5 Connect Computer (NIC) to the Switch Please insert the NIC into the computer, after installing network card driver, please connect one end of the twisted pair to RJ-45 jack of your computer, the other end will be connected to any RJ- 45 port of the Switch, the distance between Switch and computer is around 100 meters.
Need help?
Do you have a question about the DN-80066 and is the answer not in the manual?
Questions and answers