Table of Contents
Advertisement
Quick Links
Advertisement
Table of Contents

Related Manuals for Equinox Systems EQLED203


Summary of Contents for Equinox Systems EQLED203
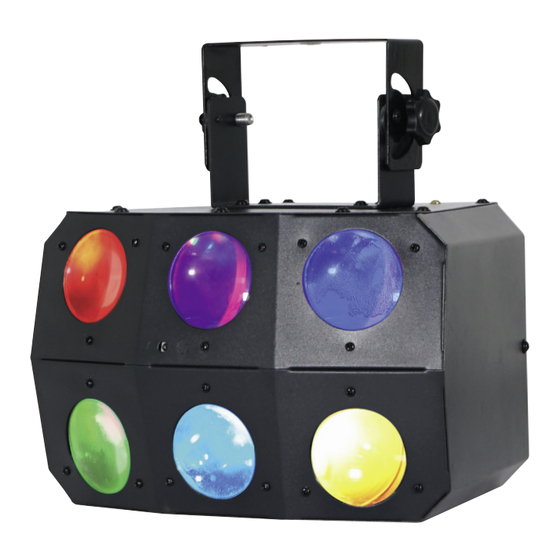
- Page 1 Super Boogie User Manual Order code: EQLED203...
-
Page 2: Safety Advice
Safety advice WARNING FOR YOUR OWN SAFETY, PLEASE READ THIS USER MANUAL CAREFULLY BEFORE YOUR INITIAL START-UP! • Before your initial start-up, please make sure that there is no damage caused during transportation. • Should there be any damage, consult your dealer and do not use the equipment. •... - Page 3 • IEC power input/output • 3-Pin XLR input/output • Convection cooled Specifications Power consumption Power supply 100~240V, 50/60Hz Fuse F3A 250V Dimensions 277 x 265 x 240mm Weight 2.9kg Order code EQLED203 240mm 203mm 40mm 265mm www.prolight.co.uk Super Boogie User Manual...
-
Page 4: Technical Specifications
Technical specifications www.prolight.co.uk www.prolight.co.uk www.prolight.co.uk POWER INPUT: POWER INPUT: POWER INPUT: 100-240V~50/60Hz 100-240V~50/60Hz 100-240V~50/60Hz FUSE: F3A 250V FUSE: F3A 250V FUSE: F3A 250V POWER CONSUMPTION: 72W POWER CONSUMPTION: 72W POWER CONSUMPTION: 72W DMX INPUT DMX INPUT DMX INPUT SAFETY ETE SAFETY ETE SAFETY ETE MENU... -
Page 5: Sound Sensitivity
Operating instructions Operating instructions Operating instructions A 0 0 1 A d d r DMX address setting A 5 1 2 4 C h C H n d Channel modes 2 6 C h N A S t S L n d S L 1 Master/ slave mode S L 2... - Page 6 Operating instructions DMX mode: Operating in a DMX control mode environment gives the user the greatest flexibility when it comes to customising or creating a show. In this mode you will be able to control each individual trait of the fixture and each fixture independently. To access the DMX address mode, press the “MENU”...
- Page 7 Operating instructions 4-ch Mode 26-ch Mode Function Value Green 2 dimmer (0-100%) 000-255 Blue 2 dimmer (0-100%) 000-255 White 2 dimmer (0-100%) 000-255 Red 3 dimmer (0-100%) 000-255 Green 3 dimmer (0-100%) 000-255 Blue 3 dimmer (0-100%) 000-255 White 3 dimmer (0-100%) 000-255 Red 4 dimmer (0-100%) 000-255...
-
Page 8: Master/Slave Mode
Operating instructions Master/slave mode: To set the master unit, press the “MENU” button and use the “UP” and “DOWN” buttons on the rear of SLnd on the LED display. Press the “ENTER” button and use the “UP” and “DOWN” the unit to show NASt buttons on the rear of the unit to show . - Page 9 Operating instructions Display invert setting: To access the display invert setting, press the “MENU” button and use the “UP” and “DOWN” buttons on dIsp the rear of the unit to show on the LED display. Now press the “ENTER” button and use the “UP” dIsp ds1p and “DOWN”...
-
Page 10: Dmx Setup
DMX setup Setting the DMX address: The DMX mode enables the use of a universal DMX controller. Each fixture requires a “start address” from 1- 512. A fixture requiring one or more channels for control begins to read the data on the channel indicated by the start address. -
Page 11: Line Termination
DMX setup Notice: Be sure to follow the diagrams below when making your own cables. Pin Configuration Do not connect the cables shield conductor to the ground lug or 3-Pin 5-Pin allow the shield conductor to come in contact with the XLRs Pin 1 - Ground outer casing. - Page 12 Multiple fixture power linking / WEEE notice Power linking: This fixture provides power linking via the power output on the rear allowing multiple units to be connected together. The maximum number of fixtures that can be connected is 20 fixtures @ 240V or 10 fixtures @ 120V (including the first fixture).
Need help?
Do you have a question about the EQLED203 and is the answer not in the manual?
Questions and answers