KegLand FermZilla Instruction Manual
Starter kit
Hide thumbs
Also See for FermZilla:
- Instruction manual (10 pages) ,
- Instruction sheet (10 pages) ,
- Instruction manual (9 pages)
Advertisement
Starter Kit Instruction
Manual
Starter Kit Instruction Manual
(for 30L and 60L all-rounder model)
This instruction sheet contains vital information that is related to the safe usage and handling of the
FermZilla Uni Tank. It is vital that you read this instruction sheet from front to back before using the
product! THIS IS FOR YOUR OWN SAFETY
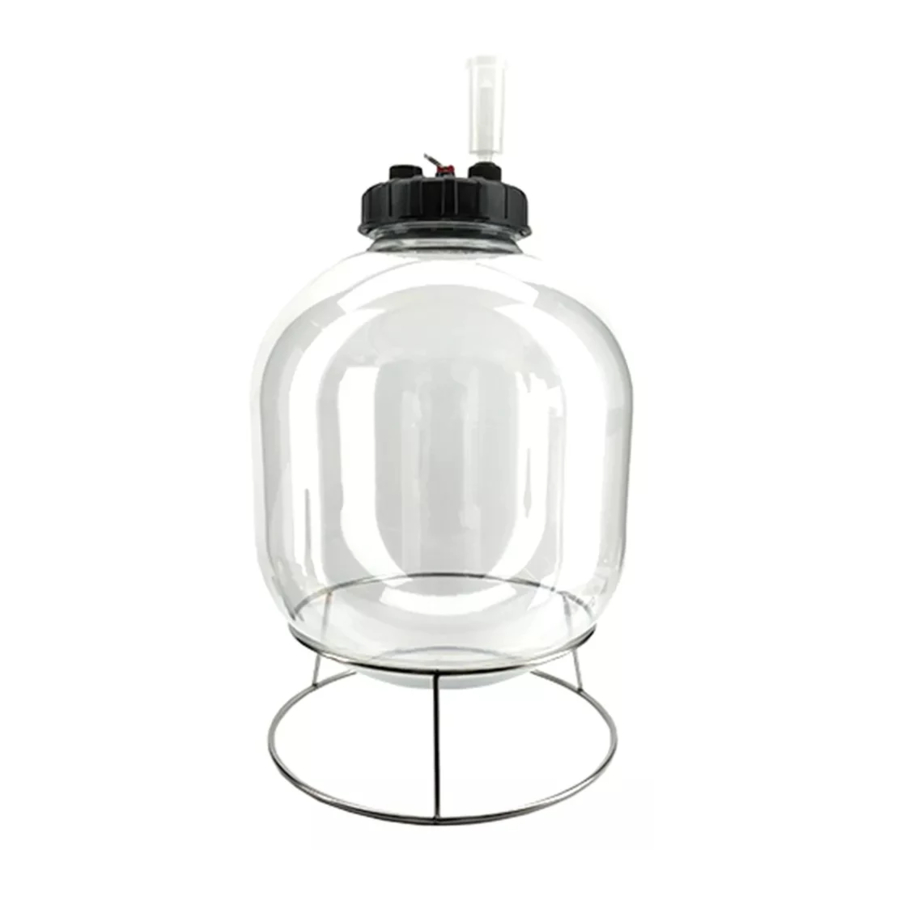
Pressure rated and easy to clean, the capable all-rounder.
www.KegLand.com.au
Last Updated 25/09/2019 4:52 PM
Page 1 of 4
Advertisement
Table of Contents

Related Manuals for KegLand FermZilla


Summary of Contents for KegLand FermZilla
- Page 1 Starter Kit Instruction Manual Starter Kit Instruction Manual (for 30L and 60L all-rounder model) This instruction sheet contains vital information that is related to the safe usage and handling of the FermZilla Uni Tank. It is vital that you read this instruction sheet from front to back before using the product! THIS IS FOR YOUR OWN SAFETY Pressure rated and easy to clean, the capable all-rounder. www.KegLand.com.au Last Updated 25/09/2019 4:52 PM Page 1 of 4...
- Page 2 Starter Kit Instruction Manual WARNINGS 1. Only wash the fermenter with cold water. Do not clean, wash or sanitise the fermenter with water that is above 50 C (122 F). 2. Under no circumstances apply more than 2.5bar (35PSI) to the fermenter tank. 3. Do not connect an unregulated pressure source 4. Do not tamper with the pressure relief valve. Only use the red coloured PRV’s supplied by KegLand. 5. If the fermenter is scratched, damaged or has been under any physical duress; do not use the fermenter under pressure. 6. Keep the fermenter out of direct sun or heat. Do not expose to UV rays of any sort. 7. If you use the fermenter under pressure hydro test the fermenter every 24 months to ensure it is safe to use. 8. Only use chemical cleaners and sanitizers that are approved by Kegland. These include: a) Super Kill Ethyl Sanitiser Spray (KL05371) b) StellarSan (mixed to the correct specification) (KL05357) c) StellarClean (KL05494) d) StellarOxy (KL07405) … Or contact www.kegland.com.au for more information regarding other compatible chemical cleaning products. 9. Don’t leave cleaners such as stellarclean and stellaroxy in the fermenter for more than 24 hours. It is fine to leave stellarsan in the fermenter for more than 24 hours. ...
- Page 3 1 x Fermzilla lid ring (KL11396) 2 x PET bottle caps 1 x 3 Piece Airlock (KL01595) Step-by-step instructions 1. Assembling the fermenter. Once you have unboxed your KegLand 30L Flat‐Bottom starter kit and checked everything is included, begin by assembling your fermenter. FermZilla – Lid Assembly 1. Ensure the lid assembly has the o‐ring attached. 2. Apply some food grade lubricant to the o‐ring to extend the life of this o‐ring and threads. 3. Place the lid onto the neck of the tank and screw down the threaded lid ring. 4. Use the two bottle caps to close the two threaded holes in the lid. 5. Push the three piece air‐lock into the remaining (central) hole of the lid 2. Cleaning and sanitizing the fermenter and equipment ...
- Page 4 Starter Kit Instruction Manual NOTE: PBW acts as a cleaner and sanitiser however any equipment cleaned using PBW must be rinsed with water. For an easier sanitisation option, a no‐rinse sanitiser such as stellarsan can be used following cleaning with PBW. Suggested Additional Equipment Looking to improve your kit and have the right gear on hand to do the job in the best possible way? Ethanol spray (part # KL05371) Stellarsan (part # KL05357) Powerful Brewery Wash (‘PBW’) 1kg (part # KL05494) Heavy Duty Brewing Gloves (part # KL05289) Digital Temperature Controller (part # KL01946) Heating Wrap (part # KL01960) or Heating Belt (part # KL01953) Jeff Flowers, How to Use a Hydrometer in 4 Easy Steps (learn.kegerator.com, 15 July 2014) <https://learn.kegerator.com/using‐a‐hydrometer/> 2 John Palmer, Using Hydrometers (howtobrew.com, 2015). <http://howtobrew.com/book/appendices/appendix‐a/using‐hydrometers> www.KegLand.com.au Last Updated 25/09/2019 4:52 PM Page 4 of 4...
Need help?
Do you have a question about the FermZilla and is the answer not in the manual?
Questions and answers