
Subscribe to Our Youtube Channel
Related Manuals for Kolpin Outdoors Polaris RZR Pro XP


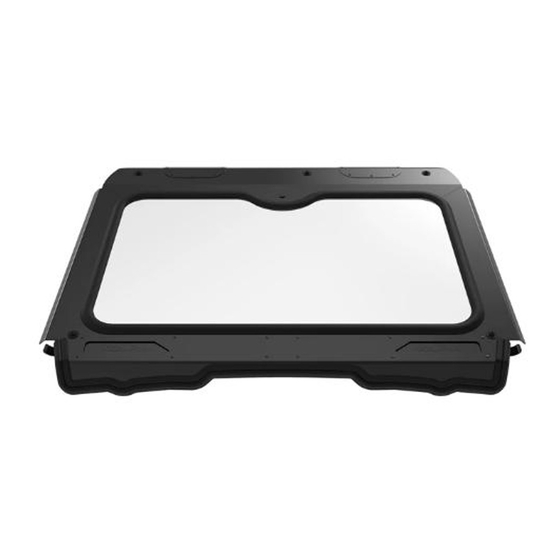
Summary of Contents for Kolpin Outdoors Polaris RZR Pro XP
- Page 1 POLARIS RZR PRO XP GLASS WINDSHIELD P/N 28120 GLASS WINDSHIELD KIT Assembly / Owner’s Manual APPLICATION: Polaris RZR Pro XP Verify accessory fitment at Kolpin.com Instr K100406 Rev 01 2021-07 Page 1 of 9...
-
Page 2: Before You Begin
INTRO Thank you for purchasing Kolpin ® engineered products. With proper installation, usage, care, and maintenance, your Kolpin ® product will last for years to come. BEFORE YOU BEGIN • Read and understand the entire installation manual, including all installation instructions, operating instructions, safety warnings and guidelines before installing or operating your accessory. -
Page 3: Kit Contents
KIT CONTENTS PART DESCRIPTION PART NUMBER RZR Pro XP Glass Windshield Screw, (M6 x 1.0 x 20) 28121 Washer, (7.0 x 25 x 1.27) 28121 Locking Nut, Flanged, (M6 x 1.0) 28121 Foam Gasket 28121 Clamp, 2–inch 28121 Clamp, Roof 28121 Bulb Seal 28121... -
Page 4: Spare Parts / Kits
SPARE PARTS / KITS PART DESCRIPTION PART NUMBER Windshield Vent Slide 28090 Instr K100406 Rev 01 2021-07 Page 4 of 9... -
Page 5: Accessory Installation
INSTALLATION INSTRUCTIONS VEHICLE PREPARATION GENERAL 1. Park vehicle on a flat surface. 3. Turn key to OFF position and remove key. 2. Shift vehicle into PARK. ACCESSORY INSTALLATION 3. Put foam strip across top of windshield. NOTICE Kolpin recommends enlisting a helper when handling the windshield assembly. - Page 6 4. Put bulb seal on lower edge of windshield. Trim 5. Put windshield on vehicle. Make sure bulb seal fits ends as shown. along top of dashboard. NOTICE The bulb seal has a metal core. Kolpin recommends Enlist a helper to fit windshield to vehicle. using a metal shears to trim the bulb seal.
- Page 7 7. Install clamp on top of windshield using screws , washers and nuts Do not torque fasteners at this time. 8. Install side clamps using screws , washers and nuts Do not torque fasteners at this time. 9. Torque all fasteners to specification. TORQUE Windshield Fasteners: 7 ft-lbs (9.4 N·m)
-
Page 8: Operation
OPERATION 1. Turn vent lock counter clockwise to loosen. IMPORTANT • Check accessory mounts frequently and retighten hardware if necessary. • Replace this accessory with a new one if it becomes damaged. • Never use petroleum solvents such as gasoline thinner, benzene, acid or alkaline cleaners 2. -
Page 9: One-Year Limited Warranty
Peripheral products such as engines, electric motors, and actuators may carry and original manufacturer’s warranty. Most hardware is general in nature and is easily obtained locally. Be sure to replace with minimum metric class 8.8 specification. Kolpin Outdoors, Inc. Telephone: (763)-478-5800 Toll Free: (877)-956-5746 Fax Number: (800)-245-7569 www.Kolpin.com...
Need help?
Do you have a question about the Polaris RZR Pro XP and is the answer not in the manual?
Questions and answers