
Related Manuals for BDI INTERVAL 7246


Summary of Contents for BDI INTERVAL 7246
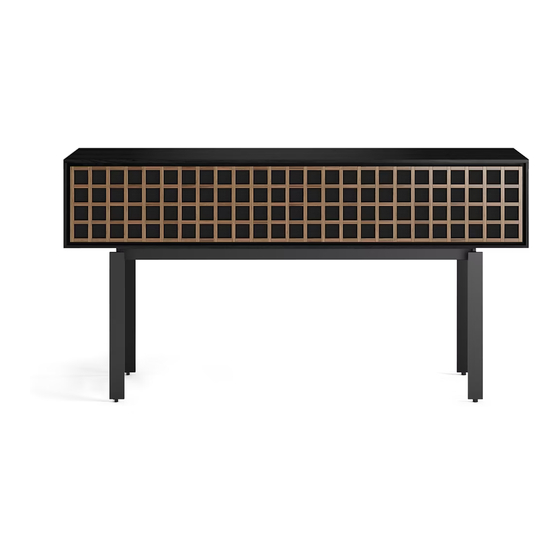
- Page 1 INTERVAL 7246 ™ CONSOLE INSTRUCTION MANUAL LET’S GET STARTED. DESIGN AL GLASS AND MATTHEW WEATHERLY...
- Page 3 Congratulations on the purchase of your Interval Console from BDI. Your console has been designed to provide a lifetime of enjoyment. This manual will provide you with assembly instructions and other helpful information to ensure that you get the most out of your product.
- Page 4 Unpack and identify the parts listed below. The assembly workspace should be a non-marring surface such as carpet. Do not use power tools for the assembly of this product. For missing hardware pieces, please contact BDI Customer Service at customerservice@bdiusa.com. PART #...
- Page 5 HARDWARE AND COMPONENTS HARDWARE AND COMPONENTS PART # PART # DESCRIPTION DESCRIPTION Base Leg Base Spanner QUANTITY QUANTITY PART # DESCRIPTION Cabinet QUANTITY PART # DESCRIPTION Glass Shelf QUANTITY NEED ASSISTANCE? customerservice@bdiusa.com BDIUSA.COM | 5...
- Page 6 ASSEMBLY STEP 1. ASSEMBLE BASE Attach (C1) Base Legs to (C2) Base Spanners PART/DESCRIPTION using 8 (H1) Screws. Tighten with (T1) Hex Wrench. T1-HEX WRENCH H1-SCREW 6 | BDIUSA.COM INTERVAL 7246...
- Page 7 2 PERSON TASK STEP 2. ATTACH BASE TO CABINET ASSEMBLY With help from another person, carefully rotate PART/DESCRIPTION the (C3) Cabinet backwards onto its top panel. Be careful not to rest the cabinet on its door. T1-HEX WRENCH Attach the Base to the (C3) Cabinet using 8 (H2) Screws.
- Page 8 H3-PINS into the threaded inserts on the inside of the (C3) Cabinet. NOTE: Install the Shelf Pins for the (C4) Glass Shelf in the threaded inserts that correspond with the desired position of the shelf. 8 | BDIUSA.COM INTERVAL 7246...
- Page 9 STEP 4. INSTALL GLASS SHELF ASSEMBLY Carefully place the (C4) Glass Shelf into the (C3) Cabinet. Lift the shelf over the winch mechanism and gently lower it into position, resting on the shelf pins. NEED ASSISTANCE? customerservice@bdiusa.com BDIUSA.COM | 9...
- Page 10 2 (H5) KLEET Cord Wraps which can be used for cord management. NOT INCLUDED Attach the (H5) KLEET Cord Wraps using the Phillips Screwdriver (H4) Wood Screws. Tighten with Phillips Screwdriver (not included). H4-SCREW H5-KLEET Use the KLEET for wire management 10 | BDIUSA.COM INTERVAL 7246...
- Page 11 STEP 6. INSTALL TV SAFETY STRAP (IF NEEDED) ASSEMBLY If you intend to place a TV on your Interval PART/DESCRIPTION Media Console, it is strongly recommended that you use the TV Safety Strap. Attach the (H7) TV Safety Strap to the insert in the T1-HEX WRENCH back panel of the media console using the (H6) Screw using the (T1) Hex Wrench.
-
Page 12: Fine Tuning
T2-LEVELER WRENCH Your Interval Media Console features a push-to-open, drop-down soft open door. It is intended to be opened by gently pushing on the top of the door in the center 2" section of the door. 12 | BDIUSA.COM INTERVAL 7246... - Page 13 FINE TUNING The hinges should not require adjusting. If the gap between the door and cabinet is uneven the hinges can be adjusted. Remove the cover using a slotted screwdriver (not included) to access the adjustment screws (see below). Your door should come pre-adjusted to open completely level. If you need to adjust the door opening angle, do so by inserting a 5mm Hex Wrench (not included) into the hole above the cable on the mechanism.
-
Page 14: Care And Maintenance
Your BDI furniture has been constructed with the finest materials, manufactured with care and is designed to last a lifetime. Regular care of your furniture will prolong your enjoyment and keep it looking its best. Here are some general tips for taking care of BDI furniture. Your surfaces may vary. GLASS The glass surface is maintained using household glass cleaner and a paper towel or cloth. -
Page 15: Warranty
WARRANTY BDI warrants to the original purchaser that for the below-stated warranty term, BDI will repair or replace any product, part, or component covered by this warranty that fails under normal use as a result of a defect in material or workmanship. BDI will repair or replace the aforementioned product, part or component with a comparable product, part or component. - Page 16 These distinctive product configurations are protected by US and international patents, trade dress, and/or copyright laws. Interval & BDI are trademarks of Becker Designed, Inc. All rights reserved. ©2022, BDI | V.03.31.2021 Made in China.
Need help?
Do you have a question about the INTERVAL 7246 and is the answer not in the manual?
Questions and answers