Advertisement
Quick Links
Advertisement

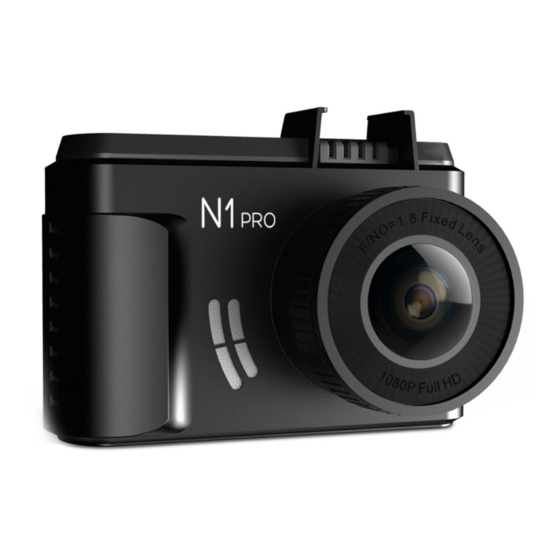
Summary of Contents for Vantrue InDash N1 PRO
- Page 2 Hey, find us here: www.vantrue.net/contact facebook.com/vantrue.live Always a surprise in Vantrue - 1 -...
- Page 3 VERZEICHNIS CONTENU What's in the box? Was ist In der Box? Qu'y a-t-il dans la boîte? ボックスに何が入っていますか? Camera Overview Dle übersicht über Kamera Vue d'ensemble de la caméra ドラレコの概要 Getting Started Vorbereitung vor dem Einschalten Préparation avant la mise en marche 入門...
- Page 4 - 3 -...
- Page 5 VTN1P8LXXXX Emergency/P - 4 -...
- Page 6 Serial Number Serial Number for Warranty Registration. - 5 -...
- Page 7 NOTE: - 6 -...
- Page 8 3.2 Installing memory card (Recommend Samsung Pro Endurance Card or Samsung Evo Card) NOTE: To insert the card, power off the camera first, then push the card into the slot until it clicks agin, otherwise the dash cam will say goodbye and shut off.
- Page 9 - 8 -...
- Page 10 vehicle's cigarette lighter port - 9 -...
- Page 11 - 10 -...
- Page 12 Press OK button to enter the settings, and press UP/DOWN button to select setting items. -Resolution: Default setting is 1920X1080/30FPS (fps: Frames per Second). Press Down button to select 1280x720/30FPS. -Loop Recording: Default setting is 3 mins per video clip. Press Down button to select among 1 min, 3 mins, 5 mins and OFF.
-
Page 13: Date/Time Setting
-Auto LCD Off: If you choose 3 Min, it will turn off the camera screen 3 minutes after recording commences. If you choose OFF, the LCD screen will always stay on. Press Down button to select among 30 Secs, 1Min and 3 Mins, or turn it OFF to disable it. -Device Sound: Default setting is ON. - Page 14 press Down button to set. In the time setup interface, press UP 4.4 Auto LCD OFF This feature avoids any chance of the screen being a distraction in the vehicle, especially at night when the illumination from the LCD screen can be a nuisance or even a hazard to the driver.If you choose 3 Min, the camera’s LCD will light off after 3 minutes but still recording with blue light blinks.
-
Page 15: Loop Recording
O f f 30 Sec 1 Min 3 Min Please go to System Setup to adjust this time to 30 Secs, 1Min and 3 Mins, or turn it OFF to disable it so the LCD can always stay on. 4.5 Loop recording - 14 -... - Page 16 4.6 Event recording Emergency/P - 15 -...
-
Page 17: Audio Recording
Note: The camera will auto overwrite old Event videos once the Event folder has accumulated 30% of the card capacity. Please regularly transfer important videos to your PC or another storage location (e.g. external hard drive). To maintain good read/write performance, the MicroSD card should be formatted every 1-2 weeks. - Page 18 4.8 Parking mode To use the parking mode, go to “Record Setup”>“Parking Monitor” and select ON. Parking mode icon will appear at the left side of the screen. 4.8.1 Triggered by Motion Detection When Charging After activating the Parking Monitor, the camera will auto switch to parking mode once it detects no movement in front of the camera for 5 minutes while recording.
- Page 19 NOTE: To keep the camera working in parking mode, please keep powering it with an extra power bank or hardwire it to the car battery directly. Don’t recommend to keep the camera working all the time for over 10 hours. 4.8.2 Triggered by Collision Detection without External Power Supply After activating the Parking Monitor, when the camera turns off, it will turn on and end recording after 20 seconds once the camera...
- Page 20 4.9 Capture a picture Emergency/P 4.10 Connecting external GPS receiver (Optional accessory) - 19 -...
- Page 21 4.11 Viewing video and photos - 20 -...
- Page 22 - 21 -...
- Page 23 4.12 Delete Videos Delete Normal Files Go to Normal file, choose a video on the dash cam, one press the Emergency/P button, press Down button to select Delete. Delete Event Files Go to Event file, choose a video on the dash cam, one press the Emergency/P button, select Protect Files by DOWN button then confirm it with OK Button.
-
Page 24: Working Temperature
4.14 Working temperature External: 8 to 256 GB MicroSD Card of Class 10 or above - 23 -... - Page 25 - 24 -...


Need help?
Do you have a question about the InDash N1 PRO and is the answer not in the manual?
Questions and answers