
Subscribe to Our Youtube Channel
Related Manuals for Stelpro PULSAIR RWF Series


Summary of Contents for Stelpro PULSAIR RWF Series
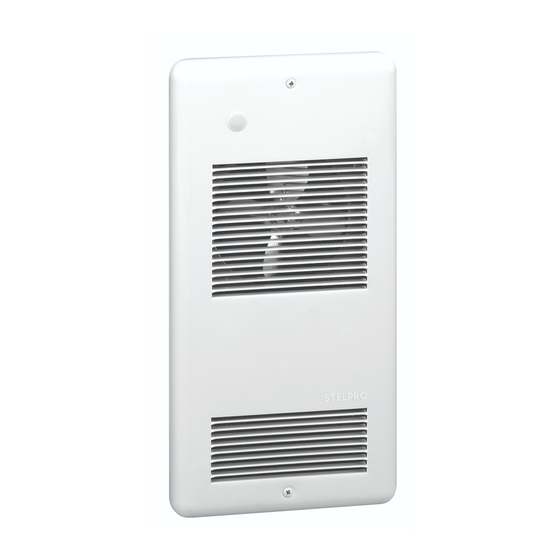
- Page 1 OWNER’S MANUAL WALL FAN HEATER RWF... THANK YOU FOR YOUR PURCHASE! QUESTION? PROBLEM? CONTACT STELPRO CUSTOMER SERVICE. WWW.STELPRO.COM CONTACT@STELPRO.COM 1-844-STELPRO THIS UNIT COMPLIES WITH CSA STANDARDS...
-
Page 2: Important Instructions
Failure to do so could result in a fire. for any damage resulting from this modification, and the CSA certification If adding an option to the unit, make sure it is approved by Stelpro. This could be void. - Page 3 INSTALLING THE FAN HEATER TO ENSURE A SAFE AND EASY INSTALLATION, TAKE A FEW MINUTES TO READ THIS INSTALLATION GUIDE. TOOLS REQUIRED FOR RECESSED INSTALLATION WHAT IS IN THE BOX • Tool to cut drywall or gypsum • Level board •...
- Page 4 DETERMINING THE FAN HEATER’S RECESSED INSTALLATION POSITION AND TYPE OF INSTALLATION VERTICAL INSTALLATION SURFACE INSTALLATION HORIZONTAL INSTALLATION SURFACE ADAPTER (SOLD SEPARATELY) WHERE TO INSTALL YOUR FAN HEATER ATTENTION: To avoid any risk of overheating, leave a clearance of at least 12 in.
- Page 5 WARNING: This product must be installed by a certified electrician according to the electrical and building codes effective in your region. CUTTING THE POWER SUPPLY 1. To protect yourself from the risk of electric shock, turn off the power supply to the lead wires from the electrical panel. PREPARING THE FAN HEATER 1.
- Page 6 RECESSED INSTALLATION PREPARING THE SURFACE FOR FLUSH MOUNTING 1. Using the stud finder, locate the studs. Also, consider the location of pipes, wires or other components in the wall that may be damaged. 6 1/2 IN. (16.5 CM) 2. Measure the space required according to the diagram shown opposite.
- Page 7 SURFACE INSTALLATION 1. Route the power cable out of the wall. Allow at least 6" (15 cm) of cable inside the enclosure for easy connection to the unit’s wires. 2. Lean the enclosure against the wall, level it, and then screw four (4) wood screws (not supplied) into the holes provided [A].
- Page 8 ATTACH THE MECHANICAL HOUSING TO THE REAR HOUSING SURFACE INSTALLATION 1. Reinstall the mechanical housing by screwing 2. Insert the sleeve around the frame using the guides at the bottom of the frame [A] and screw it to the wall back the four (4) screws previously removed.
- Page 9 • Make sure that the circuit breaker corresponding to the heating system in the electrical panel is closed (ON). • If the problem persists, the thermostat may be defective. Contact Stelpro Customer Service. • Check whether the fan heater’s wiring is correctly connected. See Connecting the electrical wires, page 7.
- Page 10 3) a natural disaster or an event out of STELPRO’s control, lowing periods from the date of purchase: 5 years. This warranty applies only to the including, but not limited to, hurricanes, tornadoes, earthquakes, terrorist attacks, wars, original purchaser;...
Need help?
Do you have a question about the PULSAIR RWF Series and is the answer not in the manual?
Questions and answers