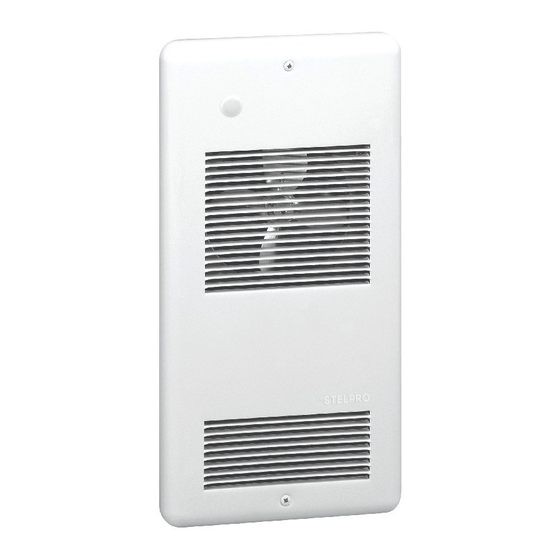
Summary of Contents for Stelpro PULSAIR ARWF Series
- Page 1 OWNER’S MANUAL ARWF WALL FAN HEATER ARWF... THANK YOU FOR YOUR PURCHASE! QUESTION? PROBLEM? CONTACT STELPRO CUSTOMER SERVICE. WWW.STELPRO.COM CONTACT@STELPRO.COM 1-844-STELPRO THIS UNIT COMPLIES WITH CSA STANDARDS...
-
Page 3: Important Instructions
Failure to do so could result in a fire. for any damage resulting from this modification, and the CSA certification If adding an option to the unit, make sure it is approved by Stelpro. This could be void. - Page 4 INSTALLING THE FAN HEATER TO ENSURE A SAFE AND EASY INSTALLATION, TAKE A FEW MINUTES TO READ THIS INSTALLATION GUIDE. TOOLS REQUIRED FOR RECESSED INSTALLATION WHAT IS IN THE BOX • Tool to cut drywall or gypsum • Level board •...
- Page 5 DETERMINING THE FAN HEATER’S RECESSED INSTALLATION POSITION AND TYPE OF INSTALLATION VERTICAL INSTALLATION SURFACE INSTALLATION HORIZONTAL INSTALLATION SURFACE ADAPTER (SOLD SEPARATELY) WHERE TO INSTALL YOUR FAN HEATER 36 IN. (90 CM) MIN. 8 IN. (20.3 CM) ATTENTION: To avoid any risk of overheating, leave a MIN.
- Page 6 PREPARING THE FAN HEATER 1. Unscrew the two (2) screws holding the grille to 2. Remove the mechanical housing by unscrewing the remove it. four (4) screws. 3. Depending on the location of the power cable, drill a 4. Place the wire clamp [A] in the recessed hole. Insert knockout into the back housing to allow the cable to the power cable through the wire clamp and secure pass through.
- Page 7 MOUNTING THE BACK HOUSING TO THE WALL RECESSED INSTALLATION 2. Screw* the 1. Insert the fan heater’s back housing enclosure into into the opening you’ve made in the place on the wall wall, making sure that it’s level. studs using two (2) mounting holes [B], depending on your situation.
- Page 8 CONNECTING THE ELECTRICAL WIRES 2. Connect the fan heater and power supply wires with the WARNING: Use only copper or aluminum wire that connection caps provided according to one of the con- can withstand a temperature of 90°C (194°F). nection diagrams. Tighten the caps firmly on the wires to ensure that the connection is secure.
- Page 9 ATTACH THE MECHANICAL HOUSING TO THE REAR HOUSING SURFACE INSTALLATION 1. Reinstall the mechanical housing by screwing 2. Insert the sleeve around the frame using the guides back the four (4) screws previously removed. at the bottom of the frame [A] and screw it to the wall using the four (4) screws (not supplied) in the semi- circular cut-outs provided.
- Page 10 MAINTAINING THE FAN HEATER NOTE: For the warranty to be valid, the fan heater’s air inlet and outlet must be cleaned regularly. Over time, cigarette smoke may cause the outlet grill to yellow. The best way to prevent yellowing is to clean the unit regularly.
- Page 11 • Make sure that the circuit breaker corresponding to the heating system in the electrical panel is closed (ON). • If the problem persists, the thermostat may be defective. Contact Stelpro Customer Service. • Check whether the fan heater’s wiring is correctly connected. See Connecting the electrical wires, page 8.
-
Page 12: Claim Procedure
STELPRO and carried out by so these exclusions or limitations may not apply to you. This persons authorized by STELPRO.


Need help?
Do you have a question about the PULSAIR ARWF Series and is the answer not in the manual?
Questions and answers