
Related Manuals for Stelpro SCR series


Summary of Contents for Stelpro SCR series
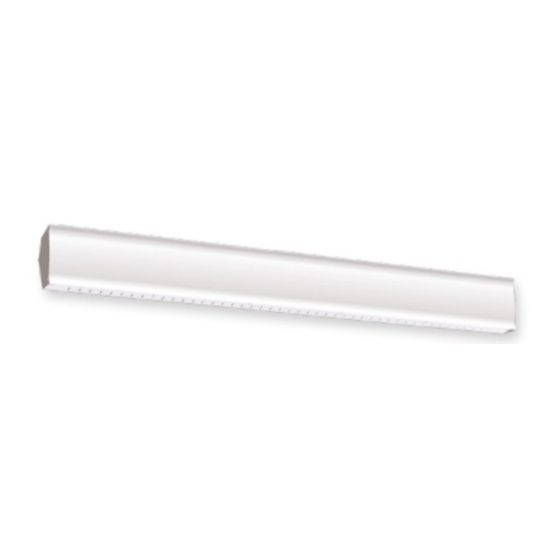
- Page 1 User’s gUide sCr series Cove Heater This unit complies with the csA and UL standards For further information or to consult this guide online, please visit our web site: www.stelpro.com INsscr0613...
-
Page 2: Important Instructions
If the unit is damaged or defective, cut off power supply at circuit breaker and call a certified repair centre. (Refer to the LIMITeD WArrANTy) If an option must be added, make sure it has been approved by stelpro. This way, it will ensure that it has been tested in accordance with our safety rules and that the installation was done properly. -
Page 3: Specifications
teCHNICaL DraWINGS KNOCKOUTS TERMINAL BOX MULTIPLE OF 16 INCH TYPICAL 11/16" (406 mm) 17.0mm 1 11/16" 43.5mm) 2'' FROM KNOCKOUTS TO END CAP (51 mm) 4 1/16" 1 INCH SPACED 103.2mm back view 3 5/8" 9/16" 92.4mm 14.2mm SLOTS ON THE SAME PLAN 11/16"... -
Page 4: Installation
FiguRe 1 tabLe 1 CEILING MINIMUM cLeArANce DIsTANce BeTWeeN TWO IDeNTIcAL 2'' 1/2 (64 mm) MIN. - Page 5 toP view toP view FiguRe 3 FiguRe 4 2 corner heaters side by side 1 corner heater 1'' (25 mm) WALL minimum (102 mm) minimum WALL (102 mm) minimum ONE CORNER HEATER TOP VIEW FiguRe 5 FiguRe 6 FIGURE No.5 16'' OR 24'' TYPICAL STUD DETAIL A...
-
Page 6: Installation Instructions
iNstaLLatioN iNstRuctioNs A. The heater is to be installed with the wall brackets supplied. All wall g. While still holding the heater, use your fingers to locate the top brackets supplied must be installed to support the unit in a safe hook of one bracket and while pushing the hook down a little, push manner on the wall. -
Page 7: Maintenance
2- TWO OR MORE HEATERS WITH POWER SUPPLY FROM ONE END 2 oR moRe heateRs FiguRe 9 2- TWO OR MORE HEATERS WITH POWER SUPPLY FROM ONE END WITh POWer sUPPLy FrOM ONe eND 208 OR 240 VOLT MODELS UNIT #1 UNIT #3 UNIT #2 208 OR 240 VOLT MODELS... -
Page 8: Limited Warranty
Moreover, it does not cover the cost of disconnection, transport, and installation. The warranty is limited to the repair or the replacement of the unit or the refund of its purchase price, at the discretion of stelpro. Any parts re- placed or repaired within the warranty period with the written authorization of stelpro will be warranted for the remainder of the original warranty period.
Need help?
Do you have a question about the SCR series and is the answer not in the manual?
Questions and answers