Table of Contents
Advertisement
Quick Links
Advertisement
Table of Contents

Related Manuals for Häfele 7100


Summary of Contents for Häfele 7100
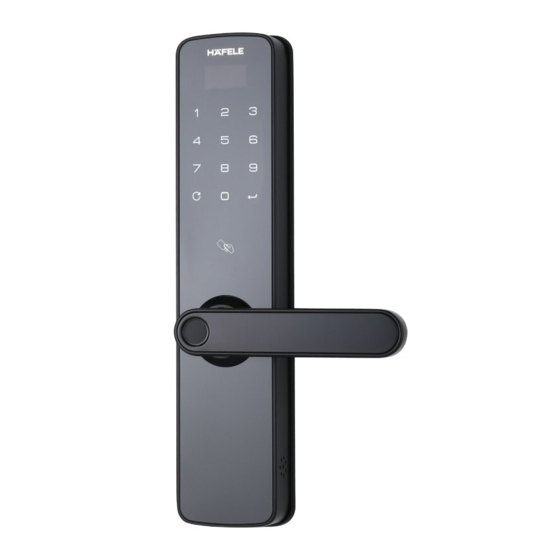
- Page 1 Pairing Manual Digital Door Lock 7100 with Hafele Smart Living Application EN USER MANUAL * The contents of this user manual are subject to change without prior notice to the user in order to the user in order to enhance performance of products...
-
Page 2: Table Of Contents
Tabl e of Contents Add Gateway Device to LAN Add Wirel e ss Gateway (Zigbee) to WIFI Pairing l o ck with Appl i cation Basic functions Remote door opening through mobil e APP Create temporary PIN code Add users Unl o ck records Temporary PIN code function settings Remote door function settings... -
Page 3: Add Gateway Device To Lan
Add Gateway Device to LAN Connect the power suppl y and LAN cabl e into Go to Hafel e Smart Living APP, cl i ck on “+” on the device and WIFI router the right side or cl i ck on “Add Devices” Go to “Hafel e Devices”and then sel e ct Cl i ck on “Confirm the two green l i ghts are on”... - Page 4 The appl i cation wil l search for the devices, pl e ase wait until the device appeares and then press on “+” sign When the displ a y screen shows “Added” that means the device pairing was successful...
-
Page 5: Add Wirel E Ss Gateway (Zigbee) To Wifi
Add Wirel e ss Gateway (Zigbee) Connect the power suppl y cabl e to the device Go to “Hafel e Smart Living” and then sel e ct “+” on the right side or press on “Add” Go to “Hafel e Devices” and sel e ct Sel e ct WIFI menu, enter WIFI password and “Wirel e ss Gateway (Zigbee)”... - Page 6 Cl i ck on “Confirm the indicator is bl i nking rapidl y ” and then press “Next” When the displ a y screen shown “Added” that means the device pairing was successful...
-
Page 7: Pairing L O Ck With Appl I Cation
Pairing l o ck with Appl i cation Open battery cover and then remove Connect the Zigbee modul e and one piece of battery re-insert the battery Network Socket Zigbee Modul e (Zigbee Modul e ) Go to “Hafel e Smart Living APP”, sel e ct “+” and then cl i ck on “Lock (Zigbee)”... - Page 8 Sel e ct the Gateway to add the l o ck Unl o ck the l o ck and hol d on the door open and cl i ck on “Confirm” Enter the Locks settings menu, then Sel e ct “Pairing with APP” on the digital door l o ck sel e ct“Network”...
- Page 9 Cl i ck on “Confirm the indicator is bl i nking rapidl y ” and then press “Next” When the device has been paired successful l y , the appl i cation wil l show an icon to change the device name and then press “done”...
-
Page 10: Basic Functions
Basic function Edit l o ck name Battery status Private mode Door status Remote door opening Create temporary PIN Code Random PIN Code and remote door opening settings Notifications History l o gs Al l o wed users... -
Page 11: Remote Door Opening Through Mobil E App
Remote door opening with mobil e APP Open the appl i cation and sel e ct Touch and l o ng press to the sign on centre l o ck management When the displ a y screen appears, Pl e ase wait until displ a y screen shows then cl i ck “Confirm”... -
Page 12: Create Temporary Pin Code
Create temporary PIN Code Open the appl i cation and sel e ct Touch the sign on centre and then sl i de l e ft l o ck management “Remote dynamic password” wil l show as Touch the screen and pl e ase wait until the picture bel o w the digits stop... -
Page 13: Add Users
Add users Sel e ct “Users” on the bottom Sel e ct “+” on the right side Sel e ct the member type and then cl i ck Famil y Members; enter user data e.g. Name, Region, “Immediatel y add” Account (email of their mobil e APP account) **Note: Users wil l then see this l o ck in their APP and have access to al l functions. - Page 14 Enter non-famil y user data. These members are onl y added to displ a y their name in the unl o ck “Records”. This is very useful , but needs some setup. 5.1 Add user PIN Code, fingerprint or card using the l o cks own menu (not in the app) 5.2 Test your PIN Code, fingerprint or card to open the l o ck...
-
Page 15: Unl O Ck Records
Unl o ck records Sel e ct “Records” on the bottom The appl i cation wil l show the usage history e.g. name, time and unl o ck activity... -
Page 16: Temporary Pin Code Function Settings
Temporary PIN Code function Sel e ct “Setting” on the right Sel e ct “Dynamic Password Management”... - Page 17 Sel e ct “Avail a bl e to administrators onl y ” to Sel e ct “Al l users are avail a bl e ” to activate the activate the random security coding function random security coding function for al l users for admin onl y Sel e ct “Verify door l o ck administrator password is avail a bl e ”...
-
Page 18: Remote Door Function Settings
Remote door function settings Sel e ct “Setting” on the right Sel e ct “Remote Door Opening Management”... - Page 19 Sel e ct “Administrators password onl y ” to activate Sel e ct “No password is required” to activate the the function for admin onl y function for al l users Sel e ct “Disabl e remote doors” to deactivate the remote doors function...
Need help?
Do you have a question about the 7100 and is the answer not in the manual?
Questions and answers