Advertisement
Quick Links
Advertisement

Related Manuals for Wampat W04H4121G


Summary of Contents for Wampat W04H4121G
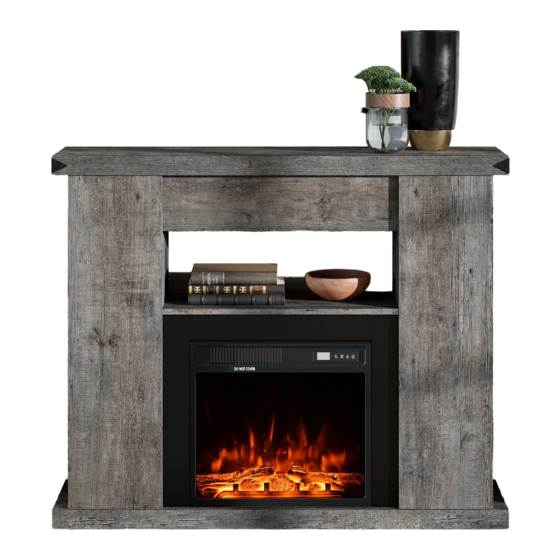
- Page 1 Assembly Instructions W04H4121G...
-
Page 4: Table Of Contents
● The provided glue(H) is to secure wood dowels(A) in place . When first inserting dowels, locate the appropriate hole for the Cam bolt Cam lock Sticker dowel , place a small amount of glue in the Wooden dowel hole and insert the dowel . Wipe away Ø15x12mm Ø8x30mm Ø6x24mm... -
Page 5: B X
x 12 Screw parts (B) into panels (3,4) . Ø6x24mm 3... - Page 6 x 10 Screw parts (B) into panels (1,2) . Ø6x24mm...
- Page 7 x 12 · Insert dowels(A) into panels(1,2) . · Attach panels (3,4) to panels (1,2). · Insert and secure cam locks (C) to panels (1,2) to lock it. Ø8x30mm Ø15x12mm...
- Page 8 Screw parts (B) into panel (9) . Ø6x24mm...
- Page 9 · Insert dowels(A) into panel(12), then attach panels (10,11) to panel (12). · Then attach panels (10,11,12) to panel (9). · Insert and secure cam locks (C) to panels Ø8x30mm Ø15x12mm (10,11,12) to lock it.
- Page 10 · Insert dowel(A) into panel(8) . · Attach panels (8,9,10) to panel (2). · Insert and secure cam locks (C) to panels ( 8,9,10) to lock it. Ø8x30mm Ø15x12mm...
- Page 11 · Insert dowel(A) into panel(8) . · Attach panels (8,9,11) to panel (1). Ø8x30mm Ø15x12mm · Insert and secure cam locks (C) to panels ( 8,9,11) to lock it.
- Page 12 x 12 Screw parts (B) into panel (5) . Ø6x24mm...
- Page 13 x 12 · Attach panels (1,2,3,4)to panel(5). · Insert and secure cam locks(C)to panels(1,2,3,4)to lock it. Ø15x12mm...
-
Page 14: E X
x 14 · Attach panel (6) to panels (1,2,3,4,10,11) using screws(E). Ø5x50mm... - Page 15 Secure pins(G) to panel (6) . Ø16*18mm...
-
Page 16: F X
x 16 Ø5*16mm · Attach panels(7) to panels(3,4) using parts(F). - Page 17 Unscrew the 3 screws which already in the back bottom of the fireplace. then fix the L-shaped iron plate to the bottom of fireplace using the screws.
- Page 18 Insert fireplace from back of the tv stand . then fix L shape to panel (6) .
-
Page 19: Ø3.5X13Mm
Screw parts (J) into panel(13) Attach panel (13) to panels (1,2) using parts(J,I) Ø3.5x13mm... -
Page 20: L X
WARNING Serious or fatal injuries can occur from furniture tipping over. To prevent the furniture from tipping over we recommend that it is permanently fixed to the wall. Wall anchor and hardware are included with this product. Please make sure hardware is suitable for your walls before installing, as different wall materials may require different types of anchors. - Page 21 · Stick stickers(D) on cam lock(C). Final Assembly...
Need help?
Do you have a question about the W04H4121G and is the answer not in the manual?
Questions and answers