Advertisement
ASSEMBLY INSTRUCTIONS
We have designed our furniture with you , the customer in mind . Our clear , easy to follow ,
step by step instructions will guide you through the project from start to finish .
Feel confident that this will be a fun and rewarding project . The final product will be a quality
piece of furniture that will go together smoothly and give years of enjoyment .
Please do not return to the store
STOP
. Broken or missing parts?
. Need help with assembly?
If you have any questions just call 1-800-468-6447 or email us at
parts@convenience-concepts.com
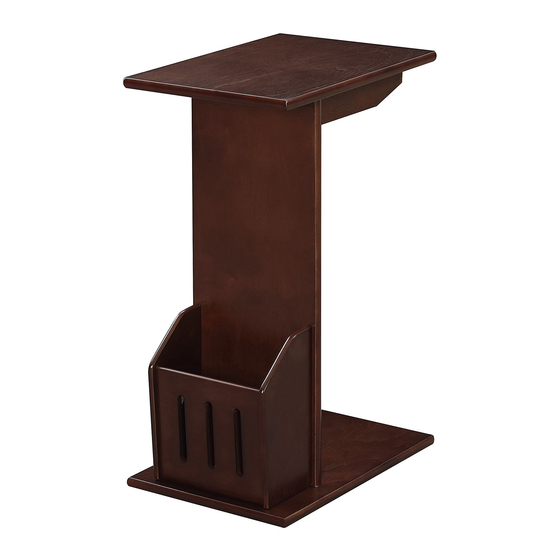
ABBY END TABLE
7103022
Advertisement
Table of Contents

Summary of Contents for convenience concepts ABBY 7103022
- Page 1 ABBY END TABLE 7103022 ASSEMBLY INSTRUCTIONS We have designed our furniture with you , the customer in mind . Our clear , easy to follow , step by step instructions will guide you through the project from start to finish . Feel confident that this will be a fun and rewarding project .
- Page 2 Cap (10pcs) Assembling the unit with camlocks and wood dowels. Arrow must face hole Gently screw cam Lightly glue one end of Lightly glue wood dowel and Screw the camlock dowel into the the wood dowel and tap connect to second panel by firmly into locked threaded anchor.
- Page 3 Forward hole 1.lnsert collars (F) to support bar (4) (5) as shown. 2.Connect the support bar (4) (5) to middle panel (3) as shown using blots (E) and allen wrench (G). 1.lnsert camlocks (B) to middle panel (3) as shown. 2.lnsert camlocks bolts (A) and wood dowel (C) to top panel (1) as shown.
- Page 4 1.Connect the bin front panel (6) and bin back panel (7) to bin side panel (8) as shown using flat head screws (D). 1.Connect bin panel assembly to unit as shown using flat head screws (D).
- Page 5 1.lnsert wood dowel (C) to middle panel (3) as shown. 2.Connect the bottom panel (2) to unit as shown using blots (E) and flat head screws (D). 1.Up side down. 2.Attach caps (H) to holes in unit as shown. Enjoy.


Need help?
Do you have a question about the ABBY 7103022 and is the answer not in the manual?
Questions and answers