Advertisement
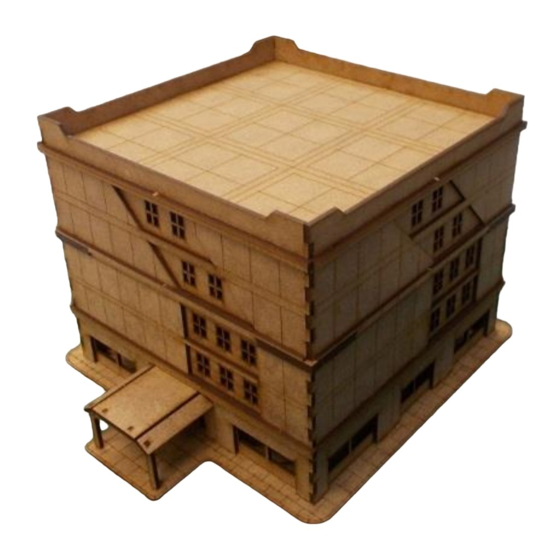
15mm Office Block
B15-CS-002
Please read these instructions fully before starting construction.
PVA or equivalent glue will be required to stick sections together.
Sand paper can be used to gently clean any joints.
A sharp modelling knife will be required to remove sections from the sprue. Please use knives with due care and
remember to cut away from yourself at all times.
During the construction of this model, you may find it convenient to use pegs / elastic bands to hold pieces in place
while you allow glue to dry.
Start by removing the front wall and awning
sections (shown above) from the sprue.
Attach it to the front wall.
Attach the side walls, then glue the brackets to
the corners (being careful not to get glue in their
larger holes)
Take the inner walls.
Glue the awning together as shown above.
Take the other three walls and the brackets.
Glue the whole assembly to the base.
Glue them into place behind the openings.
Advertisement
Table of Contents

Subscribe to Our Youtube Channel
Related Manuals for BLOTZ B15-CS-002


Summary of Contents for BLOTZ B15-CS-002
- Page 1 15mm Office Block B15-CS-002 Please read these instructions fully before starting construction. PVA or equivalent glue will be required to stick sections together. Sand paper can be used to gently clean any joints. A sharp modelling knife will be required to remove sections from the sprue. Please use knives with due care and remember to cut away from yourself at all times.
- Page 2 The etched lines on the inner walls will align with Take the window pieces. the edges of the openings. Glue these behind the openings in the walls. As with the inner walls, the etched lines will align wit the edges of the openings. Take the decorative strips.
- Page 3 Once done, turn the roof assembly upside down. Take the four corner supports. Glue each one to a corner. Take the sloped window pieces. Glue them behind their openings in the walls. The etched lines will align with the edges of the openings.
Need help?
Do you have a question about the B15-CS-002 and is the answer not in the manual?
Questions and answers