Advertisement
Quick Links
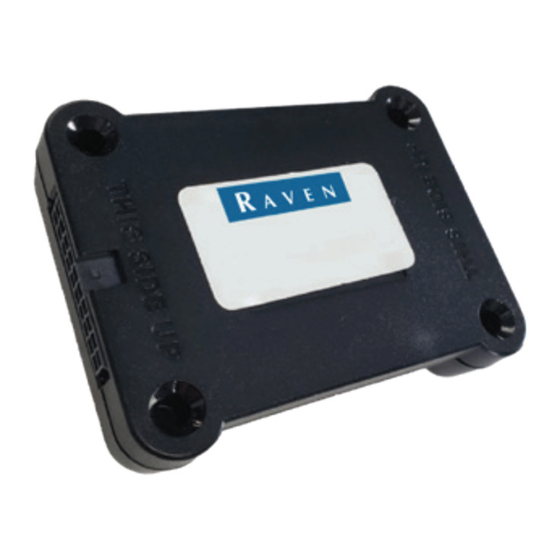
RTV-40 Tracker Installation
RTV-40 Tracker
Replacement
Diagnostic Port
Possible Connections
OBDII
6-Pin
9-Pin
Device
Device
Plug
Diagnostic
Plug
Y-Cable
Direct Cable
Diagnostic
Plug
Plug
1. Locate The Diagnostics Port
• Usually located under the steering
console (see the asterisks (*) on the
diagram to the left for potential
Diagnostic Port locations)
2. Cable Installation
• Y-Cable Installation
• Remove the vehicle's existing
Diagnostics Port from its mount
• Connect the vehicle's Diagnostics
Port
to Diagnostic Plug of the Y-Cable
• Mount the Replacement
Diagnostic Port of the Y-Cable
to where the original vehicle's
Diagnostic Port was located to
allow further diagnostics without
interruption of service
• Direct Cable Installation
• Connect the Diagnostic Plug of
the Direct Cable into vehicle's
Diagnostic Port
3. Connect Your Device
• Plug in the Device Port from your
cable to the Raven Device
• Carefully align the pins, and push
the attachment straight into the
device until you hear it lock in place
• Do not push the attachment in at
an angle or use too much force
→
MORE
Advertisement

Related Manuals for Raven RTV-40


Summary of Contents for Raven RTV-40
- Page 1 Direct Cable into vehicle’s Diagnostic Port 3. Connect Your Device • Plug in the Device Port from your cable to the Raven Device • Carefully align the pins, and push the attachment straight into the device until you hear it lock in place •...
- Page 2 4. Placement & Cable Management • Run the cables and device to the desired location in the vehicle • Directly under the dash is preferred • Secure the cables and device to ensure safe vehicle and device operation 5. Verify Device Installation •...
Need help?
Do you have a question about the RTV-40 and is the answer not in the manual?
Questions and answers