Table of Contents
Advertisement
Quick Links
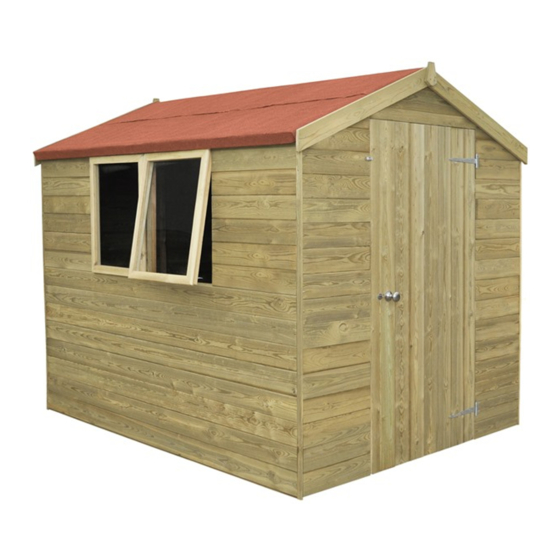
8x6 APEX SHED
8'x6' TPA68
Issue 0121
Fixing Pack: MTGSH86V2FP
Casement Stay
'T' Hinge
Qty 1
Qty 2
Forest Garden Ltd | Unit 288 | Oak Drive | Hartlebury Trading Estate | Hartlebury | Worcestershire | DY10 4JB
Door Handle Set
Rimlock with
with Spindle
50mm screws
Qty 1
Qty 1
Technical Helpline: 0333 7777 089 8.30am to 5.00pm Monday to Friday
Felt Tacks
Qty 124
Lock Receiver
Escutcheon
Qty 1
Qty 1
Cranked Hinge
Qty 2
Ridge Plate
Qty 2
Advertisement
Table of Contents

Subscribe to Our Youtube Channel
Related Manuals for Forest TPA68


Summary of Contents for Forest TPA68
- Page 1 50mm screws Qty 1 Qty 2 Qty 1 Qty 1 Forest Garden Ltd | Unit 288 | Oak Drive | Hartlebury Trading Estate | Hartlebury | Worcestershire | DY10 4JB Technical Helpline: 0333 7777 089 8.30am to 5.00pm Monday to Friday...
- Page 2 BEFORE YOU START We recommend that, before you begin your shed assembly, you check all the components use the xing pack contents list on the front page and the shed components list on the fourth page. BASE PREPARATION It is vital that you build your new shed on a solid, level base. Timber or plastic bases are ideal, as are concrete slabs or solid concrete.
- Page 3 CARE & ATTENTION To help you get the most out of our products, it is useful to know a little more about the properties of timber , what is normal and how your shed may behave as the seasons change. Wood is an extremely durable material for construction but, as a natural product, when used outdoors it is susceptible to changes in the environment.
- Page 4 PRESSURE TREATED TPA68 SHED PARTS LIST (The parts do not have codes on them. They are listed below should you need to order one.) Floor Door Door End Plain End Plain Side Panel Window Side Panel Roof Panel Size: 2038x1755mm...
- Page 5 Step 3 - Attaching Door End Step 4 - Roof Assembly Ensure the ridge plates are 500mm from each end of the roof panels. Screw both into place using 2 x 25mm screws. Ridge Screw the ridge plates into place once the roof panels are Plate secured.
- Page 6 Step 7 - Attaching Drip Strip Step 8 - Window Assembly Window Frame Size: 695x574mm 25mm Screws Window Size: 623x502mm Glazing Strip (Small) Size: 15x12x508mm Glazing Strip (Large) Drip Strip Size: 15x12x629mm Size: 28x28x1375mm Into Frame Glazing Strip (Small) Behind Size: 15x12x508mm 50mm Glazing Strip (Large)
Need help?
Do you have a question about the TPA68 and is the answer not in the manual?
Questions and answers