
Related Manuals for TVT TD-6528M3


Summary of Contents for TVT TD-6528M3
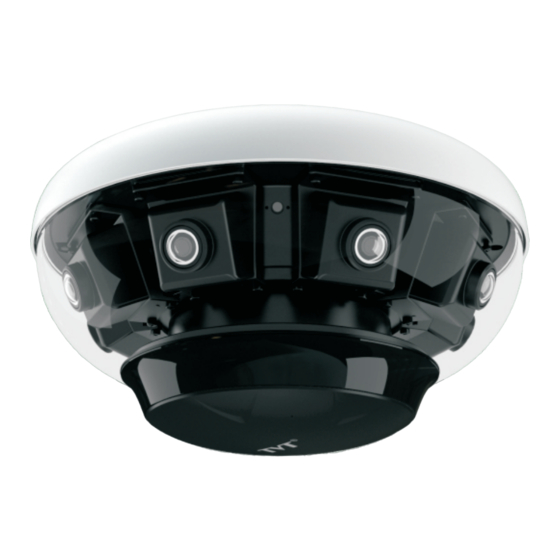
- Page 1 Outdoor 360° Panoramic Outdoor 360° Panoramic Network Camera Network Camera Quick Start Guide...
- Page 2 Thank you for purchasing this panoramic camera! Please read this manual carefully before operating the unit and retain it for future reference. All examples and pictures used in the guide are for reference only. The contents of this manual are subject to change without notice. Important Safeguards and Warning 1.
-
Page 3: Cable Connection
Overview Ethernet Connector(PoE) MIC-Audio Input HP-Audio Output Alarm Input/Output Cover Power Jack Ground Reset Micro SD slot Cable Connection 1-ALARM -OPEN 2-ALARM-COM 3-ALARM-GND 4-ALARM-IN1 Power Jack Ground... -
Page 4: Power Connection
► Connecting Alarm Input/Output ALARM_IN Support 3~12V DC IN ALARM_GND Relay ALARM_OPEN POWER ALARM_COM ALARM Max. load of the alarm output: 30VDC, 1A ► ower Connection When using 24V power supply Non-PoE Switch power supply... -
Page 5: Installation
When using a PoE switch Connect the camera to an 802.3at PoE switch via a network cable. PoE+ Switch(Optional) Network cable When using a PoE power injector PoE+ Power Injector (Optional) Non-POE Switch Installation This camera supports outdoor pole mounting or indoor ceiling mounting. Please select a way to install as needed. - Page 6 Please make sure the installation surface is strong enough to bear the dome camera’s weight and the camera is powered off during installation. As dirt, dust, or fingerprints on the bubble will reduce the clarity of the image, please keep it clean in the course of installing or using but DO NOT directly touch or wipe it.
- Page 7 The recommended installation height ranges from 4m to 8m. . Install the bracket (not provided) to the pole according to the picture on the right. 2. Connect the relevant cables. ② ③ ① Make sure the side with the sign faces people/vehicle flow when installing.
- Page 8 ① Loosen the nut from the main element. ② Run the network cable (without RJ 45 connector) through the both elements. Then crimp the cable with RJ 45 connector. ③ Connect the cable to the hermetic connector. Then tighten the nut and the main cover.
-
Page 9: Configuration Requirements
2. Mount the adapter tube to the bracket and fix it with a screw. 3. Secure the ceiling mounting bracket to the ceiling. Adapter tube 4. Connect cables and then hook the safety wire to the adapter stem. 5. Secure the camera to the adapter tube with screws firmly. Network Connection ●... - Page 10 * NVR preview: support the NVR with 8K video decoding output capability that can decode 16MP real-time video stream , or only the sub or third stream can be decoded. * Display Device: recommended aspect ratio: 32:9/32:10 Here we take accessing IP camera via IE browser in LAN for example. ●...
- Page 11 ③ Double-click the camera listed in the IP-Tool to connect the camera. The default IP address of this camera is 192.168.226.201. Then follow directions to download and install the plugin if prompted. ④ Activate the device. Enter the username and password in the login interface.
- Page 12 Before adjustment After adjustment...
Need help?
Do you have a question about the TD-6528M3 and is the answer not in the manual?
Questions and answers