Subscribe to Our Youtube Channel
Summary of Contents for Vimar Elvox 46226.212C
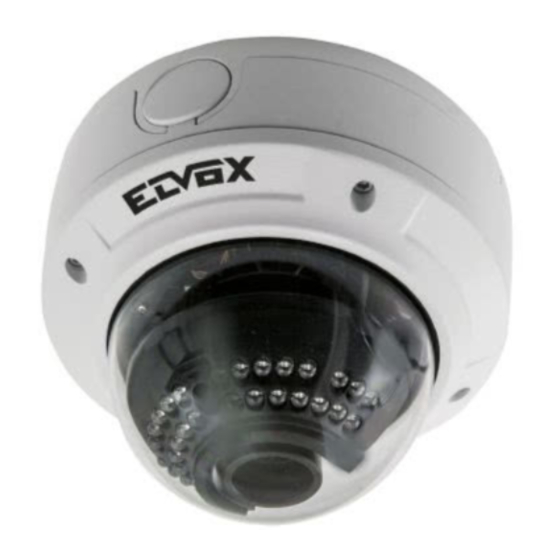
- Page 1 Manuale per l’installazione e l’uso Installation and operation manual 46226.212C Telecamera Dome IR IP 3 Mpx, obiettivo 2,8-12 mm, PoE IP IR Dome camera, 3 Mpx, 2.8-12 mm lens, PoE...
- Page 2 Avvertenze - Prima di utilizzare il prodotto si raccomanda vivamente di leggere il manuale e di conservarlo in un luogo sicuro per consulta- zione futura. - Utilizzare l'alimentazione specificata per il collegamento. - Evitare di azionare il prodotto in modo improprio, sottoporlo a urti o vibrazioni, forti pressioni che possono danneggiarlo. - Non utilizzare detergenti corrosivi per pulire il corpo principale della telecamera.
- Page 3 Fase 3: Regolare l'angolo di visualizzazione in base alle proprie esigenze quando si visualizza il video sul monitor. Se il disposi- tivo in uso non supporta la funzione di messa a fuoco, saltare questo passaggio. Fase 4: Serrare le viti e installare la scatola posteriore. Zoom: Allentare le viti e ruotare l'obiettivo a sinistra o a destra per eseguire lo zoom avanti/indietro sull'immagine.
-
Page 4: Installazione
RS485+ RS485- Installazione 2.1 Collegare la telecamera IP alla rete La connessione della telecamera IP è illustrata di seguito: Alimentazione Switch Modem Internet Alm_COM Alm_NO Alm_IN Allarme Sensore Alm_GND RS485+ RS485- Per collegare il PC e la telecamera IP fare riferimento alla figura sopra. Prima di eseguire il collegamento, collegare i dispositivi esterni, quindi collegare l'alimentazione. Tastiera 3 Specifiche Articolo... - Page 5 Cautions - Before operation, we strongly advise users to read this manual and keep it properly for using later. - Please use the specified power supply to connect. - Avoid from in correct operation, shock vibration, heavy pressing which can cause damage to product. - Do not use corrosive detergent to clean main body of the camera. If necessary, please use soft dry cloth to wipe dirt; for hard contamination, use neutral detergent.
-
Page 6: Interfaces And Connections
Step 3: Adjust the view angle for your need when you view the video on the monitor (If your device cannot support focusing function, please skip this step). Step 4: Tighten the screws and install the back box. Zoom: Loosen the screw and rotate the lens left or right to zoom in/out the image. Focus: Loosen the screw and rotate the lens left or right to adjust the definition of the image. 1.4 Interfaces and Connections - Connections of the external ports: Manuale per l’installazione e l’uso... -
Page 7: Installation
RS485- 2 Installation 2.1 Connect IP-CAMERA to Network The connection of IP-CAM is shown below: Power supply Alimentazione Switch Modem Internet Alm_COM Alm_NO Alm_IN Alarm Sensor Allarme Sensore Alm_GND RS485+ RS485- User can connect the PC and IP-CAMERA in accordance with the above picture. Before connecting, please connect external devices, and then connect the power. - Page 8 Vimar SpA: Viale Vicenza, 14 36063 Marostica VI - Italy Tel. +39 0424 488 600 - Fax (Italia) 0424 488 188 49400992A0 00 16 01 Fax (Export) 0424 488 709 VIMAR - Marostica - Italy www.vimar.com...


Need help?
Do you have a question about the Elvox 46226.212C and is the answer not in the manual?
Questions and answers