Advertisement
Quick Links
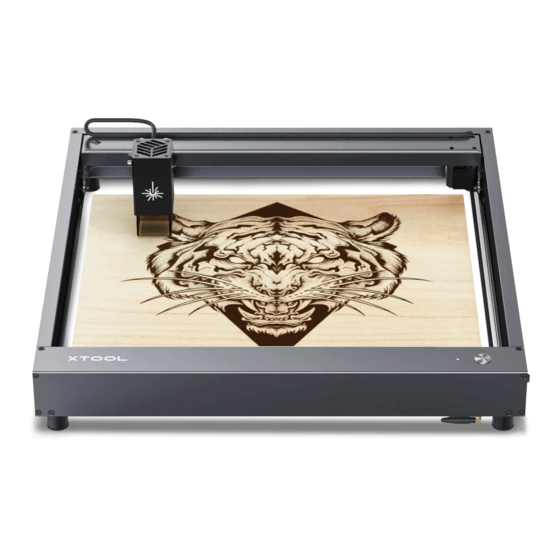
User Manual For xTool D1
xTool D1
User Manual
Statement
Thank you for choosing the xTool products!
If you use the product for the first time, read carefully all the accompanying materials of the
product to improve your experience with it. If you do not use the product according to the
instructions and requirements of the Manual, or mis-operate the product due to
misunderstanding, etc., Makeblock Co., Ltd. shall bear no responsibility for any loss resulting
therefrom, except for losses caused due to improper installation or operation by Makeblock
professional maintenance personnel.
Makeblock Co., Ltd. has collated the contents of the Manual rigorously and carefully, but
errors or omissions may remain.
Makeblock Co., Ltd. is committed to continuously improving product functions and service
quality, and therefore reserves the right to change any product or software described in the
Manual and the contents of the Manual at any time without prior notice.
The Manual is intended to help you use the product properly and does not include any
description of hardware and software configuration. For product configuration, refer to the
related contract (if any) and packing list, or consult your distributor. Images in the Manual are
for reference only and the actual product may vary.
Protected by copyright laws and regulations, the Manual shall not be reproduced or
transcribed in any way, or be transmitted on any wired or wireless network in any manner, or
be translated into any language without the prior written authorization of Makeblock Co., Ltd..
Warning
Physical injuries or damage to the machine may be caused if you do not
follow the instructions or principles.
Warning
Physical injuries or damage to the machine may be caused by laser light if
you do not follow the instructions or principles.
DECLARATION OF CONFORMITY
Advertisement

Related Manuals for Xtool D1


Summary of Contents for Xtool D1
- Page 1 User Manual Statement Thank you for choosing the xTool products! If you use the product for the first time, read carefully all the accompanying materials of the product to improve your experience with it. If you do not use the product according to the instructions and requirements of the Manual, or mis-operate the product due to misunderstanding, etc., Makeblock Co., Ltd.
-
Page 2: Fcc Radiation Exposure Statement
Hereby, Makeblock Co., Ltd., declares that this product is in compliance with the essential requirements and other relevant provisions of Directive RED 2014/53/EU and the RoHS directive 2011/65/EU & (EU) 2015/863. FCC STATEMENT This device complies with Part 15 of the FCC Rules. Operation is subject to the following two conditions: (1) This device may not cause harmful interference, and (2) This device must accept any interference received, including interference that may cause undesired operation. -
Page 3: Laser Safety
0°C to 45°C. Do not operate it at a temperature lower than 0°C. 2. Laser safety xTool D1 has no protective cover. Do not touch the laser when operating the machine. Follow the safety precautions: Do not operate the machine when any part of it is removed. Removing any part may ○... -
Page 4: Fire Safety
may generate corrosive vapor that is extremely harmful to the human body and may cause damage to the machine. Any damage caused by engraving or cutting any material containing PVC or vinyl is not covered by Makeblock's warranty. Do not engrave or cut any unknown materials. Vaporization/melting of many ○... -
Page 5: Warning And Instruction Signs
5. Warning and instruction signs On xTool D1, the warning and instruction signs are labelled where physical injuries or damage to the machine may be caused before and/or during operation. If a sign is damaged or lost, replace it immediately. - Page 6 Assemble xTool D1 Cut off the cable tie on the right plate. Fit the four side plates together on a desk or flat ground. Tighten screws at each joint of the plates to fix them together. Note: Align a screw with the screw hole before tightening it.
- Page 7 Use screws to the set the tightness of the timing belts on the left and right plates. Note: The longest screws are used to set the tightness of the timing belts. Do not fully ○ tighten them. Otherwise, the timing belts may be damaged. Make sure that you set the timing belts on the left and right plates with the same ○...
- Page 8 Use the screw to the set the tightness of the timing belt on the middle plate. Note: The longest screw is used to set the tightness of the timing belt. Do not fully tighten it. Otherwise, the timing belt may be damaged. Install the optical shaft components.
- Page 9 (2) Put the timing pulley through the timing belt, and then tighten the screws on the coupling. 1.Because the bearing is shallow, please check whether it is inserted steadily to avoid the possibility of displacement collapse during the work. 2.Check whether the coupling screws are tightened...
- Page 10 Use the motor cable to connect the motor on the left plate to the main control board. Note: Press the connectors of the motor cable into place to prevent poor contact.
- Page 11 Note: Use cable ties to fit the cable on the plate so that the cable doesn't interfere with the operation of xTool D1. Insert the motor & laser cables into the ports on the main control board.
- Page 12 Connect the motor on the middle plate to the main control board. Use cable ties to fix the cables on the plate.
- Page 13 Connect the laser head to the main control board. Stick the cable into the slot of the fan baffle, and then insert the connector into the port. Fit the laser head. Insert the laser head along the guide rail, and then lock it in a required position by using the thumb screw on the side.
- Page 14 Insert the TF card into the card slot. Meet your xTool D1...
- Page 15 Note: When you connect xTool D1 to the software in Wi-Fi connection mode, you can press the button to start or stop a task. When you connect it in USB connection mode, the button is disabled. Connect your xTool D1 Note: You can visit our website to watch the tutorial video: https://support.xtool.com/hc/en-...
- Page 16 Wi-Fi connection mode ○ (1) Use the USB cable to connect xTool D1 to your PC. (2) Open the software, click the Not Connected drop-down list box, select + Configure and add device, select your device in the dialog box that appears, and then set the Wi-Fi name...
- Page 17 Note: Make sure that xTool D1 and your PC work on the same LAN. After xTool D1 is...
- Page 18 Connect xTool D1 to the laserbox app Search for laserbox in an app store to download the laserbox app. Use the USB cable to connect xTool D1 to your PC. Open the software on your PC, click the Not Connected drop-down list box, and select + Configure and add device.
- Page 20 Connect your mobile device to the same Wi-Fi network as your PC. Open the app on your mobile device and tap the device icon in the upper right corner. Wait till the app discovers your device.
- Page 21 After the Wi-Fi network is set, tap OK...
- Page 22 After xTool D1 is successfully connected, the device icon in the upper right corner turns into green.
- Page 23 Engraving for the first time...
- Page 24 1. Import the pattern you want to engrave and set the pattern size and laser parameters. 2. Place the material to be engraved in the working area of xTool D1 and set the position of the laser head based on the focus ruler.
- Page 25 4. Click Start. The engraving starts. You are advised to wear the safety goggles to protect your eyes.
-
Page 26: After-Sales Services
Function extension You can add the rotary roller engraving module to engrave cylindrical items. Place the module parallel to and in the working area of xTool D1 and connect it to xTool D1 through the extension port. For details, see the tutorial for the rotary roller engraving module.
Need help?
Do you have a question about the D1 and is the answer not in the manual?
Questions and answers