
Related Manuals for Unfinished Furniture of Wilmington TV-49


Summary of Contents for Unfinished Furniture of Wilmington TV-49
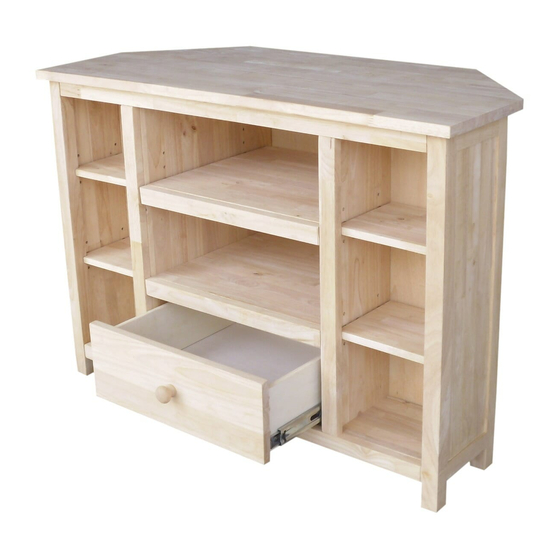
- Page 1 ASSEMBLY INSTRUCTIONS Description : CORNER ENTERTAINMENT CENTER Item No. : TV-49 ITEM NO.: TV-49 Printed in Vietnam REVISED JAN 13, 2016 - 1 -...
-
Page 2: Before Assembly
Protect the surface of the table with cloth if you are using any product with rubber feet or base. ASSEMBLY TOOLS REQUIRED NOT INCLUDED ITEM NO.: TV-49 Printed in Vietnam REVISED JAN 13, 2016 - 2 -... -
Page 3: Part List
Side panel Side shelf (L - R) Vertical Drawer panel front (L-R) Support leg Drawer side (L-R) Center Drawer back panel back Side back Drawer panel bottom ITEM NO.: TV-49 Printed in Vietnam REVISED JAN 13, 2016 - 3 -... -
Page 4: Hardware List
FINISHED ITEM ONLY. STEP 1 Attach side panels (C) to the top (A) with bolts (1), washers (2) and (3) as shown below. Tighten with Allen key (7). ITEM NO.: TV-49 Printed in Vietnam REVISED JAN 13, 2016 - 4 -... - Page 5 Attach vertical panels (D) to the top (A) with bolts (1) and washers (2) and (3) as shown below. Tighten with Allen key (7). STEP 3 Slide center back panel (F) and side back panel (G) into to the grooves as shown below. ITEM NO.: TV-49 Printed in Vietnam REVISED JAN 13, 2016 - 5 -...
- Page 6 Attach bottom panel (B) to side panels (C) with bolts (1) and washers (2) and (3) as shown below. Attach support leg (E) to vertical panels (D) with bolts (1) and washers (2) and (4) as shown below. Tighten with Allen key (7). ITEM NO.: TV-49 Printed in Vietnam REVISED JAN 13, 2016...
- Page 7 Attach the other drawer side (L) to the drawer front (K), drawer back (M) with screws (8). Tighten with the screw driver. Attach knob (5) to drawer front (K) with screw (6). Tighten with the screwdriver. ITEM NO.: TV-49 Printed in Vietnam REVISED JAN 13, 2016...
- Page 8 Attach steel band (11) to the unit with screws (13). Then attach the steel band to a wall with screws (8) as shown below (to secure the product and prevent tipping). ITEM NO.: TV-49 Printed in Vietnam REVISED JAN 13, 2016...
Need help?
Do you have a question about the TV-49 and is the answer not in the manual?
Questions and answers