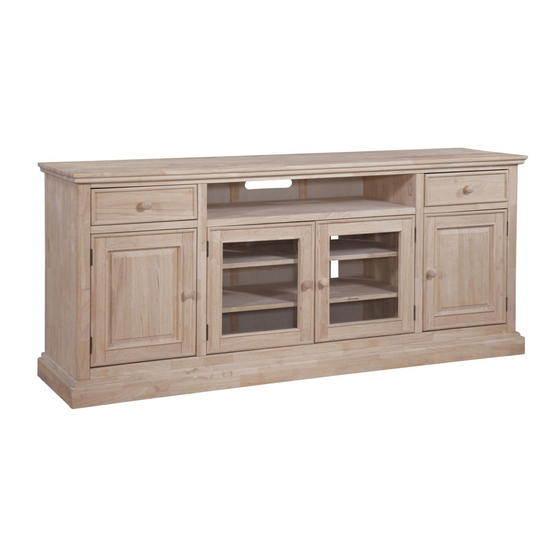
Summary of Contents for Unfinished Furniture of Wilmington TRENTON TV-10A
- Page 1 ASSEMBLY INSTRUCTIONS Description : TRENTON TV CENTER Item No. : TV-10A AND TV-10B ITEM NO.: TV-10A AND TV-10B Printed in Vietnam REVISED NOV 01, 2018 THIS ITEM IS PACKED IN TWO CARTONS - 1 -...
-
Page 2: Before Assembly
BEFORE ASSEMBLY Thank you for purchasing this quality product. This product has been designed for easy assembly and constructed for durability. All parts were checked prior to packaging to insure quality. Prior to beginning assembly, however, make sure all parts and hardware are included and free of obvious defect. - Page 3 PART LIST TV-10A When unpacking, please be careful not to discard any parts with the packaging. Before continuing, please make sure you have the following parts: Description Sketch Description Sketch Bottom PART LIST TV-10B When unpacking, please be careful not to discard any parts with the packaging. Before continuing, please make sure you have the following parts: Description Sketch...
- Page 4 PART LIST TV-10B When unpacking, please be careful not to discard any parts with the packaging. Before continuing, please make sure you have the following parts: Description Sketch Description Sketch Glass section Center Leg (407 x 373 x 3mm) Door frame Door Drawer side Drawer front...
-
Page 5: Hardware List
HARDWARE LIST When unpacking, please be careful not to discard any parts with the packaging. Before continuing, please make sure you have all of the following hardware: Description Sketch Description Sketch Bolt Bracket (M6 x 35mm) Long Pan head screw Spring Washer *Metal knob: (M4x22mm) - Page 6 STEP 1 Attach vertical panels (C) to top (A) and shelf (D) with bolts (1), and washers (2) and (3) as shown below. Tighten with Allen key (13). STEP 2 Insert aprons (F) into vertical panels (C) and side panels (E), and then attach with screws (5) as shown below. Attach side panels (E) to top (A) with bolts (1), and washers (2) and (3) as shown below.
- Page 7 STEP 3 Attach bottom (B) to side panels (E) with bolts (1), and washers (2) and (4) as shown below. Tighten with Allen key (13). Attach bottom (B) to vertical panels (C) with bolts (1), and washers (2) and (3) as shown below. Tighten with Allen key (13).
- Page 8 STEP 5 Attach doors (N) and (M) to side panels (E) and vertical panels (C) with screws (7) as shown below. Tighten with a screwdriver. Insert glass sections (L) into back of doors (M), and lock it as shown below. STEP 6 Attach drawer sides (P) to drawer front (O) with screws (5) as shown below.
- Page 9 STEP 7 Carefully put the drawers into the unit. Insert brackets (9) into the unit as shown below. Place shelves (U) and (T) on the brackets and attach with screws (7). Tighten with a screwdriver. Attach knobs (11) to front of drawer with pan head screws (10) as shown below. Tighten with a screwdriver. Attach steel bands (12) to the unit with short screws (7) and attach the steel band to the wall with long screws (5) as shown below (to secure the product and prevent tipping).


Need help?
Do you have a question about the TRENTON TV-10A and is the answer not in the manual?
Questions and answers