Advertisement
Do you have a question about the R15M and is the answer not in the manual?
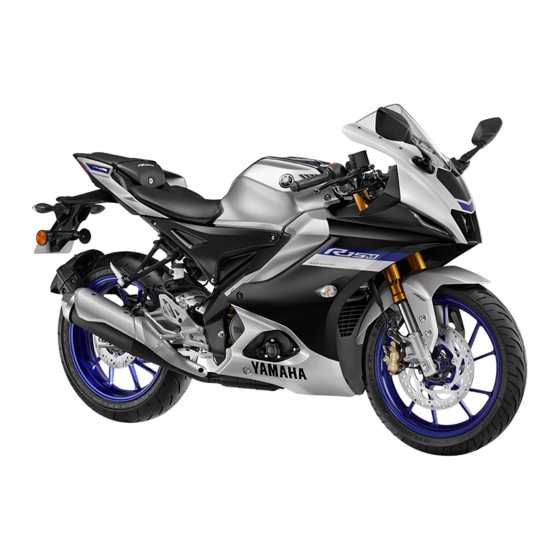
How many ml of oil in front fork
The front fork oil quantity for the Yamaha R15M is 500 ml.
This answer is automatically generated


Need help?
Do you have a question about the R15M and is the answer not in the manual?
Questions and answers
How many ml of oil in front fork
The front fork oil quantity for the Yamaha R15M is 500 ml.
This answer is automatically generated