Table of Contents
Advertisement
Quick Links
Advertisement
Table of Contents

Subscribe to Our Youtube Channel
Summary of Contents for Crosswater Revive FHX310C
-
Page 2: Contents Of The Box
Contents of the box Threaded bar M6 Frame Shower head Led cover Hexagonal nut M6 Rawplug Ø10 M6 Screw Template Control unit... -
Page 3: Specifications
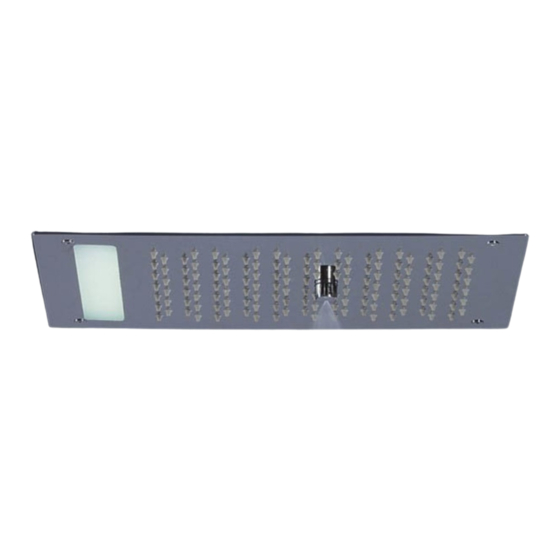
Specifications -Two spray function: rain, mist - Chromatherap led (RGB) - Connection G1/2” F for rain - G1/2” F hose connection fot mist - Flow rate 11 lt/min at 3 bar - Input voltage: 100 - 240 V - Output voltage: 12V 3A - Ambient operating temperature: -10 40 C°... - Page 4 Installation guide Cut the ceiling to install the carter. Prepare 4 goles in the ceiling, distance Cutting hole size: 285mm x 185mm from holes 160mm 6.29in. Use for this 11.22in x 7.28 in template supplied in the box. Ceiling cavity at least 100mm 3.93in.
- Page 5 Insert the rawplug inside the holes, Fix it with nuts. tighten the nut until completely locking. Cut threaded bar in excess close to the Connect exy hose (G1/2” F) for water hexagonal nut. supply to shower head. Connect the cable to control unit.
- Page 6 Insert the cable into control unit and connect colored cable, following the same color. Close locking connector. Prepare the cable for power supply. Control unit dimensions: 100x270x70 Fix the shower head to the frame with 4 screws...
-
Page 7: Wall Mounting
WALL MOUNTING... -
Page 8: Wall Installation
WALL INSTALLATION ‡ & 2 2 ( 1 P ' & 2 2 & ' ( R 1 Fig. 1: Make a slot into the wall to install the carter. Slot size: 285 mm x 185 mm - 11.22 in x 7.28 in. Slot depth: 100 mm - 3.93 in Fig. - Page 9 Fig. 2 p E F G H Fig. 3 Fig. 4...
- Page 10 Fig. 6 p E F G I Fig. 7 Fig. 8...
-
Page 11: Remote Controller
REMOTE CONTROLLER 05. Automatic color changing - next 01. ON / OFF 02. Panoramic mode on 03. Speed down 04. Speed up - Push -button to speed down panoramic mode - Push + button to speed up panoramic mode 07. Selecting next color 09.


Need help?
Do you have a question about the Revive FHX310C and is the answer not in the manual?
Questions and answers