Moxa Technologies NPort W2150A Series Quick Installation Manual
Hide thumbs
Also See for NPort W2150A Series:
- User manual (136 pages) ,
- Quick installation manual (7 pages) ,
- Tech note (5 pages)

Subscribe to Our Youtube Channel
Related Manuals for Moxa Technologies NPort W2150A Series


Summary of Contents for Moxa Technologies NPort W2150A Series
- Page 1 NPort W2150A/W2250A Series Quick Installation Guide Version 6.4, January 2021 Technical Support Contact Information www.moxa.com/support 2021 Moxa Inc. All rights reserved. P/N: 1802021503017 *1802021503017*...
- Page 2 Overview The NPort W2150A/W2250A wireless device servers are an ideal choice for connecting serial devices or Ethernet devices, including PLCs, meters, and sensors, to an IP-based wireless LAN or Ethernet LAN. Features • Link any serial device to an IEEE 802.11a/b/g/n network •...
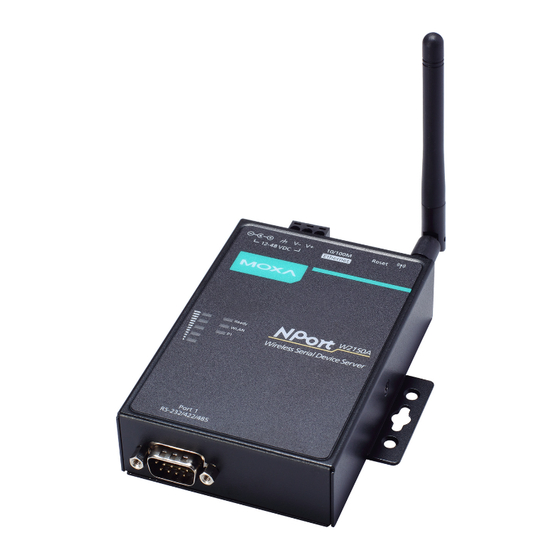
- Page 3 Hardware Introduction The NPort W2150A models have one serial port; the NPort W2250A models have two serial ports. Both models support RS-232/422/485 operation with DB9 connectors and include one 10/100M Ethernet port. NPort W2150A/W2150A-T NPort W2250A/W2250A-T Reset Button: The reset button is used to load the factory default settings.
- Page 4 Name Color Function Steady on: Wireless enabled Blinking: The NPort can’t establish a WLAN Green WLAN connection with AP (Infrastructure) or station (Ad-Hoc) Wireless not enabled Orange The serial port is receiving data Serial 1 Green The serial port is transmitting data Serial 2 No data is flowing to or from the serial port 1 Red -...
- Page 5 NOTE Do not use the 1 kΩ setting while in RS-232 mode. Doing so will degrade the RS-232 signals and reduce the effective communication distance. First-Time Hardware Installation STEP 1: After removing the NPort W2150A/W2250A from the box, use a crossover Ethernet cable to connect the NPort’s RJ45 Ethernet port directly to your computer’s Ethernet port.
- Page 6 For software installation, download the relative utilities from Moxa's website: https://www.moxa.com/support/support_home?isSearchShow=1 • Download the NPort Windows Driver Manager and install it as the driver to run with Real COM mode of the NPort Series. • Execute NPort Windows Driver Manager; then map the virtual COM ports on your Windows platform.
Need help?
Do you have a question about the NPort W2150A Series and is the answer not in the manual?
Questions and answers