Advertisement
Quick Links
Mounting the cam
Cam
• Screw the cam and tighten with a tool according to the table (tightening torque: ≥ 2N.m or 20Kgf.cm).
Reference
Cam
7162010
M6
7162011
M8
7162012
M10
7162013
M12
7162014
M16
7162138
M6 Female
7162189
M5 Female
NI-267
index 1
A
B
Visual
Tools
Allen spanner 2.5
A
A
Allen spanner 2.5
B
Open-end spanner 17
B
Open-end spanner 17
B
Open-end spanner 17
C
Allen spanner 2.5
Allen spanner 2.5
C
Recommendations
IMPORTANT
For any intervention or configuration change, see the
maintenance manual (NM-278) available on the website:
http://www.definox.com/
AIR QUALITY
• Dry and filtered air at 10µm (DIN ISO 8573-1)
• Operating pressure: 5 to 7 bars
ELECTRIC
M16 x 1.5 cable gland
Digital terminal block version:
• Operating voltage:
Digital
• Conductor section: 0.5mm² recommended and 0.75mm²
max.
• Ø cable
IMPORTANT
For disassembly and handling of the unit, provide a minimum
clearance of 50 mm above the cover.
C
Assembling the actuator base
A
≥ 2 Nm
≥ 2 Nm
≥ 2 Nm
≥ 2 Nm
June 2021
: 24 VDC only _ +/- 5%.
: 4 to 10 mm.
•
• Position the base by aligning the indexing pin to the 1/8
Gas hole.
•
Screw in the two non-detachable CHC screws [A] to fix
the base on the actuator and tighten them (tightening
torque: ≥ 1N.m or 10Kgf.cm).
Indexing pin
1/8 Gas Hole
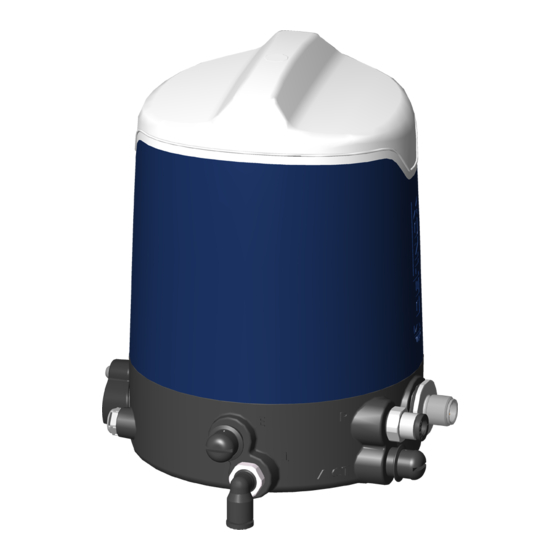
Locking and unlocking the cover
Cover locked
Cover unlocked
Turn the cover counterclockwise to bring the fin to the
stop, then remove the cover by pulling it up.
Advertisement

Subscribe to Our Youtube Channel
Related Manuals for Definox Sorio Basic 1EV


Summary of Contents for Definox Sorio Basic 1EV
- Page 1 Locking and unlocking the cover IMPORTANT Cover locked For any intervention or configuration change, see the maintenance manual (NM-278) available on the website: http://www.definox.com/ AIR QUALITY • Dry and filtered air at 10µm (DIN ISO 8573-1) • Operating pressure: 5 to 7 bars ELECTRIC M16 x 1.5 cable gland...
- Page 2 Assembly Cable / Cable gland Reassembling the cover Cover fin • Position the cover in the notch on the base. Fin in the alignment above. Cover fin • Press the cover onto the base. Cover fin • Unscrew the nut [B] from the cable gland [C]. Base fin •...
Need help?
Do you have a question about the Sorio Basic 1EV and is the answer not in the manual?
Questions and answers