
Related Manuals for Shoprider TE-779XLS


Summary of Contents for Shoprider TE-779XLS
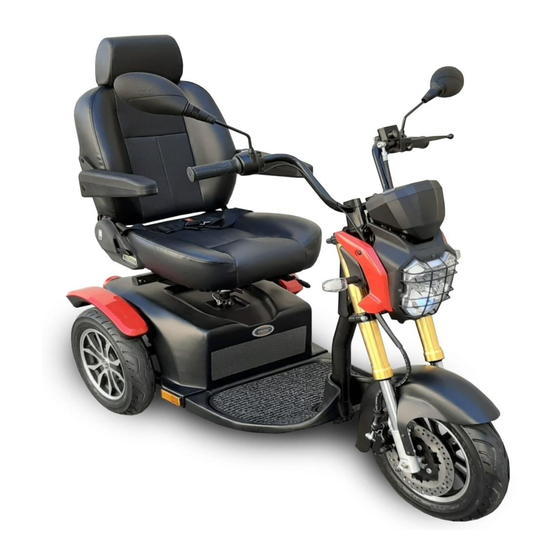
- Page 1 SHOPRIDER NEW ZEALAND MOBILITY SCOOTER USER’S GUIDE TE-779XLS Powerful Shoprider Mobility Scooter...
-
Page 2: Table Of Contents
6 Freewheel Operation......5 7 Starting To Drive Your Scooter....6 Getting Started.......... 6 Starting Scooter Movement....... 6 Steering............. 6 Reversing........... 6 Dismounting..........6 8 Extra Guidelines, Scooter Control..6 Ramps............6 Safe Climbing Angle........6 Sand and Gravel.........7 Shoprider Scooters User Guide... -
Page 3: Introduction
Congratulations on your purchase of the Shoprider scooter. This scooter incorporates the ® latest innovative designs patented and only available on a Shoprider scooter. This scooter ® can be used in outdoors. Direct drive transaxles and electromagnetic brakes give a safe and efficient ride. -
Page 4: Safety Precautions
• Always stop fully before changing direction (forward or reverse) • Always keep your feet on the platform when riding • Do not use parts or accessories that are not authorised by Shoprider ® • Do not connect any medical device to the scooter battery - doing so could cause injury •... -
Page 5: Adjustments
Remove the locking pin that secures the seat adaptor. Lift the seat adaptor out of the seat post. The seat height can be adjusted to 3 different settings by inserting the steel locking pin in the required hole. Retighten the bolt and replace the seat. Shoprider Scooters User Guide... -
Page 6: Scooter Tiller Controls
Battery Gauge Display Hazard Warning Light Display “E”: Empty ; “F”: Full Spanner Symbol & Code – Service Direction of Travel Display refer to Self-Help Guide (P.17) Left / Right Turn Signal Display Charging Display (1) LCD Display Shoprider Scooters User Guide... -
Page 7: Speed Controls
Failure to do so may result in injury. Freewheel Release Lever The importer of the scooter is not responsible for damage or injury incurred due to improper or misuse of the scooter. Fig. 6 Shoprider Scooters User Guide... -
Page 8: Starting To Drive Your Scooter
When the finger levers are released the scooter will slowly stop. Safe Climbing Angle Always follow the guidelines of the safe climbing angle shown as shown in figure 7. Caution - Do not turn off the key while the unit is in motion Shoprider Scooters User Guide... -
Page 9: Sand And Gravel
Battery Charging Procedures). Charging may take up to 14 hours. Charging the batteries completely prior to first time use will benefit battery efficiency. Failure to do so may cause damage. Charging (Fig. 8) To charge the batteries connect the 3-pin male plug lead into the 3-pin female battery- Shoprider Scooters User Guide... -
Page 10: Maintenance
(2-pin). Please refer to the LED indicator description based on charging status of the charger’s manual. Once the batteries are completely charged, unplug the A/C cord from the wall then unplug the 3-pin lead from the tiller. WARNING: Only use the original Shoprider approved charger! ®... -
Page 11: Cleaning
The parking brakes have a bad connection. Check the parking brake and motor connections. Make sure the controller connections are secure. An excessive voltage has been applied to the controller. This is usually caused by a poor battery connection. Check the battery connections. Table 1 Shoprider Scooters User Guide... -
Page 12: Circuit Breaker And Fuse
NZ will void the warranty. Warranty only applies to the original purchaser. ® Copy the following information from your dealer for future reference: Model No. *Serial No. Charger Type & No. Serial number located Battery type & No. on the rear chassis rail Your Shoprider Dealer Shoprider Scooters User Guide... -
Page 13: Technical Specifications
13. TECHNICAL SPECIFICATIONS UNIT SPECIFICATIONS TE-779XLS Overall Dimensions: L x W x H inches 61” x 28” x 51” Front Pneumatic Tire Diameter pcs x in 1 x 16” Rear Pneumatic Tire Diameter pcs x in 2 x 16” Suggested User Weight (on the Level Road) - Page 14 108 Sawyers Arms Rd, Papanui, Christchurch, New Zealand Freephone: 0800-220-110 Fax: +64-3-354-4356 Email: freedom@shoprider.co.nz • • Your Shoprider Dealer...
Need help?
Do you have a question about the TE-779XLS and is the answer not in the manual?
Questions and answers
I have been donated a shoprider TE7A It has been in storage for many years The batteries will not charge Can you send me details of what I need to do to Remove battery covers I live in Northern Ireland BT817WD