Advertisement
Quick Links
Installation
Instructions
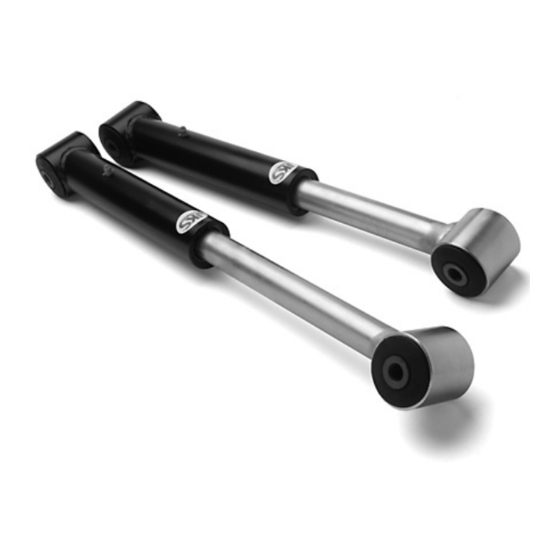
Product: Adjustable Lower Control Arms
Part Number: PN 6155
Application: Jeep Wrangler JK, 2007+ (rear only)
Welcome
CONGRATULATIONS on purchasing a set
of new Adjustable Control Arms from JKS
Manufacturing. We are committed to providing
you with the best products available and your
satisfaction is our first priority.
PLEASE READ these Installation Instructions
carefully, and save them for future reference,
as they contain important installation and
maintenance information.
JKS Adjustable Control Arm Installation
Important
SUSPENSION COMPONENTS THAT HAVE
RUBBER BUSHINGS must be tightened with
vehicle on level ground and at normal ride
height. The springs must be supporting weight
of vehicle when the hardware is torqued.
RUBBER BUSHINGS MUST NEVER BE
LUBRICATED, as doing so will impair
performance and longevity.
COMPATIBLE WITH original 4-link
suspension configuration and vehicle ride
height up to 6.0".
REFER TO FACTORY SERVICE MANUAL
for information and procedures not covered in
these instructions.
Tools Required
Hydraulic Floor Jack and Jack Stands
Metric/Standard Socket Wrench Set
Torque Wrench
Tape Measure
Anti-Seize Lubricant
Hand-Pump Grease Gun
Moisture Resistant Marine Style Grease
Heavy Duty Ratchet Strap *
Factory Service Manual (recommended)
* Asterisk denotes tools that are not required for some
applications. Thoroughly read instructions to determine
which tools will be required for your application.
PN 6155
ATTENTION INSTALLER
Install Adjustable Control Arms ONE AT A TIME
for easiest alignment of mounting hardware.
Installation
1. REMOVE ORIGINAL LOWER
SUSPENSION ARM
Raise and support the vehicle chassis with jack
stands positioned in front of the rear lower
suspension arm brackets.
Raise the axle housing back into position and
support with a hydraulic jack. HINT: The axle
housing should be evenly supported and the
suspension at normal ride height. Do not
attempt removal or installation with the
suspension extended, or the axle drooped, as
this will place tension on suspension arm
mounting hardware.
Remove the lower suspension arm bolt and nut
from the axle housing bracket. Retain the
original mounting hardware.
Remove the bolt and flag nut from the chassis
rail bracket. Retain the original mounting
hardware.
Remove the original lower suspension arm from
the vehicle.
Page 1 of 2
Advertisement

Related Manuals for JKS PN 6155


Summary of Contents for JKS PN 6155
- Page 1 Heavy Duty Ratchet Strap * CONGRATULATIONS on purchasing a set Factory Service Manual (recommended) of new Adjustable Control Arms from JKS Manufacturing. We are committed to providing * Asterisk denotes tools that are not required for some you with the best products available and your applications.
- Page 2 4. TIGHTEN MOUNTING HARDWARE Adjustable Control Arms are fully collapsed when Once both Adjustable Control Arms have been supplied from JKS and must be adjusted to the desired properly installed, lower the vehicle to the lengths before installation. ground until coil springs are supporting the full weight of vehicle.
Need help?
Do you have a question about the PN 6155 and is the answer not in the manual?
Questions and answers