Table of Contents
Advertisement
Quick Links
Advertisement
Table of Contents

Subscribe to Our Youtube Channel
Related Manuals for Avigilon AI NVR


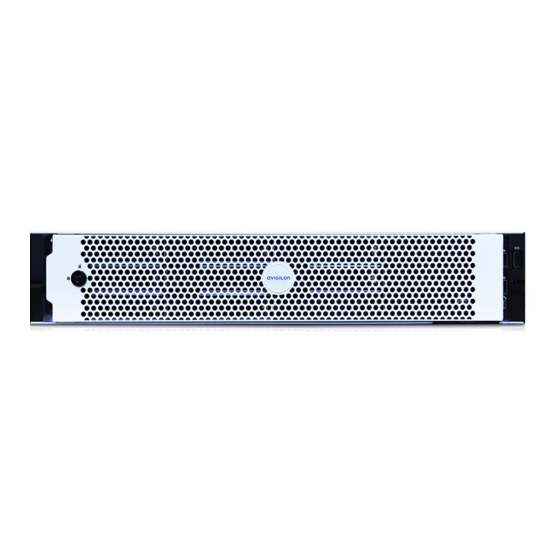
Summary of Contents for Avigilon AI NVR
- Page 1 AI NVR Standard 10GbE Kit Installation Guide AINVR-STD-10GBE AINVR-STD...
- Page 2 © 2021, Avigilon Corporation. All rights reserved. AVIGILON, the AVIGILON logo, AVIGILON are trademarks of Avigilon Corporation. Intel is a trademark of Intel Corporation or its subsidiaries in the U.S. and/or other countries. Other names or logos mentioned herein may be the trademarks of their respective owners. The absence of the symbols ™...
-
Page 3: Table Of Contents
Table of Contents Introduction Confirm Package Contents Required Tools Installing the AI NVR Standard 10GbE Kit Installing the 10GbE Card in Slot 2 of Expansion Riser 1 Installing the 10GbE Card in Slot 3 of Expansion Riser 1 Reattach the AI NVR Cover Confirming the Installation For More Information... -
Page 4: Introduction
Introduction Avigilon provides an optional 10GbE Kit for the AI NVR Standard. This kit provides you with a high-speed Ethernet port for faster connections to your security network of ACC Servers and Clients. Important: An AI NVR Standard with the: 10GbE Kit installed is supported on Release ACC 7.12.4 or... -
Page 5: Required Tools
Required Tools The following tools are not included in the kit package, but are needed to complete the installation: Phillips #2 screwdriver Important: It is recommended that you always use an antistatic mat and antistatic strap while working on components inside the system. Required Tools... -
Page 6: Installing The Ai Nvr Standard 10Gbe Kit
Installing the AI NVR Standard 10GbE Kit Before starting to install the kit: 1. Turn off the AI NVR, including all attached peripherals. Press the power button on the front panel, and wait for the light to stop blinking to indicate shutdown is complete. WARNING —... - Page 7 The procedure used to install the 10 GbE card depends on whether or not you have installed, or plan to install the AI NVR Standard Performance Upgrade Kit (AINVR-STD-PRK) in the AI NVR. Refer to the following table for the correct procedure: If you have… Use...
-
Page 8: Installing The 10Gbe Card In Slot 2 Of Expansion Riser
Installing the 10GbE Card in Slot 2 of Expansion Riser 1 Use this procedure if you have no plans to install the AI NVR Performance Upgrade Kit in the AI NVR. With the AI NVR open: 1. Unpack the 10GbE card. 2. Remove the pre-installed graphics card in slot 1 of expansion riser 1: a. - Page 9 Note: This illustration shows how a card is installed in slot 1 and then how the expansion card latch is closed. The technique to install the 10GbE card in slot 2 is the same, except it is beneath the card in slot 1 and has to be installed first. The card in this illustration does not match the appearance of the actual card installed in slot 1.
-
Page 10: Installing The 10Gbe Card In Slot 3 Of Expansion Riser
Installing the 10GbE Card in Slot 3 of Expansion Riser 1 Use this procedure if the AI NVR Performance Upgrade Kit is installed in the AI NVR, or is planned to be installed. Important: For early AI NVR STD models, the BOSS controller card is installed in riser 1 slot 3 and must be moved to the low-profile slot in riser 2 (slot 4), so that the 10GbE card can be installed in slot 3. - Page 11 With the AI NVR open: 1. Remove the cards in expansion riser 1: a. Pull the expansion card latch out of its slot. Note: The card in this illustration does not match the appearance of the actual cards being removed from slot 1. b.
- Page 12 Note: The card in this illustration does not match the appearance of the BOSS card. e. Slide the card into the slot guide opposite the connector to align the connector on the card with the connector on the riser. f. Insert the card edge connector firmly into the expansion card connector until the card is fully seated.
-
Page 13: Reattach The Ai Nvr Cover
Note: This illustration shows how a card is installed in slot 1 and then how the expansion card latch is closed. The technique to install the cards in slots 2 and 3 are the same, except they are beneath the card in slot 1 and have to be installed first. The card in this illustration does not match the appearance of the actual card installed in slot 1. -
Page 14: Confirming The Installation
Confirming the Installation From an ACC Client running on a workstation with a network connection to the ACC site associated with the AI NVR: 1. Log in to ACC site. 2. Click in the menu bar and scroll down and click Site Setup. 3. - Page 15 Limited Warranty Avigilon warranty terms for this product are provided at avigilon.com/warranty. Confirming the Installation...
-
Page 16: For More Information
For More Information For additional product documentation and software and firmware upgrades, visit support.avigilon.com. Technical Support Contact Avigilon Technical Support at support.avigilon.com/s/contactsupport. For More Information...
Need help?
Do you have a question about the AI NVR and is the answer not in the manual?
Questions and answers