Advertisement
Roverpet
Roverpet #F26 – 2' x 6' Floor Assembly Instructions
Inventory List: Roverpet #F26 Sealed Floor
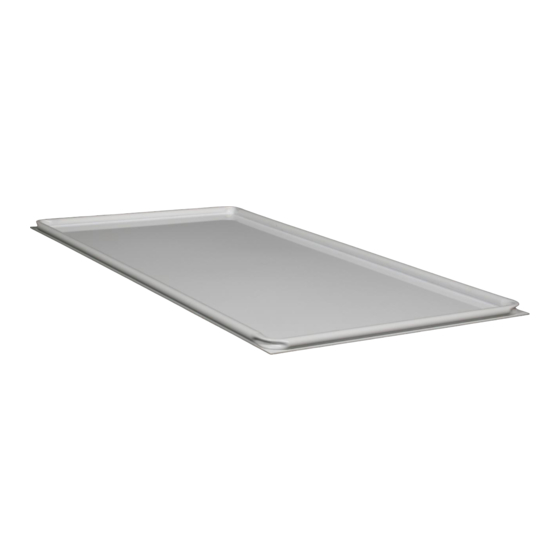
1) #F26 PVC floor for 2' x 6' pet cage
(8) #250 floor clips for each included floor
Assembly Procedure
1.) Unpack contents of shipping carton and compare to inventory list above.
2.) Place the #F26 floor, flat side down, on your floor. Make sure the #F26 floor is resting completely flat on your floor
surface.
3.) Place your existing Roverpet dog cage over the floor. The Roverpet dog cage will rest on the outside of the #F26 floor
frame.
4.) With the dog cage positioned over the #F26 floor, install (1) #250 floor clip in the middle of each PVC panel. Snap the
20 Kiji Dava Circle Prescott, Arizona 86301
(2) #F26 PVC floor for 4' x 6' pet cage
AND/OR
clip over the panel frame and #F26 floor frame, securing the panel to the #F26 floor.
800-658-5925
rover@roverpet.com
Page 1 of 2
Advertisement
Table of Contents

Related Manuals for Roverpet F26


Summary of Contents for Roverpet F26
- Page 1 4.) With the dog cage positioned over the #F26 floor, install (1) #250 floor clip in the middle of each PVC panel. Snap the clip over the panel frame and #F26 floor frame, securing the panel to the #F26 floor.
- Page 2 5.) For multi-floor dog cages: Install (6) #250 floor clips over the #F26 floor frames where they meet together. Place (2) #250 floor clip at the furthest most points of the #F26 frames and (4) more #250 floor clips evenly spaced across the two #F26 floor frames.
Need help?
Do you have a question about the F26 and is the answer not in the manual?
Questions and answers