Table of Contents
Advertisement
Quick Links
3000775 RSV 20210824 - international
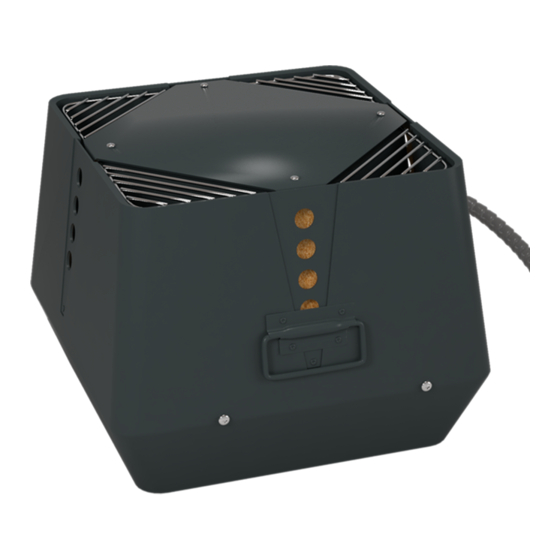
RSV chimney fan
READ AND SAVE THESE INSTRUCTIONS!
Product information
Mechanical installation
Electrical installation
Start up and configuration
Maintenance and troubleshooting
Job name: _________________________________
Installer: __________________________________
Installation date: ___________________________
Manufacturer contact information:
exodraft a/s • Tel: +45 7010 2234
info@exodraft.dk • www.exodraft.com
Installation and operation manual
Chapters 1 + 2
Chapter 3
Chapter 4
Chapter 5
Chapter 6
Advertisement
Table of Contents

Subscribe to Our Youtube Channel
Related Manuals for Exodraft RSV


Summary of Contents for Exodraft RSV
- Page 1 Mechanical installation Chapter 3 Electrical installation Chapter 4 Start up and configuration Chapter 5 Maintenance and troubleshooting Chapter 6 Job name: _________________________________ Installer: __________________________________ Installation date: ___________________________ Manufacturer contact information: exodraft a/s • Tel: +45 7010 2234 info@exodraft.dk • www.exodraft.com...
-
Page 2: Table Of Contents
4.1 Electrical requirements ............8 4.2 Wiring diagram for chimney fans RSV 009-016 and 200-315 ..... . . 8 4.3 Wiring diagram for RSV 400-450 . -
Page 3: Function
1.1 Function Description The exodraft model RSV chimney fan is intended for use as part of a chimney, stack or venting sys- tem. The fan is designed to withstand the high temperatures associated with combustion, and can be used with natural gas, LP-gas and oil-fired heating appliance systems where flue gases do not exceed 575 ºF (300 ºC) for intermittent operation and 482 ºF (250 ºC) for continuous operation. -
Page 4: Shipping
All single phase fans are shipped with a capacitor and junction box connected via conduit. The capacitor is located INSIDE the junction box. Please do not discard. 1.4 Warranty Complete warranty conditions are available at www.exodraft.com or request a copy at: info@exodraft.dk or at tel: +45 7010 2234 2. Specifications 2.1 Dimensions and capacities... -
Page 5: Transport Safety Device
10 feet and a minimum of 4 feet away from any door or window. For complete information, consult ENERVEX or your local building codes. 3.1 Transport safety device Before mounting the exodraft chimney fan make sure the transport safety brackets have been removed (RSV315, 400 and 450 only). Fig. 3 3.2 Single fan on steel chimney... -
Page 6: Single Fan On Brick Chimney
3000775 RSV 20210824 - international 3.4 Single fan on brick chimney The installation procedure is the same for round and square flues. If a clay flue liner is installed and extends beyond the chimney, cut it back so it extends no more than 1/2 inch above the chimney crown. -
Page 7: Multiple Fan Installations
3000775 RSV 20210824 - international 3.6 Multiple fan installations It is possible to install multiple fans in parallel. For details, please contact exodraft. The fans must be placed so they can be opened for maintenance and chimney access. Fig. 8 shows optimal placement. -
Page 8: Electrical Requirements
If any of the original wire supplied with the system must be replaced, use similar wire of the same temperature rating. Otherwise, insulation may melt or degrade, exposing bare wire. 4.2 Wiring diagram for chimney fans RSV 009-016 and 200-315 The connection diagram below shows a single-phase fan connected to a fan speed control and the power source (see fig. -
Page 9: Wiring Diagram For Rsv 400-450
3000775 RSV 20210824 - international 4.3 Wiring diagram for RSV 400-450 The wiring diagrams below shows a three-phase fan connected to the power source (see fig. 11 and 12). Use a 3-conductor wire of minimum 14 AWG with ground. Wiring must be run outside the chimney/stack in flexible or rigid metal conduit. -
Page 10: System Testing
Apply power and check that the axial vane or impeller is rotating in the direction of the arrow on the side of the top motor cover (RSV400/450 only). All exodraft fans run in a clockwise direction when viewed from the top. -
Page 11: Maintenance Intervals
6. Maintenance and troubleshooting 6.1 Maintenance intervals The exodraft chimney fan is designed for continuous use. For gas applications, no regular maintenance is required. For oil applications, inspect the axial vane or impeller after 3 months and set up a periodic inspection based on these findings. - Page 12 Notes www.exodraft.com...
Need help?
Do you have a question about the RSV and is the answer not in the manual?
Questions and answers