
Subscribe to Our Youtube Channel
Related Manuals for Home Decorators Collection SK13560R1


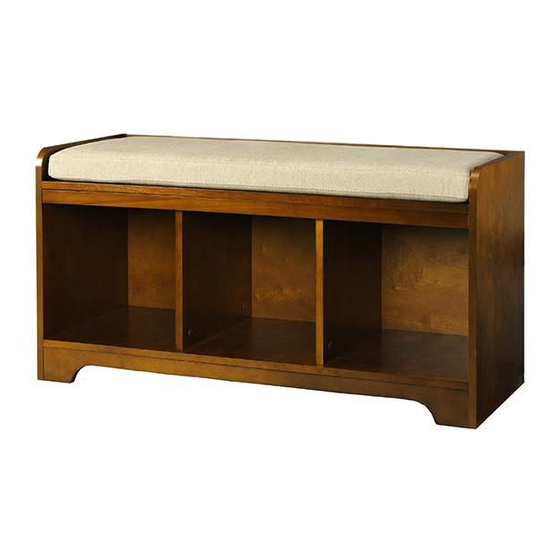
Summary of Contents for Home Decorators Collection SK13560R1
- Page 2 Thank you for purchasing this quality product. Be sure to check all packing material carefully for small parts, which may have came loose inside the carton during shipment. Count all parts and material hardware, then compare with parts list to be sure all parts are present.
- Page 4 NOTE: UPON OPENING, THOROUGHLY CLEAN ALL WOOD SURFACES TO REMOVE DUST AND DIRT THAT MAY HAVE SETTLED ONTO THE FINISH DURING SHIPMENT. IN ORDER TO PREVENT DAMAGE DURING ASSEMBLY. PLEASE ASSEMBLE THIS ITEM WITH AT LEAST TWO PEOPLE. NOTE: TURN THE CAM-BOLT SCREWS UNTIL THEY ARE TIGHT, THE SHOULDER SHOULD BE SHOULDER AGAINST THE SURFACE OF THE PART.
- Page 5 FIG 1 ● INSTALL THE WOOD DOWEL (a) AND THE CAM LOCK BOLT (b) INTO THE TOP PANEL (D). ● JOIN THE TOP PANEL (D) TO THE DIVIDER (C) BY USING WOOD DOWEL (a) FIRST. ● ONCE JOINED, TIGHTEN CAM LOCK (c) ONTO BOLT (b) USING PRE-DRILLED HOLES. ●...
- Page 6 FIG 2 ● INSTALL THE WOOD DOWEL (a) AND THE CAM LOCK BOLT (b) INTO THE BOTTOM PANEL (E). ● JOIN THE BOTTOM PANEL (E) TO THE DIVIDER (C) BY USING THE WOOD DOWEL (a) FIRST. ● ONCE JOINED, TIGHTEN CAM LOCK (c) ONTO BOLT (b) USING PRE-DRILLED HOLES. ●...
- Page 7 FIG 3 ● INSTALL THE WOOD DOWEL (a) AND THE CAM LOCK BOLT (b) INTO THE LEFT SIDE PANEL (A) AND THE RIGHT SIDE PANEL (B). ● JOIN THE LEFT SIDE PANEL (A) AND THE RIGHT SIDE PANEL (B) TO THE ASSEMBLED PART, THE UPPER FRONT CROSS BAR (F), THE UPPER BACK CROSS BAR (G), THE LOWER BACK CROSS BAR (H), AND THE LOWER FRONT CROSS BAR (I) BY USING WOOD DOWEL (a) FIRST.
- Page 8 FIG 4 ● TIGHTEN THE UPPER FRONT CROSS BAR (F), THE LOWER FRONT CROSS BAR (I), AND THE LOWER BACK CROSS BAR (H) BY USING THE FLAT HEAD SCREW (e). ● JOIN THE SUPPORTIVE PANEL (J) TO THE BOTTOM PANEL (E) BY USING THE WOOD DOWEL (a) FIRST.
Need help?
Do you have a question about the SK13560R1 and is the answer not in the manual?
Questions and answers