Advertisement
Quick Links
Advertisement

Subscribe to Our Youtube Channel
Related Manuals for Teknik 5423547


Summary of Contents for Teknik 5423547
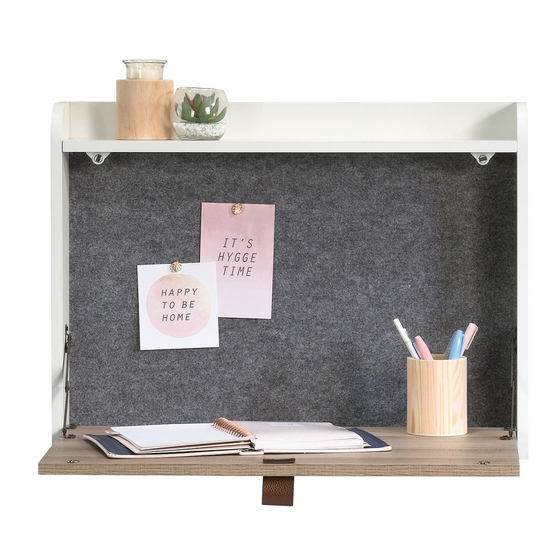
- Page 1 Teknik www.teknikoffice.co.uk For things 'n such. Avon Leather Handled Wall Desk Model 5423547...
- Page 2 Table of Contents Table of Contents Assembly Tools Required Assembly Tools Required Part Identifi cation No. 2 Phillips Screwdriver Tip Shown Actual Size Hardware Identifi cation Assembly Steps Pencil Français 10-11 Electric drill with 1/8" and 3/16" or 6mm bits (ONLY in indicated step) Español 12-13...
-
Page 3: Part Identification
Now you know Part Identifi cation our ABCs. å While not all parts are labeled, some of the parts will have a label or an inked letter on the edge to help distinguish similar parts from each other. Use this part identifi cation to help identify similar parts. WALL SUPPORT (1) WALL UNIT (1) Hardware Identifi... - Page 4 Step 1 Your Wall Desk is intended to be fastened to wall studs using the included hardware. å If you need to drywall hang this unit, purchase a drywall anchor which is rated to support a MINIMUM of å 80 lbs. Follow the instructions provided with the anchoring hardware. Determine the desired height of the Wall Desk on your wall and subtract 7".
- Page 5 Step Step 2 Drill a 1/8" hole in your wall at each wall stud location. å Fasten the WALL SUPPORT (A) to your wall using two å SILVER 2" FLAT HEAD SCREWS (4) into the 1/8" holes. Wall Stud Upper line of wall unit 7"...
- Page 6 Step 3 Fasten the METAL BRACKETS (1) to the WALL UNIT (B). Turn two SILVER 1/2" HEX HEAD SCREWS (6) with å the L-WRENCH (3). Hang your WALL UNIT (B) onto the WALL SUPPORT (A). å With a pencil, create a mark onto the wall through the METAL BRACKET holes. å...
- Page 7 Step 4 1. On each pencil mark, drill a 3/16" or 6mm hole for the å DRYWALL ANCHOR (2) or 1/8" hole into a stud in the wall. 2. Gently tap a DRYWALL ANCHOR (2) into each hole å until it is fl ush with the wall. NOTE: Stud attachment will not use a DRYWALL å...
- Page 8 Step 5 Hang your WALL UNIT (B) onto the WALL SUPPORT. å Fasten the WALL UNIT (B) to the wall by turning two å SILVER 1-3/8" FLAT HEAD SCREWS (5) through the METAL BRACKETS and into the DRYWALL ANCHORS or stud in the wall.
- Page 9 Step 6 NOTE: Please read the back pages of the instruction å booklet for important safety information. This completes assembly. Clean with your favorite å furniture polish or a damp cloth. Wipe dry. 10 lbs. 10 lbs. 25 lbs. Page 9...
- Page 10 WARNING Please use your furniture correctly and safely. Improper use can cause safety hazards, or damage to your furniture or household items. Carefully read the following chart. Look out for: What can happen: How to avoid the problem: • Properly mounting the unit to the wall. •...
Need help?
Do you have a question about the 5423547 and is the answer not in the manual?
Questions and answers