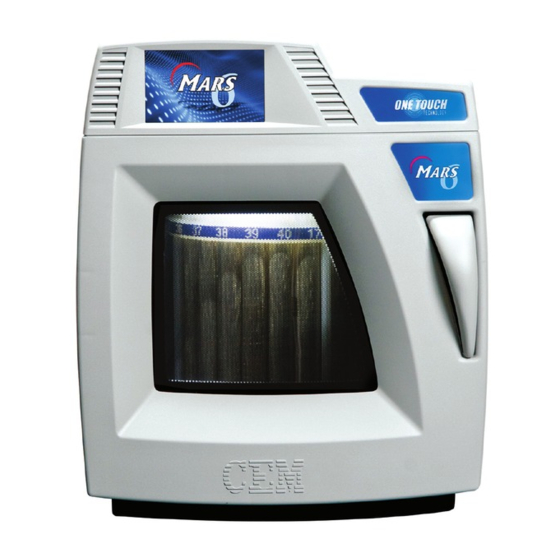
CEM MARS 6 Quick Start Manual
Hide thumbs
Also See for MARS 6:
- Quick start manual (4 pages) ,
- Manual (80 pages) ,
- Operation manual (101 pages)
Advertisement
Quick Links
Quick Start Guide
MARS 6 / MARS 6 Synthesis /
MARS Classic / MARS One
Installation Location
1. Designate an area with a sturdy work-
bench within 8' of a hood or suitable
fume disposal mechanism.
1. Provide at least 8" space on each
side and 6" space in the rear for
ventilation.
System Dimensions:
21" Width x 25" Depth x 25" Height
140 lbs in weight (without vessels)
2. Allow space for sample handling
3. The system must be free from the
vibration of large equipment or
walk-through traffic
4. The system must be away from the
primary exits and walk-through traffic
5. Location should have a temperature
of 41°F (5 °C) – 104 °F (40 °C).
6. The system should be connected to
a dedicated, grounded outlet.
Ventilation Requirements
The system comes with 8 feet of flexible
exhaust hose (3 1/8" OD x 2 13/16"
ID). The built-in exhaust system will push
fumes through the hose at 125 CFM.
To properly vent the system, your hood
or exhaust line must draw at least 125
CFM at the point of connection.
Electrical Requirements
The MARS unit requires 208/230
VAC, 60 Hz, 15A @ 230 VAC, or
200/220/240 VAC, 50 Hz, 15A@ 240
VAC, single phase power. It requires a
250 volt-15 Amp rated receptacle (NEMA
6-15R or a 250 volt- 20 Amp rated recep-
tacle (NEMA 6-20R). It is non-locking.
• Pull plastic tab, swing handle open.
1
• Remove plastic assembly from box.
• Repeat process on other 3
assemblies.
• Lay the sides of the box flat.
4
• Remove the foam from the top of
the system.
• Remove the box from inside of the
7
system cavity.
• Write down the serial number located
on the back left side of the system.
• Determine the line voltage from outlet
10
as 208V or 230V.
• Select the line voltage.
• Restart system.
• Use top handles to pull up and
2
remove outer box.
• Lift the system, from the sides, onto
5
bench top near exhuast service (two
people required). Do not place the
system in a fume hood.
• Attach the exhaust hose, and connect
8
to back of the system.
• Plug power cord into the system and
into to a dedicated, grounded outlet.
• After restart, select "Settings", then
11
"Video", then "Welcome" for a short
introduction. (Not available on all
systems)
• Carefully cut the tape on both sides
3
of the inner box.
• Remove the plastic and discard.
6
Do not leave the plastic under
the system.
• Push the power button on the side of
9
the system to turn it on.
• Go to www.cem.com/register to
12
register your system.
• See back of this sheet for details.
Advertisement

Related Manuals for CEM MARS 6


Summary of Contents for CEM MARS 6
- Page 1 • Pull plastic tab, swing handle open. • Use top handles to pull up and • Carefully cut the tape on both sides MARS 6 / MARS 6 Synthesis / • Remove plastic assembly from box. remove outer box. of the inner box.
- Page 2 Already have an account? CEM Service is committed to providing the highest level of technical support and service to our customers. We measure our success Update your profile with your new serial number to by one standard -- customer satisfaction.
Need help?
Do you have a question about the MARS 6 and is the answer not in the manual?
Questions and answers