Advertisement
Quick Links
Advertisement

Related Manuals for fantastic furniture Seaforth Lowline 1240 mm


Summary of Contents for fantastic furniture Seaforth Lowline 1240 mm
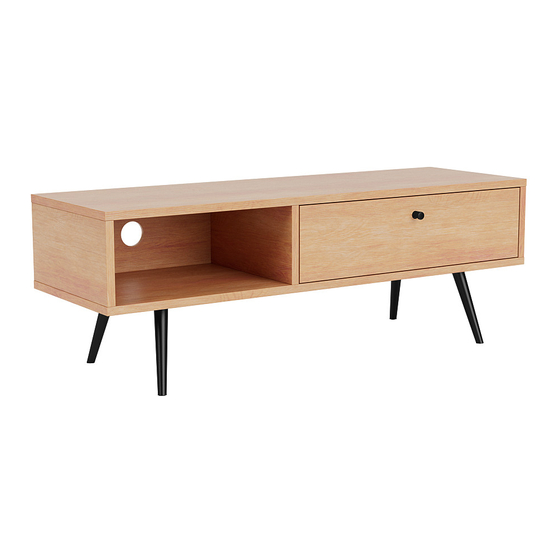
- Page 1 Version 2.0 Seaforth Lowline 1240 mm www.fantasticfurniture.com.au...
- Page 2 WARNING: ENSURE THE WALL STRAP IS ATTACHED TO AVOID SERIOUS INJURY. been provided To avoid any serious or fatal injury, this product has with a wall strap to prevent toppling. We strongly recommend that this product is permanently fixed to the wall or other suitable surface. Fixing devices are not included since different surface materials require different attachments.
-
Page 3: Assembly Checklist
Assembly checklist Read through the instructions carefully Make sure you have all the required tools. before you begin. Never use power tools unless instructed. Identify and lay out all of the components Unless instructed, do not fully tighten before you begin assembly. screws until the item is fully assembled. -
Page 4: What You Need
What you need to assemble the product Other tools you need Phillips head screwdriver (P1) Left side (P4) Back panel Right side (P2) (P6) Bottom Middle part (P3) (P5) Legs (P7) Drawer side left Drawer back (P11) (P10) Drawer Drawer bottom side right (P9) (P12) - Page 5 What you need to assemble the product Cam nut Dowel Screw Screw Cam bolt 12 x (H1) 12 x (H2) 12 x (H3) 6 x (H4) 16 x (H5) Screw Slide Screw Screw Handle 6 x (H6) 2 x (H7) 12 x (H8) 1 x (H9) 1 x (H10)
- Page 6 Step 1 You will need 2 x Slide (H7) H7-1 H7-2 Separate the Drawer Slide Runners (H7-2) and Slide Tracks (H7-1) from Slide (H7) by following the step below. Extend the Slide Runner (H7-2) all the way forwards. Press the plastic release lever of the slide down and the pull the slide runner (H7-2) completely out.
- Page 7 Step 2 This is how a cam nut works..You will need The head of the cam bolt goes into the open mouth of the cam nut. You then turn the cam nut so it tightens over the bolt. 1 x Screw 1 x Handle (H9) (H10)
- Page 8 Step 3 H7-2 You will need H7-2 4 x Slide 6 x Screw runner (H7-2) (H8) Attach drawer slide runner (H7-2) to the assembled drawer by using screw (H8). Step 4 Please make sure that the PVC covered You will need edge is facing outwards H7-1...
- Page 9 Step 5 You will need 6 x Cam bolt 6 x Dowel (H1) (H3) Attach cam bolts (H1) to top panel as shown, insert wooden dowels (H3) to top panel. www.fantasticfurniture.com.au PAGE 9...
- Page 10 Step 6 You will need This is how a cam nut works..The head of the cam bolt goes into the open mouth of the cam nut. You then turn the cam nut so it 6 x Cam nut tightens over the bolt. (H2) Please make sure that the PVC covered side...
- Page 11 Step 7 You will need 1 x Allen key 6 x Dowel (H13) (H3) 6 x Screw (H4) Attach the bottom (P3) by using the dowel (H3), screw (H4) and Allen key (H13). Step 8 You will need 1 x Allen key 16 x Screw (H13) (H5)
- Page 12 Step 9 You will need 6 x Back panel 6 x Screw connector (H12) (H11) Turn the lowline upright. If necessary, gently adjudt the top panel sideways in either direction until xx and yy are equal. Fix back panel connector (H11) to grooves as shown by using screw (H12), fix backpanel to middle part by using screw (H12) as shown.
-
Page 13: Job Complete
Step 11 Job Complete! In the interest of our environment please dispose of all packaging thoughtfully . www.fantasticfurniture.com.au PAGE 13...
Need help?
Do you have a question about the Seaforth Lowline 1240 mm and is the answer not in the manual?
Questions and answers