Stihl BGA 100 Instruction Manual
Hide thumbs
Also See for BGA 100:
- User manual ,
- Instruction manual (268 pages) ,
- Instruction manual (56 pages)

Related Manuals for Stihl BGA 100


Summary of Contents for Stihl BGA 100
- Page 1 Gebrauchsanleitung Instruction Manual STIHL BGA 100 Notice d’emploi Istruzioni d’uso Handleiding...
-
Page 2: Table Of Contents
Assembling the Blower ......30 18.1 STIHL BGA 100 Blower ......41 6.1 Mounting, Adjusting and Removing the Nozzle . -
Page 3: Introduction
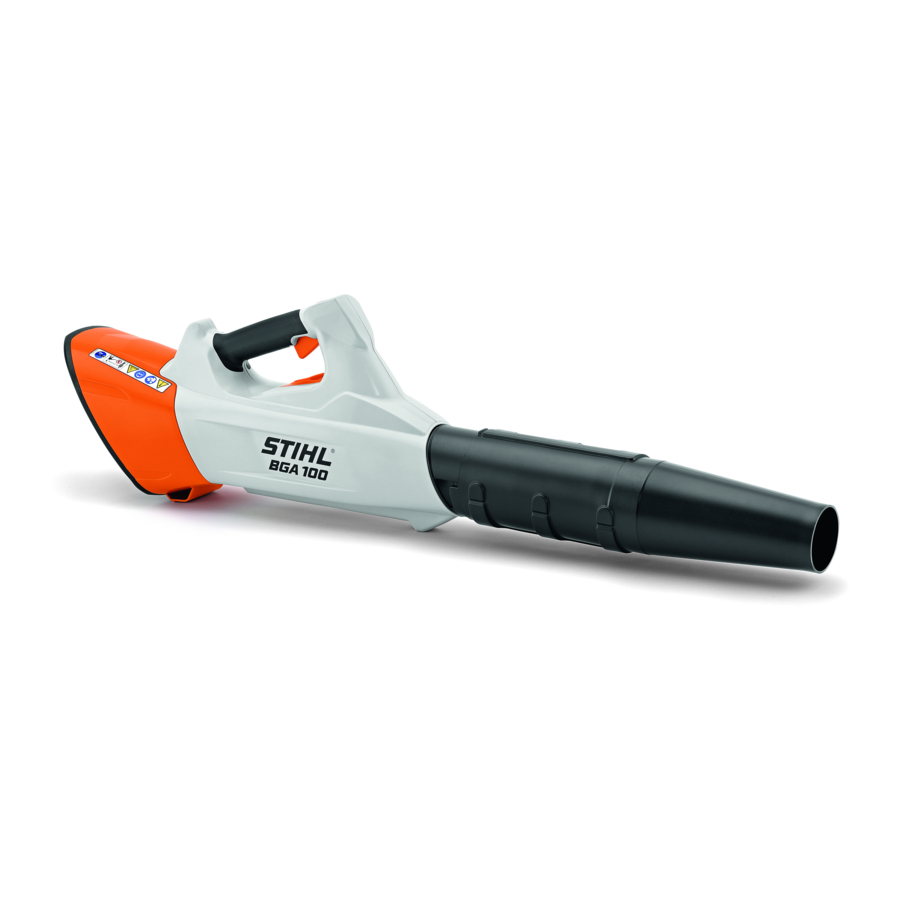
– User instructions for STIHL AR battery – Instruction manual for AP belt bag with connecting cable – Safety notes and precautions for STIHL AP battery – Instruction manual for STIHL AL 101, 300, 500 chargers 1 Nozzle – Safety information for STIHL batteries and products Directs and concentrates the airstream. -
Page 4: Carrying Systems
2 Connecting Cable Connects blower to the battery or “AP belt bag with connecting cable”. 3 Hip Padding Serves to secure blower to STIHL AR battery or the carrying system with built-in “AP belt bag with connecting cable”. 4 Connecting Cable Plug Connects blower to “AP belt bag with connecting cable”... -
Page 5: Symbols
The blower may be used in the rain. Power to this blower is supplied by a STIHL AP battery in 4 Safety Precautions combination with the “AP belt bag with connecting cable” or a STIHL AR battery. -
Page 6: The Operator
– The user has received instruction from a STIHL ► Use the blower with a STIHL AP battery in combination servicing dealer or other experienced user before with the “AP belt bag with connecting cable” or an working with the blower for the first time. -
Page 7: Blower
► Maintain a clearance of 5 meters from objects. ► Never insert objects in the blower’s openings. ► Do not leave the blower unattended. ► If you have any queries: Contact your STIHL servicing dealer for assistance. ► Make sure that children cannot play with the blower. -
Page 8: Transporting
■ Dampness can corrode the electrical contacts on the can result in serious injuries and damage to property. blower and metal components. The blower may be ► Stop work, remove the battery and contact your STIHL damaged. servicing dealer for assistance. -
Page 9: Preparing The Blower For Operation
► Push nozzle (1) into required position on blower tube (4). ► Check the battery as described in the STIHL AR battery’s ► Rotate nozzle (1) until it engages. instruction manual or in the user instructions for the “AP belt bag with connecting cable”. - Page 10 English 7 Adjusting Blower for User The connecting cable can be secured in position by the ► Close buckle (2) on the waist belt. guide (1) on the harness and the fasteners (2), or on the side ► Close buckle (1) on the chest strap. of the backplate with the fasteners (2).
-
Page 11: Using With Carrying System
English 7 Adjusting Blower for User ► Adjust the strap (1) so that the carabiner (2) is about a ► If the connecting cable is fitted through the upper left hand’s width below your right hip. opening (1) or the upper right opening (2): ►... -
Page 12: Using With Ap Belt Bag With Connecting Cable
English 7 Adjusting Blower for User Using with AP Belt Bag with Connecting Cable 7.3.1 Attaching the “Belt bag AP with connecting cord” ► Tighten the straps until the waist belt fits snugly on your hips and the back padding is against your back. ►... -
Page 13: Inserting And Removing Connecting Cable Plug
English 8 Inserting and Removing Connecting Cable Plug 8 Inserting and Removing Connecting Cable Plug Inserting the Connecting Cable Plug ► Push battery (4) as far as it will go into the belt bag (5). A short beep will sound. ►... -
Page 14: Switching The Blower On/Off
► If 3 LEDs on the battery flash red: Pull connecting cable ► Push the retaining latch (1) with your thumb to position plug out of the socket and contact your STIHL dealer for ► Pull the trigger (2) with your index finger and hold it there. -
Page 15: Operating The Blower
The LEDs indicate the selected power level. ► Push the retaining latch (1) forwards and allow it to spring ► If you use the STIHL AR battery or the carrying system back. with hip padding: Connect the carrying ring (2) to the This selects the next power level. -
Page 16: Blow-Sweeping
English 12 After Finishing Work ► If the blower is wet: Allow the blower to dry. ► Clean the blower. 13 Transporting 13.1 Transporting the Blower ► Switch off the blower, move retaining latch to position and pull the connecting cable plug out of the socket. ►... -
Page 17: Maintenance And Repairs
STIHL recommends the following maintenance intervals: Every 12 months ► Have the blower checked by a STIHL servicing dealer. 16.2 Servicing and Repairing the Blower The blower cannot be serviced or repaired by the user. ► If your blower has a malfunction or is damaged or requires servicing: Contact your STIHL servicing dealer. -
Page 18: Troubleshooting
► Recharge the battery fully as described in the when switched on green. instruction manual for the STIHL AL 101, 300, 500 chargers. 1 LED glows red. Battery too hot or too cold. ► Pull the connecting cable plug out of the socket. - Page 19 ► If blower continues to cut out during operation: Clean contacts of connecting cable as described in the STIHL AR battery’s instruction manual or in the user instructions for the “AP belt bag with connecting cable”. ► Switch on the blower.
-
Page 20: Specifications
For information on compliance with the REACH regulation – Approved batteries: see www.stihl.com/reach. – STIHL AR – STIHL AP together with “AP belt bag with connecting 19 Spare Parts and Accessories cable” – Air speed with nozzle mounted: 63 m/s –... - Page 21 Directive 2000/14/EC, Annex V. – Measured sound power level: 88 dB(A) – Guaranteed sound power level: 90 dB(A) Technical documents are deposited at ANDREAS STIHL AG & Co. KG Produktzulassung (Product Licensing). The year of manufacture, country of manufacture and serial number are applied to the product.
Need help?
Do you have a question about the BGA 100 and is the answer not in the manual?
Questions and answers