Milesight UG67 User Manual
Outdoor lorawan hotspot
Hide thumbs
Also See for UG67:
- User manual (119 pages) ,
- Quick start manual (24 pages) ,
- Manual (13 pages)
Table of Contents
Advertisement
Quick Links
Advertisement
Table of Contents

Related Manuals for Milesight UG67


Summary of Contents for Milesight UG67
- Page 1 Outdoor LoRaWAN ® Hotspot UG67 User Guide Milesight IoT...
- Page 2 Hotspot. The related documents are available on the Milesight website: https://www.milesight-iot.com Declaration of Conformity UG67 conforms with the essential requirements and other relevant provisions of the CE, FCC, and RoHS. For assistance, please contact Milesight technical support: Email: iot.support@milesight.com Tel: 86-592-5085280...
-
Page 3: Table Of Contents
Contents 1. Packing List..............................4 2. Hardware Introduction..........................5 2.1 Overview...............................5 2.2 Dimensions............................5 2.3 LED Indicators............................. 5 2.4 Reset Button............................6 2.5 DC Power Connector.......................... 6 3. Hardware Installation........................... 7 3.1 SIM Card Installation.......................... 7 3.2 Antenna Installation........................... 7 3.3 Ethernet Cable & Power Cable Installation..................8 3.4 Power Supply............................8 3.5 Hotspot Installation.......................... -
Page 4: Packing List
1. Packing List Before you begin to install the UG67 LoRaWAN ® hotspot, please check the package contents to verify that you have received the items below. 1 × UG67 Hotspot 1 × PoE Injector 1 × Mounting Bracket Wall Mounting Kits 1 ×... -
Page 5: Hardware Introduction
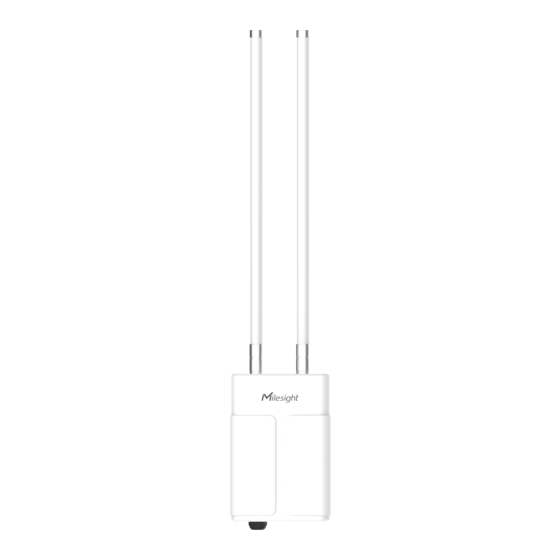
2. Hardware Introduction 2.1 Overview LoRa Antenna Connector Vent Plug SIM Slot LED Area & Type-C Port & Reset Button SYS: System Indicator LoRa: LoRa Indicator LTE: Cellular Indicator DC Power Connector (Solar Connector) Ethernet Port (PoE) Mounting Bracket 2.2 Dimensions (mm) 2.3 LED Indicators Indication Status... -
Page 6: Reset Button
Static Green → Reset Release the button and wait. Rapidly Blinking Off → Static Green The hotspot resets to factory default. 2.5 DC Power Connector UG67 supports 12 VDC or solar supply via M12 connector. Color Description Black White Reserved Yellow... -
Page 7: Hardware Installation
B. Tighten the SIM dust cover with a wrench to prevent water into the device. Note: UG67 does not support hot-plugging (also called hot swapping). please turn off the power before you insert or take off cards. 3.2 Antenna Installation UG67 supports multiple LoRa antenna types. -
Page 8: Ethernet Cable & Power Cable Installation
For DC or solar power supply, remove the protective cap of the power connector and rotate the DC power cable into the power connector. 3.4 Power Supply UG67 can be powered by 802.3af standard PoE or 12VDC. If there is not PoE switch, please use a PoE injector to power on the UG67 as below:... -
Page 9: Hotspot Installation
3.5 Hotspot Installation UG67 can be mounted to a wall or a pole. Before you start, make sure that your SIM card has been inserted, your antennas have been attached and all cables have been installed. Note: Do not connect the device to the power supply or other devices when installing. -
Page 10: Pole Mounting
3.5.2 Pole Mounting Preparation: mounting bracket , hose clamp and other required tools. (with a screw) A. Loosen the hose clamp by turning the locking mechanism counter-clockwise. B. Straighten out the hose clamp and slide it through the rectangular rings in the mounting bracket, wrap the hose clamp around the pole. -
Page 11: Login The Web Gui
4. Login the Web GUI UG67 provides a web-based configuration interface for management. If this is the first time you configure the hotspot, please use the default settings below: ETH IP Address: 192.168.23.150 Wi-Fi IP Address: 192.168.1.1 Wi-Fi SSID: Gateway_******... - Page 12 After the guide completed, you can view system information and perform more advanced settings. Please disable WLAN feature or add password after you completed all hotspot settings!
-
Page 13: Wired Access
4.2 Wired Access Connect PC to UG67 ETH port through PoE injector. The following steps are based on Windows 10 operating system for your reference. A. Go to “Control Panel” → “Network and Internet” → “Network and Sharing Center”, then click “Ethernet”... - Page 14 D. After logging, select the correct antenna type according to your antenna installation and change the default password following the guide. After the guide completed, you can view system information and perform more advanced settings.
-
Page 15: Network Connection
5. Network Connection This section explains how to connect the hotspot to the network via WAN connection, Wi-Fi or cellular. 5.1 Configure the Ethernet Connection A. Go to “Network” → “Interface” → “Port” page to select the connection type and configure Ethernet port information, click “Save &... - Page 16 C. Type the key of Wi-Fi. D. Go to “Status” → ”WLAN” to check Wi-Fi status. If it shows “Connected”, it means that the hotspot has connected to Wi-Fi successfully.
-
Page 17: Configure The Cellular Connection
5.3 Configure the Cellular Connection A. Go to “Network” → “Interface” → “Cellular” → “Cellular Setting” page to enable cellular settings. B. Choose relevant network type and fill in SIM card information like APN or PIN code, click “Save” and “Apply”... -
Page 18: Helium Hotspot Setup
B. Log in the web GUI, click “QR Code for Onboarding” at the top right corner. C. Fill in the wallet address in hotspot web GUI and click “Generate” to generate the QR code. D. Open Helium App, click “+Add Hotspot” and choose “Milesight Hotspot UG67” from the list. - Page 19 E. Scan the QR code on the hotspot login web GUI, then App will get the hotspot information. Click “Next”. F. Click “Ask for Permissions” to set hotspot location, then click “Set Location”.
- Page 20 G. Set hotspot antenna gain and height according to your external antenna type, it’s 5dBi by default. Click “Next” and “Register Hotspot”. This registration requires $10 and it’s already paid by Milesight. H. It will submit all hotspot information and add it to the Helium network.
-
Page 21: Antenna And Frequency Configuration
7. Antenna and Frequency Configuration A. Go to “Packet Forwarder” → “Radio” page to configure the correct antenna type according to your antenna installation mode. Center frequency and channels can also be configured here. Usually the channels should be the same as LoRaWAN ®...
Need help?
Do you have a question about the UG67 and is the answer not in the manual?
Questions and answers