Advertisement
Advertisement
Table of Contents

Related Manuals for TrueNAS R20A


Summary of Contents for TrueNAS R20A
- Page 1 TrueNAS R20A ® Version 1.1...
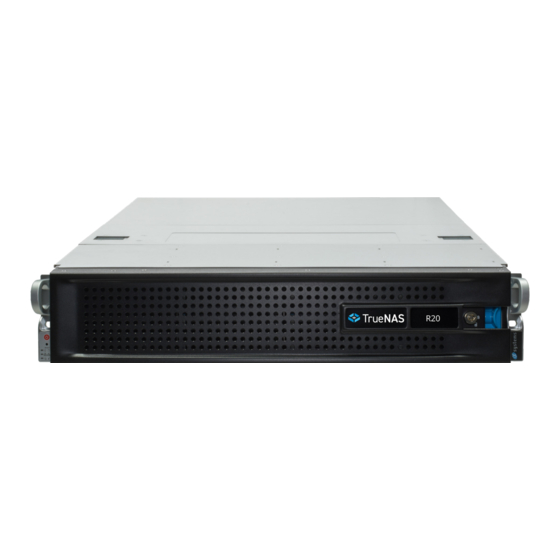
- Page 2 R20A The R20A is a 2U Hybrid Storage Array that has 12 3.5” drive bays and 2 SSD drive bays, redundant power supplies, and a single TrueNAS controller. It is provided as an alternate form factor to the R20. These instructions cover those procedures that are specific to the R20A.
- Page 3 The fault indicator is on during the initial power-on self-test (POST) and off during normal operation. It also turns on if the TrueNAS software issues an alert. For details about software alerts and how to configure them, see “Alerts” in the TrueNAS Documentation Hub (https://www.truenas.com/docs/).
- Page 4 Always team-lift a system when installing to a rack. Rack Requirements The R20A requires an EIA-310 compliant rack. To properly install the rack rails, the front and rear vertical rack posts need to be spaced between 23” - 35.75” (584mm-908mm) apart.
- Page 5 Install the Rack Rails Before installing the rack rail, make sure the rack has enough space for the system. The R20A needs 2U of rack space, with the rack rails installed into the bottom 1U. Take a rack rail and align the end with the yellow instructional sticker with the front of the rack. The yellow instruc- tional sticker must be facing outside the rack so the chassis rails can slide into the rack rails.
- Page 6 SSD Drive Trays The R20A has two 2.5” SSD drive bays. To remove the tray, release the latch by sliding the button down (1). Gently swing the latch up (2), then slide the tray out (3). Hard Drive Trays To mount a hard drive in a tray, remove the two rear screws holding the filler (1). Gently spread both sides of the tray away from the filler (2) until the pins release (3), then remove the filler.
Need help?
Do you have a question about the R20A and is the answer not in the manual?
Questions and answers