TrueNAS ES60 Basic Setup Manual
Hide thumbs
Also See for ES60:
- Basic setup manual (16 pages) ,
- Basic setup manual (4 pages) ,
- Basic setup manual (20 pages)
Table of Contents
Advertisement
Quick Links
Advertisement
Table of Contents

Related Manuals for TrueNAS ES60


Summary of Contents for TrueNAS ES60
- Page 1 TrueNAS ES60 Basic Setup Guide ® Version 1.93...
-
Page 2: Table Of Contents
� � � � � � � � � � � � � � � � � � � � � � � � � � � � � � � � � � � � � � � � � � � � � � � � � � � � � � � � � � � � � � � � � � � � � � � � � � � � � � � � � � � � � � � � � � � � � � � � � � � � � � � � � � � � � � � � 2 ES60 Components ... -
Page 3: Introduction
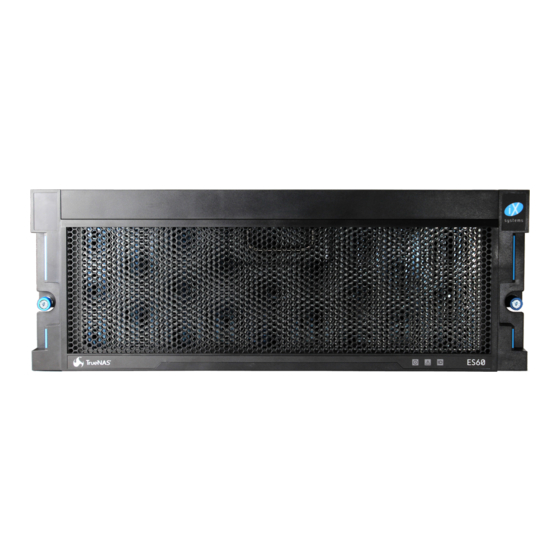
1 Introduction The TrueNAS ES60 is a 4U, 60-bay, hybrid unified data storage array. It has redundant power supplies and two TrueNAS storage controllers� Review the safety considerations and hardware requirements before installing an X-Series system into a rack 1.1 Safety 1.1.1 Static Discharge... -
Page 4: Es60 Components
2 ES60 Components TrueNAS units are carefully packed and shipped with trusted carriers to arrive in perfect condition. If there is any shipping damage or missing parts, please take photos and contact iXsystems support immediately at support@ixsystems�com, 1-855-GREP4-iX (1-855-473-7449), or 1-408-943-4100�... -
Page 5: 2�1 Front Indicators
2.1 Front Indicators The ES60 has front panel indicators for power, fault, and locate ID. Light Color and Indication Green: System on Red: Fault / Alert Amber: Locate ID active 2.2 Rear Components and Ports The ES60 has two expansion controllers in a side-by-side configuration. -
Page 6: Assemble Rail Kit
M4 Screws 3.2 Install Rack Rails The ES60 occupies 4U of rack space� The rails mount in the center 2U of that space� The accessory kit includes cage nuts (for square and round-hole racks), which provide attachment points for rail screws. - Page 7 Lift the ES60 with attached cabinet rails and align the cabinet rails with the inside front of the rack rails. Carefully slide the ES60 into the rack rails until it stops� Locate the blue tabs on the inside of the cabinet rails� Slide the tabs towards the front of the ES60 and hold them in place, then push the chassis into the rack.
-
Page 8: Install Drives
4 Install Drives 4.1 Remove Top Cover Slide the ES60 out on the rails. Unscrew the cover screws to unlock the top cover, then slide it forwards and lift it off. Support: 855-473-7449 or 1-408-943-4100 Page 6 Email: support@ixsystems.com... -
Page 9: 4�2 Install Drive Trays
4.2 Install Drive Trays TrueNAS systems only support qualified HDs and SSDs. Contact the Sales Team for more drives or replacements. Adding unqualified drives to the system voids the warranty. Call Support if drives are improperly installed in trays. To add a new drive into an empty tray, place the tray on a flat surface and push the hard drive into the tray. -
Page 10: Install Cable Management Arm (Optional)
You can unclip the tabs on the flex housing from the top and the bottom. Or you can remove them entirely. The ES60 has two attachment posts on the left rear side for the CMA. You can pull the ES60 slightly out of the rack to make the posts more accessible. - Page 11 Remove the two screws from the side of the CMA rail bracket. Align the screw holes with the holes in the rear of the left cabinet rail and attach the bracket to the rail with the screws. Locate the end of the flex housing with exposed holes. Unclip and open the two tabs closest to the end so the flex housing can expand enough to fit over the bracket pins.
-
Page 12: Connect Power Cables
Wait two minutes for the drives to start. If you turned off the TrueNAS system, power it back on. Note: Do not connect cables to the Service or Management ports� The ES60 does not use them during operation� Support: 855-473-7449 or 1-408-943-4100 Page 10 Email: support@ixsystems.com... -
Page 13: Connect Sas Cables
7 Connect SAS Cables Plug the ES60 power cords into power outlets. Wait two minutes for the drives to start. The ES60 is compatible with several TrueNAS systems. Typical SAS cable connections for connecting one or two ES60 units to TrueNAS High Availability (HA) systems are shown here. -
Page 14: 7�2�1 R20
7.2 R-Series 7.2.1 R20 R20 with a single ES60 Expansion Shelf R20 with two ES60 Expansion Shelves Support: 855-473-7449 or 1-408-943-4100 Page 12 Email: support@ixsystems.com... - Page 15 7.2.2 R40 R40 with a single ES60 Expansion Shelf R40 with two ES60 Expansion Shelves Support: 855-473-7449 or 1-408-943-4100 Page 13 Email: support@ixsystems.com...
- Page 16 7.2.3 R50 R50 with a single ES60 Expansion Shelf R50 with two ES60 Expansion Shelves Support: 855-473-7449 or 1-408-943-4100 Page 14 Email: support@ixsystems.com...
-
Page 17: 7�3�1 M40
7.3 M-Series 7.3.1 M40 M40 with a single ES60 Expansion Shelf M40 with two ES60 Expansion Shelves Support: 855-473-7449 or 1-408-943-4100 Page 15 Email: support@ixsystems.com... - Page 18 M50/M60 with a single ES60 Expansion Shelf M50/M60 with three ES60 Expansion Shelves. The M50 can support up to 8 total Expansion Shelves with the use of additional SAS cards. The M60 can support up to 12 total Expansion Shelves with the use of additional SAS cards.
-
Page 19: Install Bezel (Optional)
8 Install Bezel (Optional) Line up the screw holes on the back of the bezel with the screw holes on the ears of the ES60. Install one upper screw from the back side of the left ES60 ear, then install a lower screw from the back of the right ES60 ear. Install the remaining two screws following the same diagonal pattern. - Page 20 Notes: Support: 855-473-7449 or 1-408-943-4100 Page 18 Email: support@ixsystems.com...
Need help?
Do you have a question about the ES60 and is the answer not in the manual?
Questions and answers