Sign In
Upload
Download
Table of Contents
Contents
Add to my manuals
Delete from my manuals
Share
URL of this page:
HTML Link:
Bookmark this page
Add
Manual will be automatically added to "My Manuals"
Print this page
×
Bookmark added
×
Added to my manuals
Manuals
Brands
TrueNAS Manuals
Storage
Mini 3.0
Basic setup manual
TrueNAS Mini 3.0 Basic Setup Manual
Hide thumbs
1
Table Of Contents
2
3
4
5
6
7
8
9
10
11
12
13
14
15
16
page
of
16
Go
/
16
Contents
Table of Contents
Bookmarks
Table of Contents
Table of Contents
Introduction
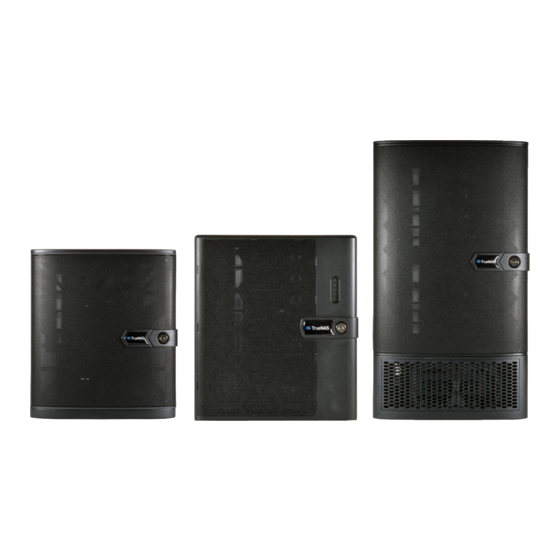
The Truenas Mini
The Truenas Mini
The Truenas Mini XL
Handling Hard Drives
Removing Drive Trays
Removing Drive Fillers
Installing Drives and Trays
To 2.5" SSD Adapters
Mini 2.5" Drive Bays
Mini XL+ 2.5" Drive
Mini X/X+ 2.5" Drives
Connect Network and Power Cables
Powering on the Truenas Mini
Notice: High Draw USB Devices
Console Setup on the Truenas Mini
Logging in to the Truenas Web Interface
Changing Truenas Versions
Additional Resources
Contacting Ixsystems
Advertisement
Quick Links
1
The Truenas Mini Xl
Download this manual
TrueNAS
Mini 3.0 Family
®
Basic Setup Guide
Version 3.4
Table of
Contents
Previous
Page
Next
Page
1
2
3
4
5
Advertisement
Table of Contents
Need help?
Do you have a question about the Mini 3.0 and is the answer not in the manual?
Ask a question
Questions and answers
Related Manuals for TrueNAS Mini 3.0
Network Storage Server TrueNAS Mini E Quick Start Manual
Out of band management (8 pages)
Storage TrueNAS Mini X+ Hardware Upgrade Manual
(16 pages)
Storage TrueNAS M Series Basic Setup Manual
Unified storage array (16 pages)
Storage TrueNAS M-Series Setup Manual
Unified storage array basic (12 pages)
Storage TrueNAS M Series Basic Setup Manual
Unified storage array (8 pages)
Storage TrueNAS M-Series Setup Manual
(16 pages)
Storage TrueNAS M Series Basic Setup Manual
(20 pages)
Storage TrueNAS Mini XL Basic Setup Manual
(16 pages)
Storage TrueNAS Mini R Basic Setup Manual
(16 pages)
Storage TrueNAS X Series Basic Setup Manual
(17 pages)
Storage TrueNAS R Series Basic Setup Manual
Unified storage arrays (24 pages)
Storage TrueNAS R50 User Manual
(38 pages)
Storage TrueNAS H Series User Manual
(27 pages)
Storage TrueNAS R Series Setup Manual
(28 pages)
Storage TrueNAS ES24 Basic Setup Manual
Expansion shelf (16 pages)
Storage TrueNAS X-Series Basic Setup Manual
Unified storage array (16 pages)
This manual is also suitable for:
Mini x
Mini xl
Mini e+
Table of Contents
Print
Rename the bookmark
Delete bookmark?
Delete from my manuals?
Login
Sign In
OR
Sign in with Facebook
Sign in with Google
Upload manual
Upload from disk
Upload from URL


Need help?
Do you have a question about the Mini 3.0 and is the answer not in the manual?
Questions and answers