Table of Contents
Advertisement
Quick Links
Advertisement
Table of Contents

Related Manuals for TrueNAS X-Series


Summary of Contents for TrueNAS X-Series
- Page 1 TrueNAS X-Series Unified Storage Array ® Basic Setup Guide Version 1.81...
-
Page 2: Table Of Contents
............... . . 2 Become Familiar with the X-Series System ... -
Page 3: Unpacking The Unit
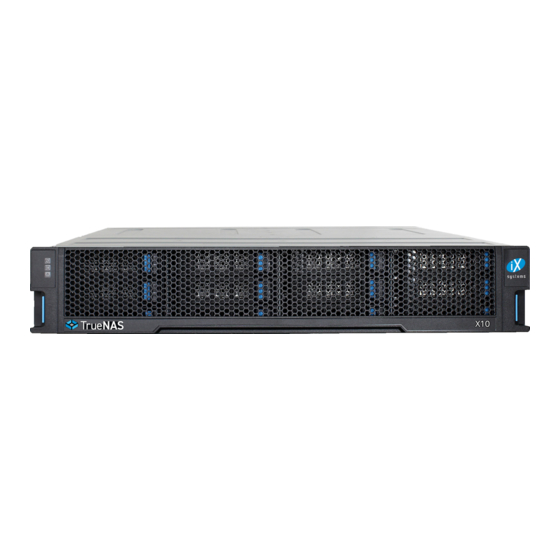
The TrueNAS X-Series Unified Storage Array is a 2U, 12-bay, hybrid unified data storage array. 1 Unpacking the Unit TrueNAS units are carefully packed and shipped with trusted carriers. If there is any shipping damage or any parts are missing, please take photos and contact iXsystems support immediately at support@ixsystems.com, 1-855-GREP4-iX (1-855-473-7449), or 1-408-943-4100. -
Page 4: Become Familiar With The X-Series System
2 Become Familiar with the X-Series System The X-Series has front panel indicators for power, locate ID, and fault. The fault indicator is on during the initial pow- er-on self-test (POST) and turns off during normal operation. It turns on if the TrueNAS software issues an alert. -
Page 5: Rail Kit Assembly
3 Rail Kit Assembly On racks that are 30 inches deep or less, skip to “3.2 Rail Spring”. 3.1 Rail Extenders Racks from 31 to 36 inches deep require installation of the included rail extenders. For these deeper racks, install cage nuts on the outside rear of the rack. -
Page 6: Attaching Rails To The Rack
3.3 Attaching Rails to the Rack Chassis rails are configured to attach to round hole racks. Additional pins are included in the accessory kit to configure the rails for square or 4mm hole racks. To reset the rails to fit a square or 4mm hole rack, unscrew the pins at each end of the rails and replace them with the correct pins. -
Page 7: Install Drive Trays
4 Install Drive Trays TrueNAS appliances only support qualified hard drives and SSDs. Contact the Sales Team if you need more drives or replacements. Adding unqualified drives to the system voids the warranty. Call Support if drives are improperly installed in trays. -
Page 8: Drive Replacement
4.1.1 3.5” Drive Replacement Place the tray on a flat surface and remove the four screws holding the drive to the tray, two on each side (1). Place the new drive in the tray with the drive connector to the rear of the tray (2), and secure the hard drive in the tray with four screws, two on each side. -
Page 9: Connect Expansion Shelves
After connecting both power cords to the X-Series, plug them into power outlets. The system automatically powers on when connected to a power outlet. This design ensures that the X-Series powers back on after a power failure. If you want to disconnect the physical power remotely, you can connect the X-Series to a remotely-managed Power Distribution Unit (PDU). -
Page 10: Install Bezel (Optional)
8 Install Bezel (Optional) The system does not require the bezel to operate. If desired, install the bezel by screwing in the bezel posts to the system ears. The longer posts go in the top positions on the ears. Align the bezel with the posts on the chassis ears and press it into place. -
Page 11: Removing A Blanking Plate
9.1.1 Removing a Blanking Plate If you purchased your X-Series with only one controller, you can upgrade it by adding a second controller. To re- move the blanking plate from the empty controller slot, press in the blue clip on the bottom of the plate to release the two black locking levers. -
Page 12: Installing Or Adding A Controller
Hold the controller by the sides and align with the opening on the back of the chassis. Slide the controller into the X-Series chassis until it stops (1). Swing the locking levers inward until they snap into the blue clip on the bottom of the controller (2). -
Page 13: Logging In To The Truenas Web Interface
DO NOT UPGRADE your system’s BIOS and IPMI firmware. The X-Series comes with a gray console port cable that connects IPMI to the console. To directly connect a system to the X-Series Console, disconnect the gray cable from the 3.5mm console port and connect the provided black 3.5mm to USB serial cable to the port. -
Page 14: Out-Of-Band Management
USB-3.5mm cable and client system with a serial terminal program. The X-Series comes with a gray console port cable that connects IPMI to the console. Ensure this cable is in place, since Out of Band Management will not work if the cable is not properly connected. -
Page 15: Remote Connections
IP address for OOBM using the MAC address. You can then find the assigned IP address by checking the local DHCP server logs for the MAC addresses affixed to the back panel of each X-Series controller. -
Page 16: Additional Resources
Additional hardware guides and articles are available in the Hardware section of the Documentation Hub: https://www.truenas.com/docs/hardware/ The TrueNAS Community forums provide an opportunity to interact with other TrueNAS users and to discuss their configurations. The forums are available at: https://www.truenas.com/community/...
Need help?
Do you have a question about the X-Series and is the answer not in the manual?
Questions and answers